Colortrac SmartLF Gx/GxT Range Installation and Operating Instructions
PAS161 P/N: P002168 Colortrac Ltd © 2008
16
FILE
-
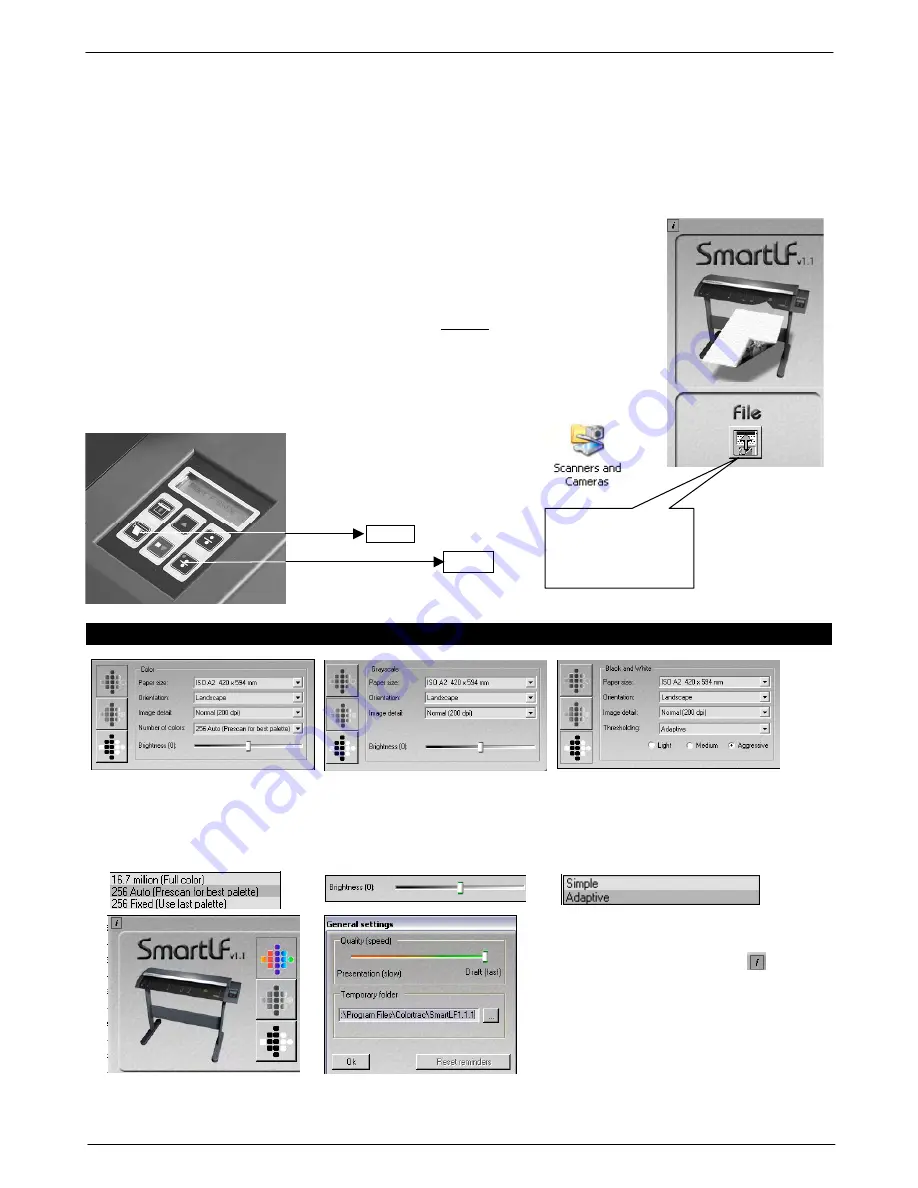
SmartLF Gx/GxT scanning to file is started by pressing the diskette icon in the
File
button. First use the Browse
button to select the storage location for the new file.
COPY
- To have
SmartLF Gx/GxT scan to the Windows printer press the printer icon in the
Copy
button. First select
the target Windows printer where the copy will be printed first using the I-button.
- To have
SmartLF Gx/GxT scan to e-mail press the envelope in the
button. This requires a configured
email client to be set up first, e.g. Outlook Express.
NOTE: For fragile originals SmartLF Gx/GxT can be slowed down using the Quality
slider accessed from the i-box in the top left corner of the SmartLF interface. As soon
as the required function is selected SmartLF Gx/GxT begins to scan the document
loaded in the scanner or waits for the document to be loaded. SmartLF Gx/GxT will
display the animated icon showing a document being loaded into the scanner.
PRESSING THE RUNNING FUNCTION ARROW ICON STOPS SMARTLF GX/GXT
SmartLF Gx/GxT can also be controlled from the scanner’s control panel by pressing
the corresponding panel buttons. These will only operate the SmartLF software if they
have been correctly configured through the Windows XP
Cameras and Cameras
icon
that is located in the Windows XP Control Panel. Refer to Section 17.
SMARTLF COLOR MODES AND SPEED SETTINGS
COLOR
GRAYSCALE
BLACK AND WHITE
SmartLF Gx/GxT can be slowed
down if necessary by using the
Quality
slider found under the
button at the top left corner of the
SmartLF interface.
The color mode allows control
of the number of colors and
the brightness of the file, copy
or emailed document image
The grayscale mode allows
control of the brightness of the
file, copy or emailed document
image
The black and white mode allows
control of the type and degree of
thresholding of the file, copy or
emailed document image
ARROW MEANS –
‘
WAITING FOR A
DOCUMENT TO BE
LOADED’
SCAN
COPY


