14
NX501A
English
Owner’
s Manual
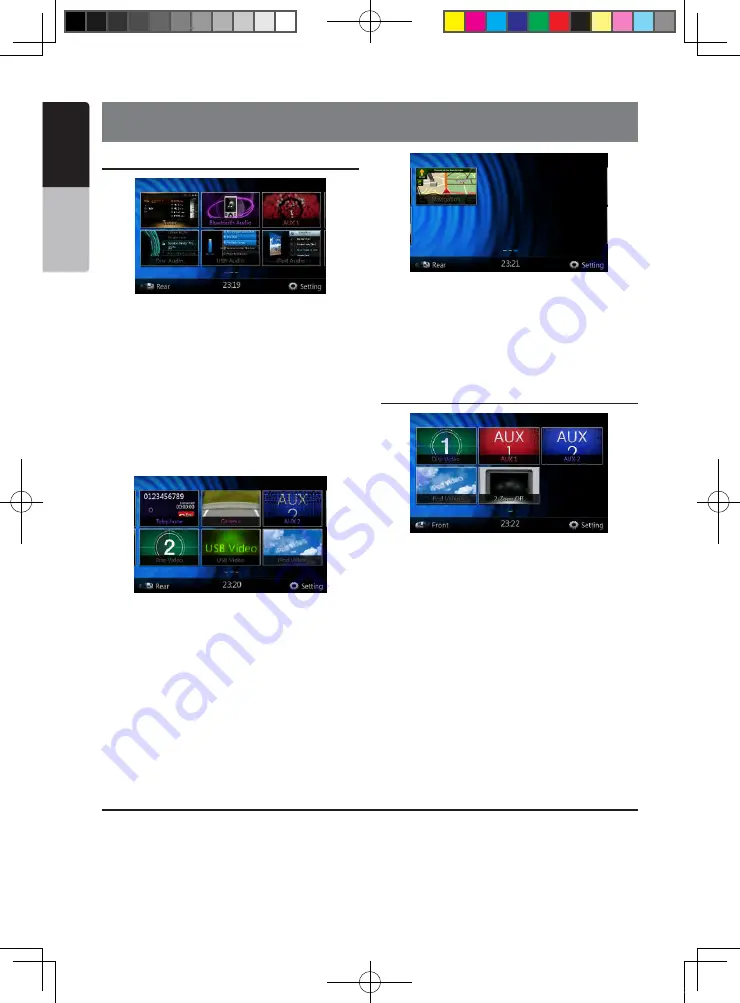
Front Zone Source
[Tuner]
-Press the button to display the Tuner mode.
[Disc Audio]
-Press the button to display the Disc
Audio mode.
[Bluetooth Audio]
-Press the button to display the
Bluetooth Audio mode.
[USB Audio]
-Press the button to display the USB
Audio mode.
[AUX 1]
- Press the button to display the AUX 1 mode.
[iPod Audio]
-Press the button to display the iPod
Audio mode.
[Telephone]
-Press the button to display the Telephone
mode.
[Disc Video]
-Press the button to display the Disc
Video mode.
[Camera]
-Press the button to display the Camera
mode.
[USB Video]
-Press the button to display the USB
Video mode.
[AUX 2]
-Press the button to display the AUX 2 mode.
[iPod Video]
-Press the button to display the iPod
Video mode.
[Navigation]
-Press the button to display the
Navigation mode.
[Rear Button]
-Press the button to display the rear
menu.
[Setting Button]
-Press the button to display the
setting menu.
Rear Zone Source
[Rear Disc Video]
-Press the button to display the
Rear Disc Video mode.
[Rear AUX 1]
-Press the button to display the Rear
AUX 1 mode
[Rear iPod Video]
-Press the button to display the
Rear iPod Video mode.
[Rear AUX 2]
-Press the button to display the rear AUX
2 mode.
[2-Zone Off]
-Press the button to closed the rear
activity.
[Front Button]
-Press the button to display the front
main menu.
[Setting Button]
-Press the button to display the
setting menu.
6. MAIN MENU OPERATIONS
Scrolling the menu
Press screen and scrolling to right or left it will
switch to next or previous page of mainmenu.
Moving the menu position
1. Press any quadrate icon on mainmenu more than
2 seconds, the icon will float on mainmenu.
2. Scrolling the floating icon to any position you want.
NX501A_Usermanual_EN-CM-110414.indd 14
2011-4-14 14:19:55


