34
❑
Remove the masking tape from the aileron and double-check that the servo horn and the aileron are still centered. If the aileron
is not centered, adjust the clevis until it is. Move the aileron up and down several times to ensure that the linkage assembly does
not bind. It should operate smoothly in both directions.
❑
Repeat the previous procedures to install the second aileron pushrod assembly onto the other half of the wing.
✦
✦
✦
✦
✦
IMPORTANT
✦
✦
✦
✦
✦
If you will be flying your Speedy Bee ARF using a non-computer radio system without mixing capabilities, you
will need to plug a Y-Harness into the two aileron servo leads at this time. This will allow both aileron servos to be plugged into the
aileron channel in your receiver.
If you will be flying your Speedy Bee ARF using a computer radio with mixing capabilities, you may want to plug each aileron servo
lead into your receiver separately (one into Ch. 1 and one into Ch. 6) to take advantage of your radio's mixing capabilities.
❑
Kwik Bond Thick C/A
❑
# 1 Phillips Head Screwdriver
❑
Excel Modeling Knife
❑
Scissors
❑
Electric Drill
❑
1/16" & 5/64" Drill Bits
❑
Ernst Airplane Stand
❑
Ruler
❑
Pencil
YOU'LL NEED THE FOLLOWING PARTS FROM THE KIT:
YOU'LL NEED THE FOLLOWING TOOLS AND SUPPLIES:
SECTION 18: FINAL ASSEMBLY
❑
(2) Plywood Mounting Plates (Optional)
❑
(1) Plastic Windscreen
❑
(5) M2 x 5mm Wood Screws
❑
(2) M2 x 10mm Flange-Head Wood Screws
❑
(1) Decal Set
STEP 1: INSTALLING THE HATCH COVER
❑
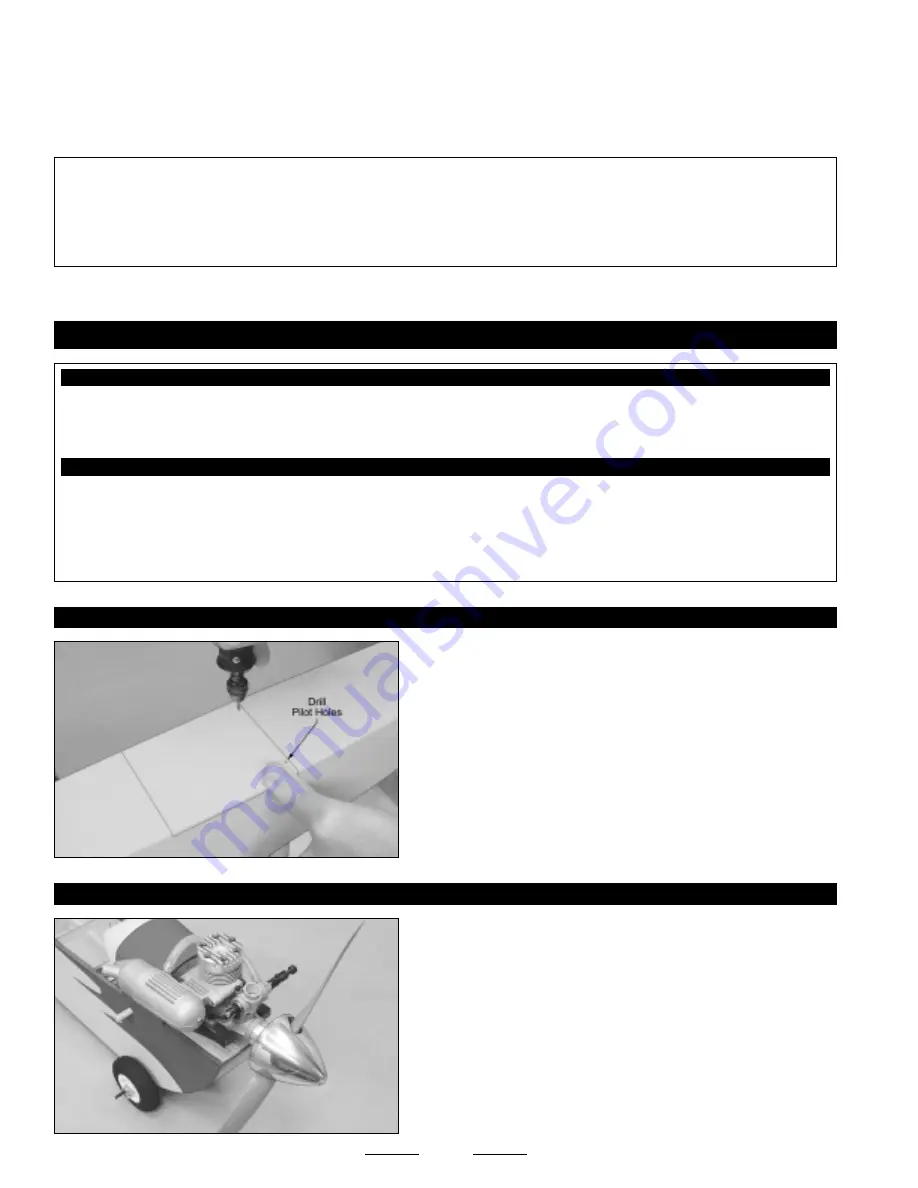
With the hatch cover set in place and aligned, drill two 1/16"
diameter pilot holes through the back of the hatch cover for the mounting
screws. Position each hole 1/2" in from the fuselage sides and 3/16" in
front of the back edge of the hatch cover.
❑
Secure the hatch cover to the fuselage, using two M2 x 10mm
flange-head wood screws.
☞
This hatch cover is used to access the flight battery if you have
chosen to use an electric motor.
❑
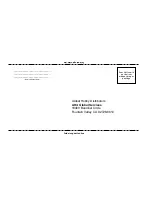
Install your muffler, high speed needle valve, propeller and spinner.
☞
Make sure to properly balance your propeller.
❑
Connect the fuel lines from the fuel tank to your engine's carburetor
and muffler.
☞
Installing a spinner is optional. A spinner adds to the looks of the
airplane and makes starting your engine easier if you're using an
electric starter.
STEP 2: INSTALLING YOUR ENGINE ACCESSORIES
Continued On Next Page
☛
☛
☛
☛
☛


