2-6
Cisco UCS S3260 Storage Server Chassis Installation and Service Guide
Chapter 2 Installing the System
Installing the System in a Rack
Step 2
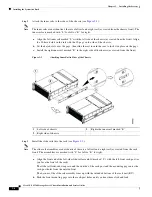
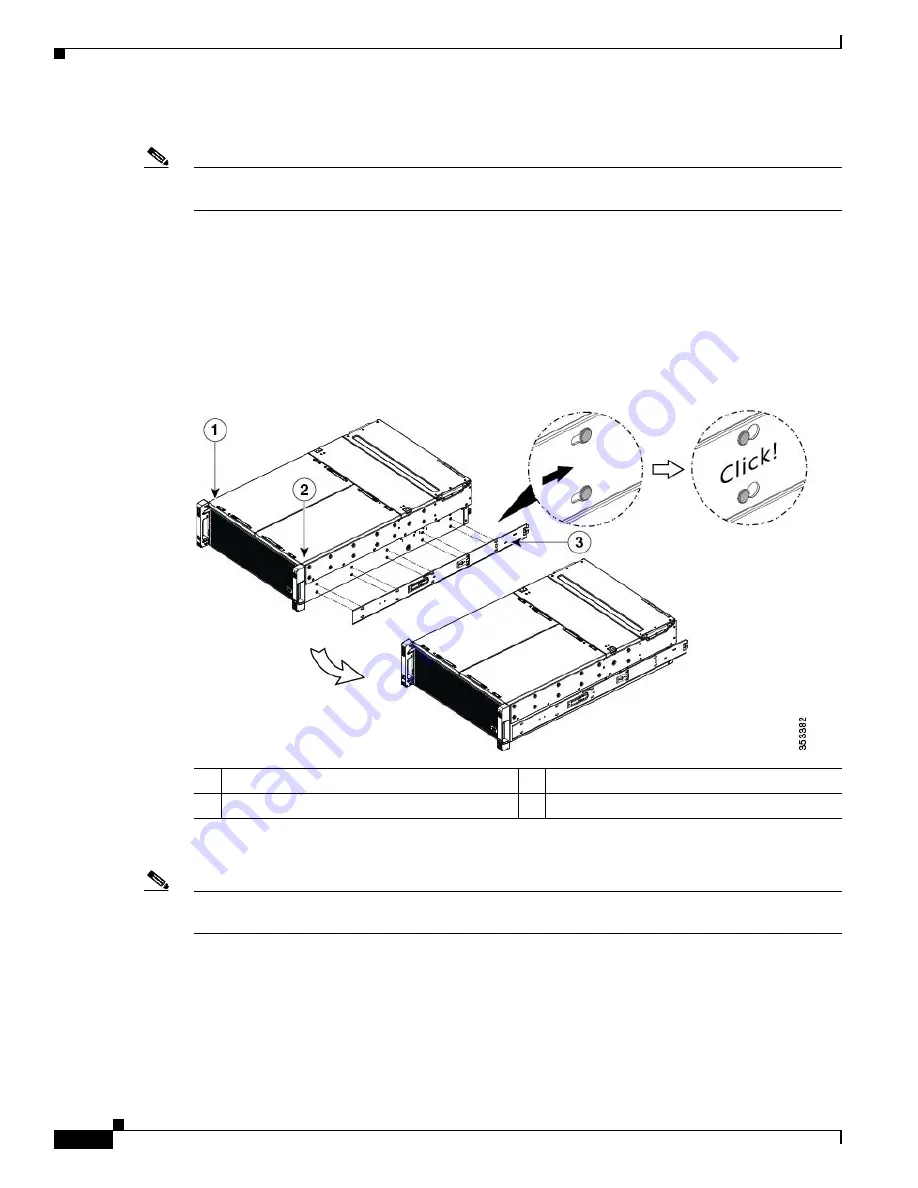
Attach the inner rails to the sides of the chassis (see
Note
The inner rails are not identical: there is a left rail and a right rail (as viewed from the chassis front). The
inner rails are marked with “L” for left or “R” for right.
a.
Align the left inner rail marked “L” with the left side of the chassis (as viewed from the front). Align
the 10 keyed slots in the rail with the 10 pegs on the side of the chassis.
b.
Set the keyed slots over the pegs, then slide the rail toward the rear to lock it in place on the pegs.
c.
Install the right inner rail marked “R” to the right side of the chassis (as viewed from the front).
Figure 2-2
Attaching Inner Rail to Sides of the Chassis
Step 3
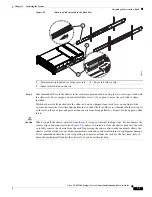
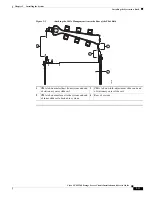
Install the slide rails into the rack (see
Note
The slide rail assemblies are not identical; there is a left rail and a right rail (as viewed from the rack
front). The assemblies are marked with “L” for left or “R” for right.
a.
Align the front end of the left-side slide-rail assembly (marked “L”) with the left-front rack-post (as
you face the front of the rack).
The slide rail front-end wraps around the outside of the rack post and the mounting pegs enter the
rack-post holes from the outside-front.
The bottom of the slide rail assembly lines up with the intended bottom of the rack unit (RU).
b.
Push the front mounting pegs into the rack-post holes until you hear them click and lock.
1
Left side of chassis
3
Right-side inner rail marked “R”
2
Right side of chassis

