E-21
Cisco UCS S3260 Storage Server Chassis Installation and Service Guide
Appendix E Upgrading to Cisco UCS S3260 System With S3260 M5 Server Nodes
Older Migration and Upgrade Procedures
Note
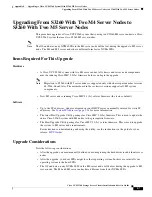
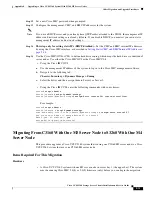
The BMC reboots after resetting to defaults. Watch for the prompt to press F8 when the server
reboots in the next step.
Step 13
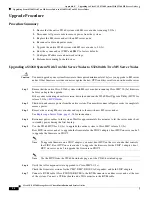
When prompted, press
F8
to enter the Cisco IMC Configuration Utility again.
Step 14
Set a new Cisco IMC password when prompted.
Step 15
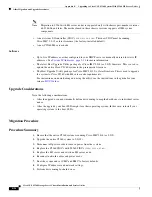
Configure the management, CMC, and BMC IP addresses for the system.
Note
If you use a DHCP server and you already have QSFP cables attached to the SIOC, the management IP
address and network settings are already filled in. If you disable DHCP, you must set your own static
management IP address and network settings.
Step 16
This step only for setting static IPs (DHCP disabled)
—Set the CMC and BMC internal IP addresses
by using the Cisco IMC interface, as described in
Setting Static CMC and BMC Internal IP Addresses,
.
Step 17
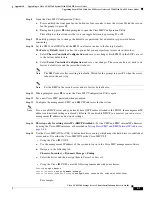
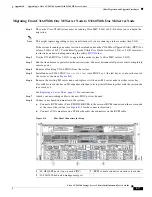
Use the Cisco IMC (GUI or CLI) to define hard drive zoning, which maps the hard drives to individual
server nodes:
•
Using the Cisco IMC GUI:
a.
Use the IP address of the CMC in either SIOC to log in to the Cisco IMC management software.
b.
Navigate to the following tab:
Chassis > Inventory > Dynamic Storage > Zoning
c.
Select the drives and then assign them to Server1 or Server2.
•
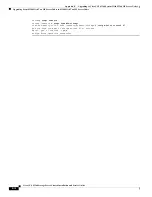
Using the Cisco IMC CLI, enter the following commands with your choices:
Server#
scope chassis
Server /chassis#
scope dynamic-storage
Server /chassis/dynamic-storage#
assign-drive <
server ID
> <
drive-slotid-list
>
For example:
Server#
scope chassis
Server /chassis #
scope dynamic-storage
svbu-huu-sanity-col2-1-vcmc /chassis/dynamic-storage # a
ssign-drive server2 27
Are you sure you want to assign drives 27 to server2
Enter 'yes' to confirm ->
yes
assign-drive operation successful.
Step 18
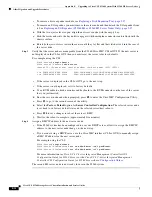
If you want to add a second server node and SIOC to the system, continue with
Node or SIOC to the S3260 System With M4 Server Nodes, page E-28
.

