


Getting Started
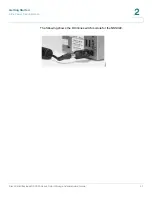
Mapping a Network Drive
Cisco Small Business NSS300 Series Smart Storage Administration Guide
34
2
STEP 6
From the
Map Network Drive
window, click
Next
to start mapping your network
drive. The
Discovering the NAS
window opens and the First Time Installation
Wizard searches for your initialized NAS.
STEP 7
When the initialized NAS is found, click
Next
. The
Select the NAS Device
window
opens.
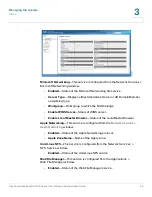
STEP 8
From the drop-down list, select the NAS device that you want to map as a network
drive.
STEP 9
Click
Next
. The
Mapping Drives
window opens.
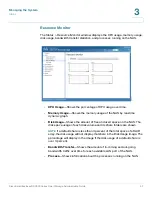
STEP 10
From the drop-down lists, select a folder type and select a drive letter to be
mapped.
Preconfigured share folders types are:
•
Public
—Network share for file sharing (default).
•
Usb
—Network share for data copy function using the USB ports.
•
Web
—Network share for Web server.
•
Download
—Network share for Download Station.
•
Multimedia
—Network share for Multimedia Station.
•
Network Recycle Bin 1
—Network share recycle bin.
STEP 11
From the authentication login window, enter the administrator account username
and password.
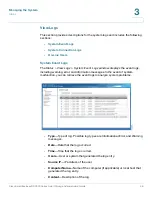
STEP 12
Click
Next
. The
Mapping Success
window opens.
STEP 13
Click
More
to map another drive or click
Next
to continue to the Client Utility
Installation. See
Installing the Client Utility for Windows, page 35
.
Mapping a Network Drive From Windows
NOTE
If you are using Windows Vista, you might receive a security warning and have to
temporarily disable any security software on your computer.
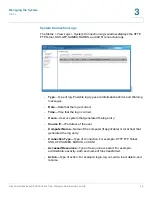
To map a network drive from Windows:
STEP 1
From the Windows desktop, click the
My Computer
icon to open My Computer.
STEP 2
Choose
Tools > Map Network Drive
. The
Map Network Drive
window opens.


