4-34
J Series 2.0, 2.4, and 3.0kW Service Manual
020-100739-01 Rev. 1 (01-2012)
Section 4: Parts and Module Replacement
2. Remove the lens side cover:
a. Loosen the 6 quick-release screws.
b. Remove the cover and set it aside.
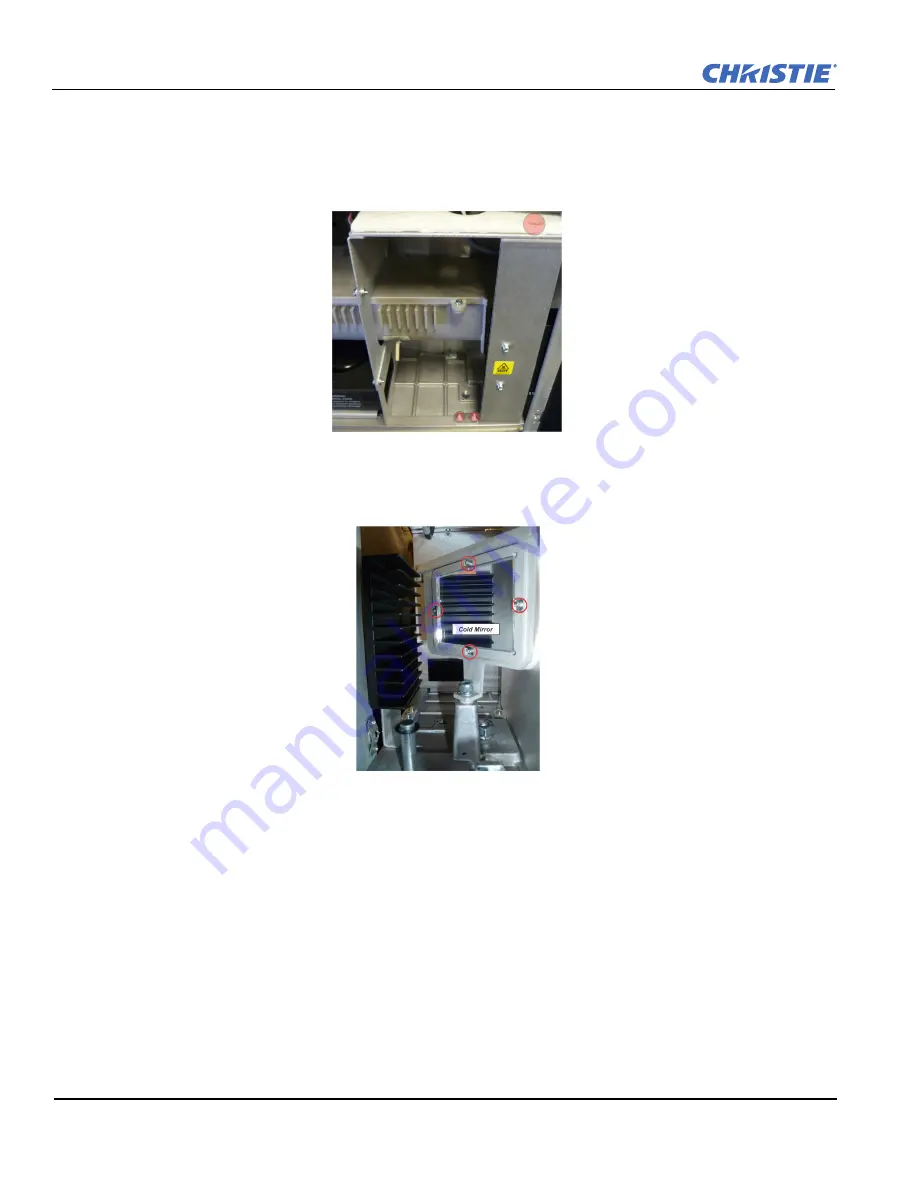
3. Remove the 3 screws securing the heat sink.
4. Open the lamp door and the lamp module handle.
5. Remove the 4 screws on the cold mirror assembly.
6. Slide the cold mirror from the optical assembly.
7. Install the cold mirror with the reflective side facing inward.
To determine which side is the reflective side,
place your finger on the edge of the mirror face and see if there is a gap between your finger and its
reflection. NO GAP indicates the closest reflective side – place this side in toward the optical assembly.
Summary of Contents for J 2.0kW
Page 1: ...J Series 2 0 2 4 and 3 0kW S e r v i c e M a n u a l 020 100739 01 ...
Page 2: ......
Page 3: ...J Series 2 0 2 4 and 3 0kW S e r v i c e M a n u a l 020 100739 01 ...
Page 12: ......
Page 16: ......
Page 70: ......
Page 72: ......
Page 74: ......
Page 88: ......
Page 92: ......
Page 93: ......


