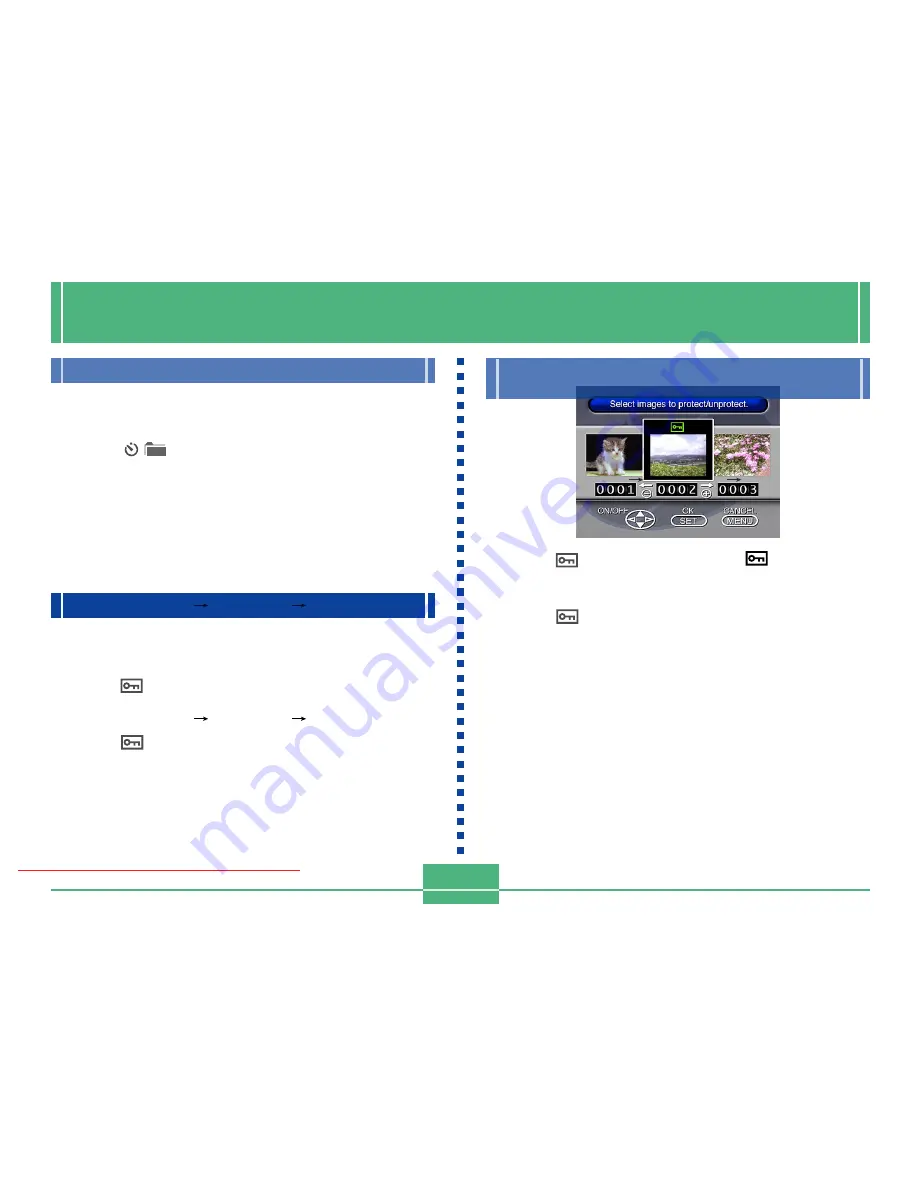
IMAGE PROTECTION
E-89
4.
Select the image you want to protect.
• Selected images are indicated by
.
• Repeat step 4 to select other images if you want.
5.
After all the images you want to protect are
selected, press SET to protect them.
Use the following operations when you want to protect
images against accidental deletion. A protected image
cannot be deleted until it is unprotected. You can protect
and unprotect a single specific image, all the images in a
particular folder, or all images currently on the memory
card.
IMPORTANT!
Formatting a memory card (page E-35) deletes all
images on the card, even if some or all of the images
are protected.
Protecting and Unprotecting a Single Image
1.
Align the POWER/Function Switch with PLAY.
2.
Press MENU.
3.
Select “Tools”
“Protect”
“Select”.
• “Tools” appears on the advanced menu only.
IMAGE PROTECTION
Downloaded From camera-usermanual.com
E-90
Protecting and Unprotecting Folders
1.
Align the POWER/Function Switch with PLAY.
2.
Press
/.
3.
Use [
] and [ ] to select the folder you want to
protect.
4.
Press SET.
5.
Press MENU.
6.
Select “Tools”
“Protect”
“Folder”.
• “Tools” appears on the advanced menu only.
7.
Select “Protect” or “Unprotect”.
• The
indicator in the upper left corner of an image
when image information is turned on indicates it is
protected.
• The
indicator does not appear when an image is
not protected.
Protecting and Unprotecting All Images
on a Memory Card
1.
Perform steps 1 through 2 under “Protecting
and Unprotecting a Single Image”.
2.
Select “Tools”
“Protect”
“All”.
• “Tools” appears on the advanced menu only.
3.
Select “Protect” or “Unprotect”.
• The
indicator in the upper left corner of an image
when image information is turned on indicates it is pro-
tected.
• The
indicator does not appear when an image is
not protected.
Downloaded From camera-usermanual.com


