MONITOR SCREEN
E-28
Pressing DISP causes various
indicators to appear on the
monitor screen.
DISP button
Recording Mode
Zoom factor
X2
Flash Mode
Auto
None
Flash On
Flash Off
Red-eye
reduction
Self-timer
10 SEC, 2 SEC
Battery capacity
Date and time
This information appears for one or two
seconds, and then disappears.
Camera shake
indicator
Quality
FINE
NORMAL
ECONOMY
Remaining
number of pages
EV shift
Focus mode indicator
Auto Focus
None
Manual Focus
Infinity
Macro
Image size
2048 x 1536
1024 x 768
Auto Focus frame
No memory card loaded warning
Image information
Movie Recording: recording time
........... seconds
Panorama: number of images
........... P1 to P9
Continuous Mode: mode indicator
...........
Spot metering
indicator
Shutter speed
value
Aperture value
MONITOR SCREEN
REC Mode
Downloaded From camera-usermanual.com
E-29
Recording Mode Indicators
Auto Focus Frame
• Focusing complete:
Green
• Focusing failed:
Red
Flash Mode (
)
Screen when shutter is pressed half way
• Flash indicator indicates that the flash will fire (when auto
flash is selected).
IMPORTANT!
An out of range aperture or shutter speed causes the
corresponding monitor screen value to turn orange.
P mode (Normal)
Movie
Panorama
A mode (Aperture-
priority Auto Mode)
S mode (Shutter Speed
priority Auto Mode)
Landscape
Portrait
Night Scene
Recording Mode Screen
Pressing the MODE button while in the REC Mode displays
the Recording Menu. Use [ ] and [ ] to bring the icon of the
function you want to the bottom of the dial (making it the se-
lected function), and then press SET.
Aperture value
Shutter speed
value
Remaining
number of pages
Currently
selected function
Downloaded From camera-usermanual.com
E-30
PLAY Mode
Protect indicator
Battery capacity
Image number
Folder name
Date and time
(date and time of
recording)
Quality
FINE
NORMAL
ECONOMY
Image size
2048 x 1536
1024 x 768
Folder name – File number
Indicator display
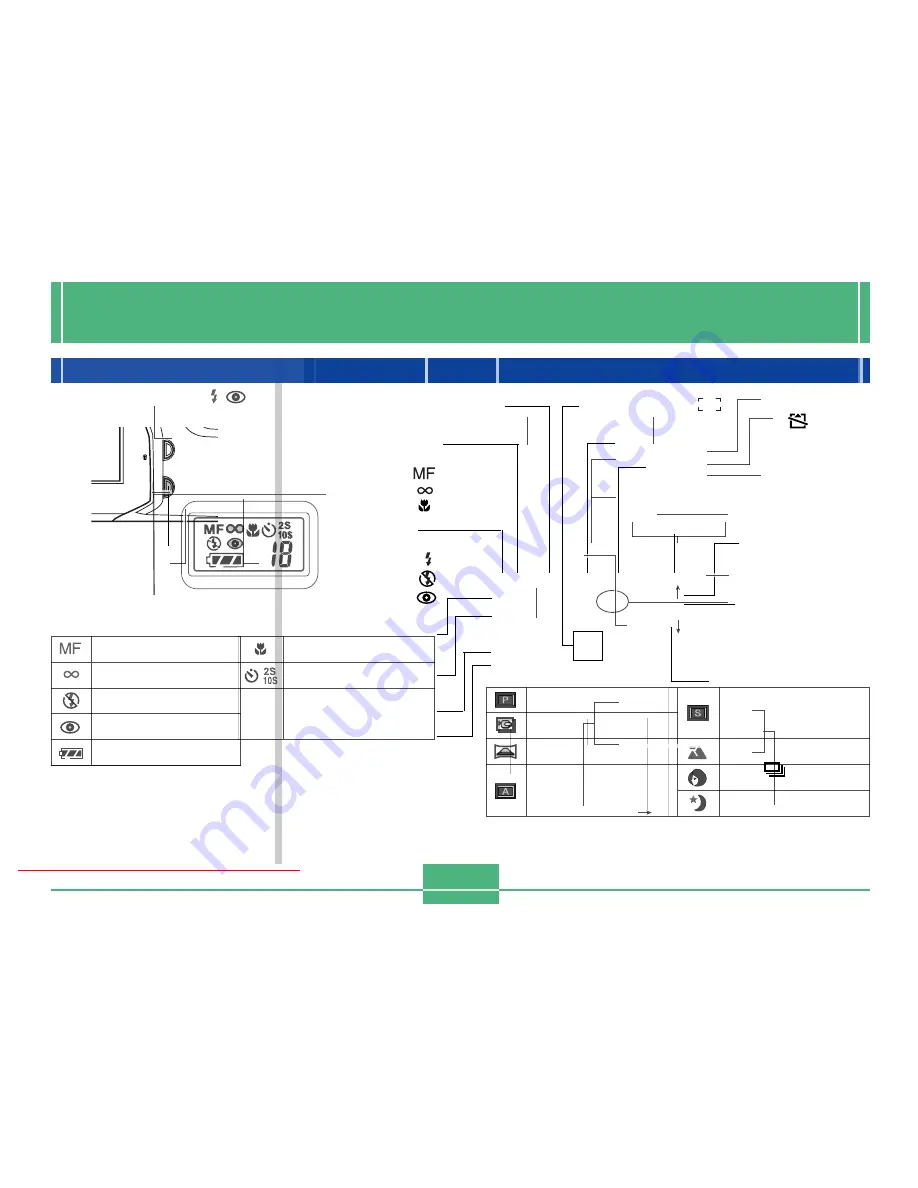
The indicator display located on the top of the camera also
shows various camera status indicators during image re-
cording. The indicator display comes in handy especially
when the monitor screen is turned off.
Manual mode indicator
Infinity indicator
Flash off indicator
Red eye reduction indicator
Battery capacity
Macro mode indicator
Self-timer time settings
number
Remaining number of
images/Image number
The above indicators appear only when indicator display is
turned on with the DISP button.
Changing the Display Language
Use the following procedure to switch the display language
between English and Japanese.
1.
Press MENU.
2.
Select “Set Up”
“Language”.
3.
Select the display language you want.
Downloaded From camera-usermanual.com
E-31
Menu Screens
Pressing MENU displays the menu screen. The contents of
the menu screen depend on whether you are in the PLAY
mode or REC mode.
There are two menu formats: basic and advanced. The basic
menu displays settings required for basic functions, while
the advanced menu includes settings for all functions. Press
DISP while a menu screen is on the display to toggle be-
tween the basic menu and advanced menu.
In this User’s Guide, the basic menu is always used for items
that appear on both the basic menu and advanced menu.
• See “Using the REC Menus” on page E-74 and “Using the
PLAY Menus” on page E-85 for more information about
menu contents.
Basic Menu
Advanced Menu
Category
Category
Functions
Sample Display: REC Mode
On-screen Guidance
DISP
Downloaded From camera-usermanual.com
E-32
Making menu settings
1.
While the camera is in the REC or PLAY mode,
press MENU.
2.
Press DISP to toggle between the basic menu
and the advanced menu.
3.
Use [
왘
],[
왗
],[
왔
] and [
왖
] to select the category
or function you want, and then press SET.
[
왘
] [
왗
] [
왔
] [
왖
] : Item selection
SET
: Executes a selection
MENU
: Returns to the previous screen or
cancels settings.
• Make settings in accordance with the guidance mes-
sages that appear on the monitor screen.
4.
After making the settings you want, select
“Exit” and then press SET.
Downloaded From camera-usermanual.com


