23
E
Part 3 - Creating a Tape Label
5.
Use
and
to select a format.
For details, see “Layout Formats” on page 61.
Here we will select Format 3.
6.
Press
SET
.
This will display the input screen for the first item.
7.
Enter the text you want and then press
SET
.
Here we will input text for three items.
•
While inputting text in the Layout Mode, you can also change the
DIRECTION
setting (page 29) and the
MIRROR
setting (page 29).
•
With some formats, you can press
EFFECT
to turn
BOX ON
or
OFF
.
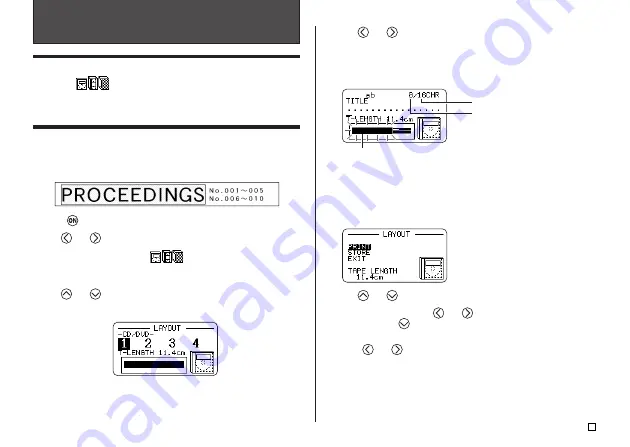
The following screen appears after input of all the label data is complete.
8.
Use
and
to select
, and then press
SET
.
9.
Use the number keys (or
and
) to specify the number of copies,
and then press
.
•
You can specify a value from 1 to 100 for the number of copies.
10.
Use
and
to select the tape cut mode (page 20), and then press
SET
.
•
This starts the print operation.
•
For information about saving tape label data, see page 45.
Creating and Printing a Label Using a Preset
Layout
Your printer comes with a large selection of preset label formats for easy label
printing for specific purposes.
Important!
•
You must have a tape cartridge that is 9mm wide or wider loaded in the
printer to perform this operation.
Example
1.
Press
to turn on the printer.
2.
Use
and
to select
NEW
, and then press
SET
.
3.
Use the cursor keys to select
, and then press
SET
.
•
This enters the Layout Mode.
•
You also could press
LAYOUT
in step 2 or 3 to enter the Layout Mode.
4.
Use
and
to select the type of label you want to print and then press
SET
.
Here we will select
CD/DVD
.
Flashing indicates the current input area.
Number of characters that
can be input
Number of currently input characters


