33
Quick Start Basics
.
Shooting with Premium Auto Pro
• Some menu items are not available while Premium Auto Pro is in use (page 55).
Only the menu items whose settings can be configured will be displayed on the
menus while Premium Auto Pro is in use.
• In addition to shutter speed and ISO sensitivity, the camera automatically executes
the following operation as required when shooting with Premium Auto Pro.
– Auto Focus is normally performed until you half-press the shutter button.
– The camera automatically determines the focus point on the screen and focuses
there.
– When shooting people, the face detection feature detects the faces of up to ten
individuals and adjusts focus and brightness accordingly.
• When shooting with Premium Auto Pro, the message “Processing Premium Auto.”
may appear on the monitor screen. If you feel the camera is taking too long to
process data, try shooting with standard Auto instead.
• In some cases, Premium Auto Pro may not be able to interpret the shooting
environment correctly. If this happens, shoot with standard Auto.
• If “
Š
” is displayed, the camera will shoot a series of CS images and merge them
into a final image. Take care to avoid any camera and subject movement until
shooting of all of the CS images is complete.
Use the following procedure to view snapshots on the camera’s monitor screen.
• For information about how to play back movies, see page 64.
1.
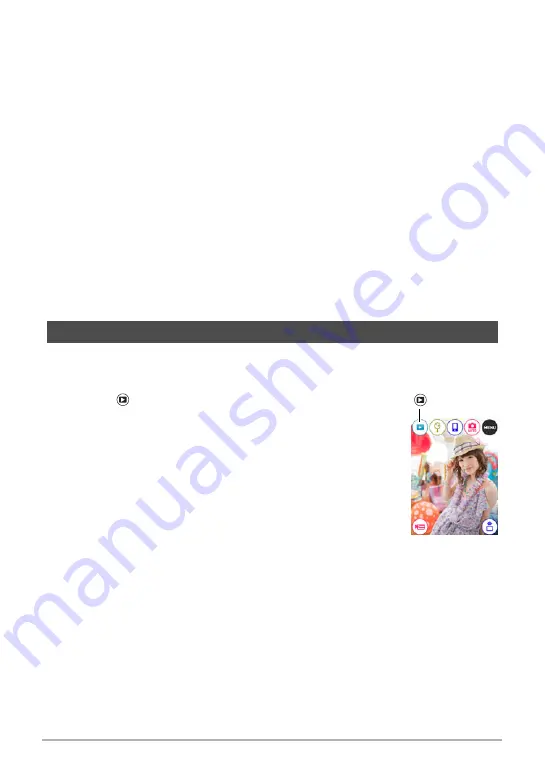
Touch “ ” (PLAY) to enter the PLAY mode.
This will display one of the snapshots currently stored in
memory.
• If “Premium Auto Pro” is selected as the recording
mode, touch the Review image (page 63) on the
monitor screen.
• Information about the displayed snapshot also is
included (page 10).
• You also can clear the information to view only the
snapshot (page 100).
• You can zoom the screen image by touching the
monitor screen (page 67).
If you are recording a snapshot that is very important to you, it is recommended
that you zoom the image and check its details after recording it.
Viewing Snapshots
“
” (PLAY)


