32
33
you have learned the possibilities that the
Insert
function offers you.
For example, you can show different camera
shots of a wedding ceremony without cutting off
the flow of the audio of the ceremony. You can
mask distorted segments, and you can achieve
picture-in-picture effects without affecting the
background audio. There are many possibilities
that you will certainly take advantage of in the
future.
4.3 Tutorial 3: Audio mixing
This exercise will acquaint you in detail with the
possibilities of audio mixing. This exercise assu-
mes that you are already familiar with exercises 1
and 2.
The goal of this exercise is the perfect audio
mixing of a video with corrections to the original
sound, and with the addition of commentary and
background music.
Step 1: Preparations
You have already successfully made the various
connections according to section 2.3.
Now you need some video. This you can easily
create after having worked through the previous
exercises. The video should be 2 to 4 minutes
long. All effects should be calculated. One of the
most important principles of audio mixing is that
the video itself should be completely finished. Any
changes to the video material can destroy all the
work you put into audio mixing!
After completion of video and audio mixing, it is
still possible to add scenes to the beginning and
end of the storyboard, or to delete scenes. Depen-
ding on what you do you are given an appropriate
warning and you can then decide if you want to
go ahead with the action.
Insert scenes can be added without danger after
audio mixing, because they don't make any chan-
ges in timing or audio.
Step 2: Recording
In the audio section go to the
Record, Edit
screen.
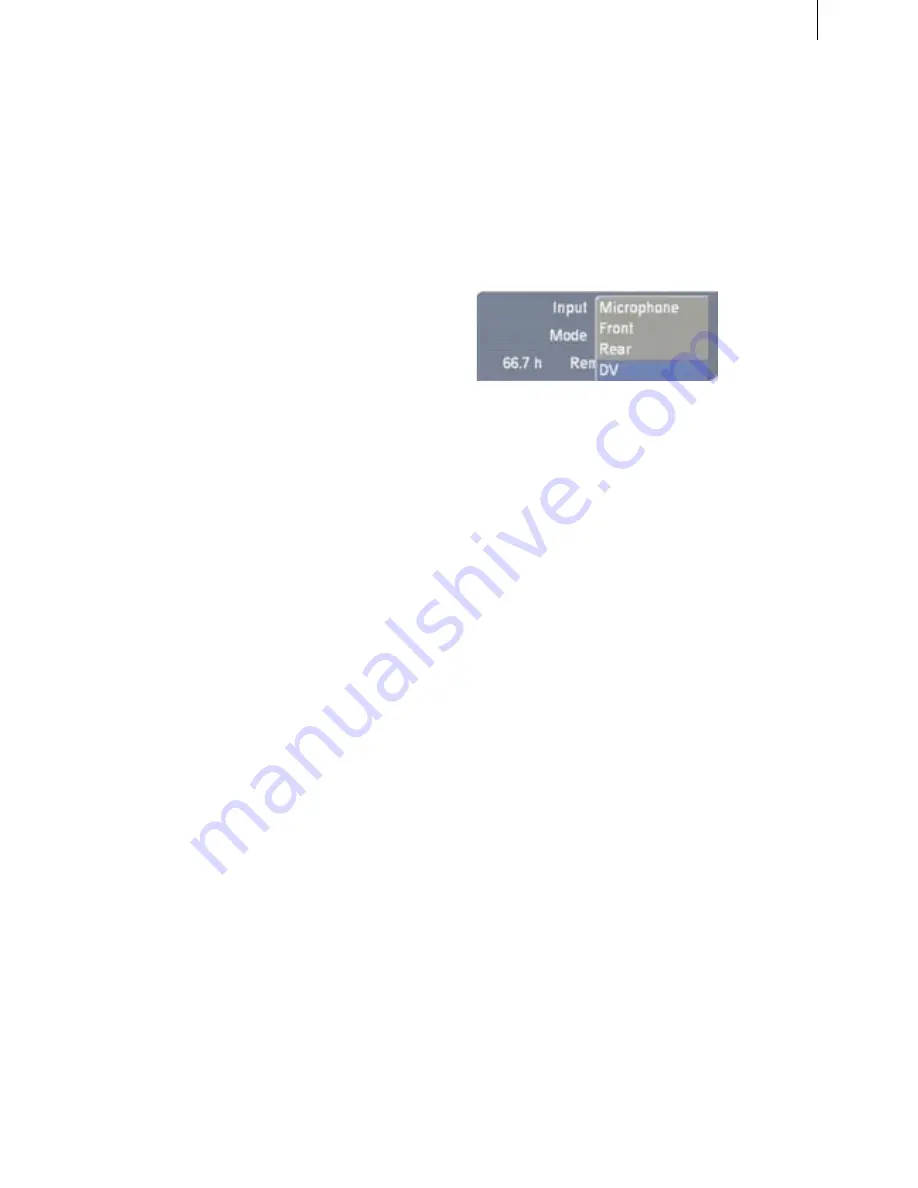
At the above-right you can specify the input for
your audio source. You have the choice of
Micro-
phone
,
Front
,
Rear
, and
DV
.
If you connect a mono microphone keep in mind
to select the option
Mono
under
Mode
so that
you can still hear the sound in stereo.
You need some music to add to the video mentio-
ned in
step 1
(e.g. from a CD or from a music TV
channel), and you need several commentaries.
Important note:
Don‘t record at maximum vo-
lume level (don‘t let the dB level indicator turn
red)! During audio mixing the volumes of the six
tracks are added together. When six maximum
signals are added overdriving may result. You can
compensate for this later by using volume reduc-
tion, but it is easier to take account of this during
initial recording.
Now record the audio segments and the com-
mentaries. Give the segments names, as you have
already done in earlier exercises.
You will want to trim the music recording at the
beginning and the end because the starting times
of the music source (e.g. from radio) and of recor-
ding on
Casablanca Prestige
will almost certainly
not be exactly the same. Do this as described in
the first tutorial.
Step 3: Placement and mixing
Afterward call up the menu "
Audio mixing
". Here
you will arrange and digitally mix the recorded
audio segments.
Select the first scene in the storyboard so that it
appears in the center. Then select the third audio
track, (which is the first music track), by clicking
Summary of Contents for Prestige
Page 1: ...Casablanca Prestige User manual ...
Page 20: ...20 ...
Page 40: ...40 ...
Page 88: ......


