14
l
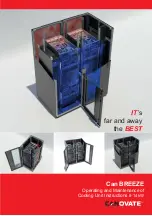
Can BREE
ZE
Operating and Maintenance Cooling Unit Instructions 8-14 kW
www.canovate.com
l
l
P. +90 216 484 2222
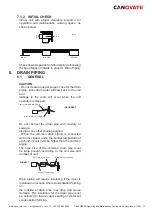
Drain trap should be installed next to indoor unit. This
trap must be designed to good practice and be
checked with water (charged) and tested for correct
fl
ow. Do not tie or clamp the drain pipe and refrigerant
pipe together.
NOTE:
Install drainage in accordance with national and local
codes.
After performing drain piping work and electrical
wiring, check to ensure that water
fl
ows smoothly as
in the following procedure:
Checking Unit without Drain-up Mechanism
- Pour approximately 1.8 liters of water into the drain
pan.
- Check to ensure that the water
fl
ows smoothly or
whether no water leakage occurs. When water cannot
be found at the end of the drain piping, pour another
approximately 1.8 liters of water into the drain pan.
NOTE:
Pay attention to the thickness of the insulation when
the left side piping is performed. If it is too thick, piping
can not be installed in the unit.
8.2
DRAIN PIPE CONNECTION
The standard direction of drain piping connection
is right side as viewed from the discharge grilles.
However, it can be performed from the left side
connection is required due to the building construction.
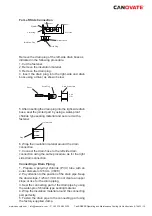
For Right Side Connection
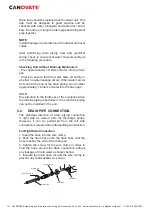
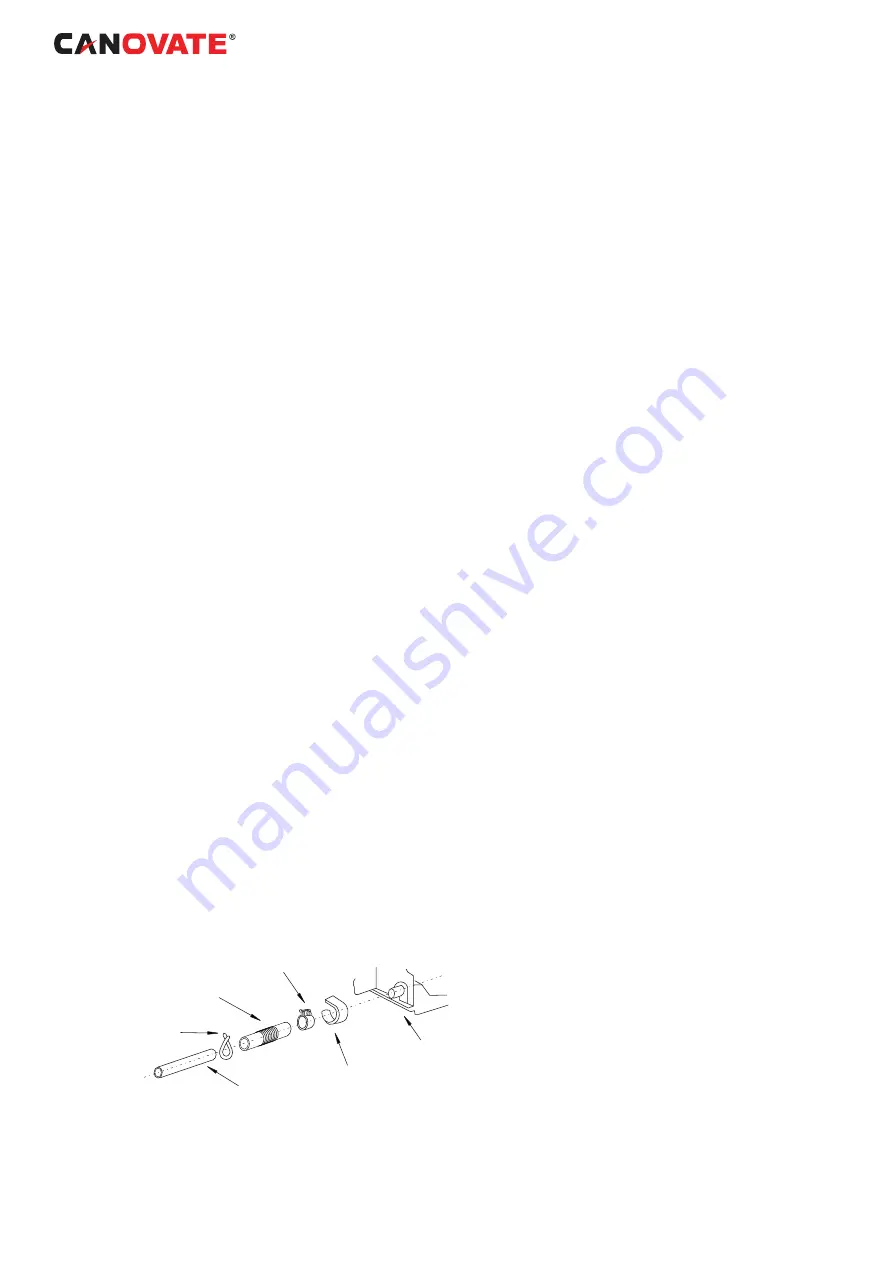
1. Insert the hose into the wire clamp.
2. Push the drain hose onto the drain boss until the
hose reaches the end of the drain pan.
3. Tighten the screw for the wire clamp in order to
hold the hose around the drain connection without
any leakage of drain water as shown bellow.
4. Insulate the drain hose around the wire clamp to
prevent any condensation as shown.
Wire Clamp A
Drain Hose
Drain Pipe
Insulation
Drain Boss
Wire Clamp b

