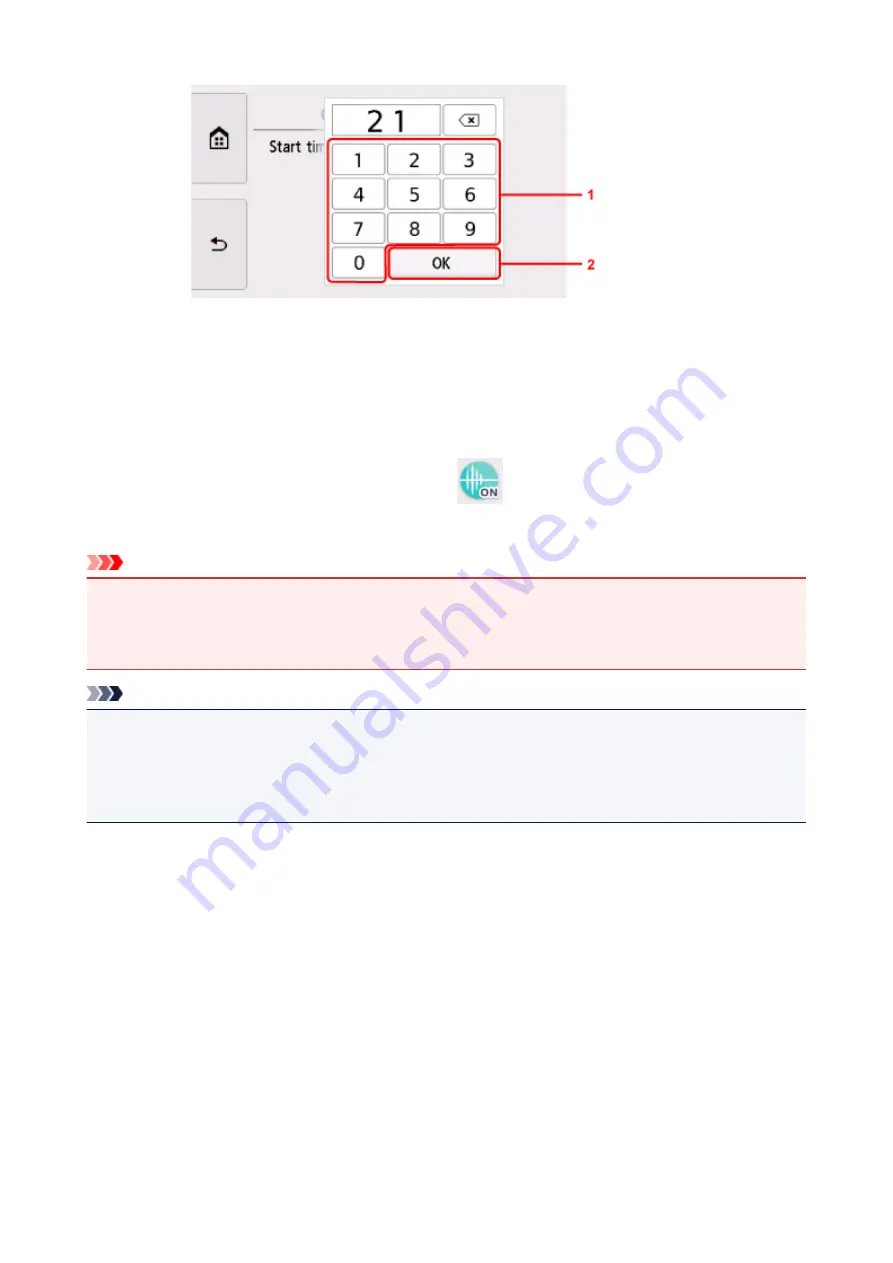
1. Select numbers to specify starting time.
You can specify the hour from 0 to 24.
2. Confirms starting time.
After specifying the starting time, specify the ending time following the same procedure.
B. Confirms the time to start and to end.
The confirmation screen is displayed and the
icon appears as the
Quiet setting
menu icon.
You can reduce the operating noise during the specified time.
Important
• Operating speed is reduced compared to when
Do not use quiet mode
is selected.
• This function may not be so effective depending on the printer's setting. Furthermore, certain noise,
such as when the printer is preparing for printing, is not reduced.
Note
• You can set the quiet mode from the operation panel of the printer or the printer driver. No matter how
you set the quiet mode, the mode is applied when you perform operations from the operation panel of
the printer or printing and scanning from the computer.
• For Windows, you can set the quiet mode from ScanGear (scanner driver).
208
Summary of Contents for TR8500 Series
Page 11: ...5B00 596 6000 597 C000 598 ...
Page 46: ...Note Many other convenient faxing features are available Faxing 46 ...
Page 49: ... Notices when printing using web service Notice for Web Service Printing 49 ...
Page 97: ...Replacing Ink Tanks Replacing Ink Tanks Checking Ink Status on the Touch Screen Ink Tips 97 ...
Page 127: ...Safety Safety Precautions Regulatory Information WEEE EU EEA 127 ...
Page 150: ...Main Components Front View Rear View Inside View Operation Panel 150 ...
Page 173: ...The Page Setup tab is displayed again 173 ...
Page 183: ...For more on setting items on the operation panel Setting Items on Operation Panel 183 ...
Page 199: ...Language selection Changes the language for the messages and menus on the touch screen 199 ...
Page 239: ...Note Selecting Scaled changes the printable area of the document 239 ...
Page 257: ...In such cases take the appropriate action as described 257 ...
Page 331: ...Note To set the applications to integrate with see Settings Dialog Box 331 ...
Page 341: ...ScanGear Scanner Driver Screens Basic Mode Tab Advanced Mode Tab 341 ...
Page 361: ...361 ...
Page 379: ...8 Specify number of time and select OK 9 Select OK The Function list screen is displayed 379 ...
Page 434: ...4 When a confirmation message is displayed click Yes 434 ...
Page 442: ...Receiving Faxes Receiving Faxes Changing Paper Settings Memory Reception 442 ...
Page 452: ...Other Useful Fax Functions Document Stored in Printer s Memory 452 ...
Page 500: ...Other Network Problems Checking Network Information Restoring to Factory Defaults 500 ...
Page 523: ...Scanning Problems Windows Scanning Problems 523 ...
Page 524: ...Scanning Problems Scanner Does Not Work ScanGear Scanner Driver Does Not Start 524 ...
Page 527: ...Faxing Problems Problems Sending Faxes Problems Receiving Faxes Telephone Problems 527 ...
Page 528: ...Problems Sending Faxes Cannot Send a Fax Errors Often Occur When You Send a Fax 528 ...
Page 538: ...Telephone Problems Cannot Dial Telephone Disconnects During a Call 538 ...
Page 550: ...Errors and Messages An Error Occurs Message Support Code Appears 550 ...


