2.
Load paper.
Loading Paper
3.
Press the
FAX
button.
The Fax standby screen is displayed.
4.
Press the
Menu
button.
The
FAX menu
screen is displayed.
5.
Use the
button to select
Memory reference
, then press the
OK
button.
Note
If no document is stored in the machine's memory,
No documents in memory
is displayed on
the LCD.
6.
Use the
button to select
Print specified doc.
, then press the
OK
button.
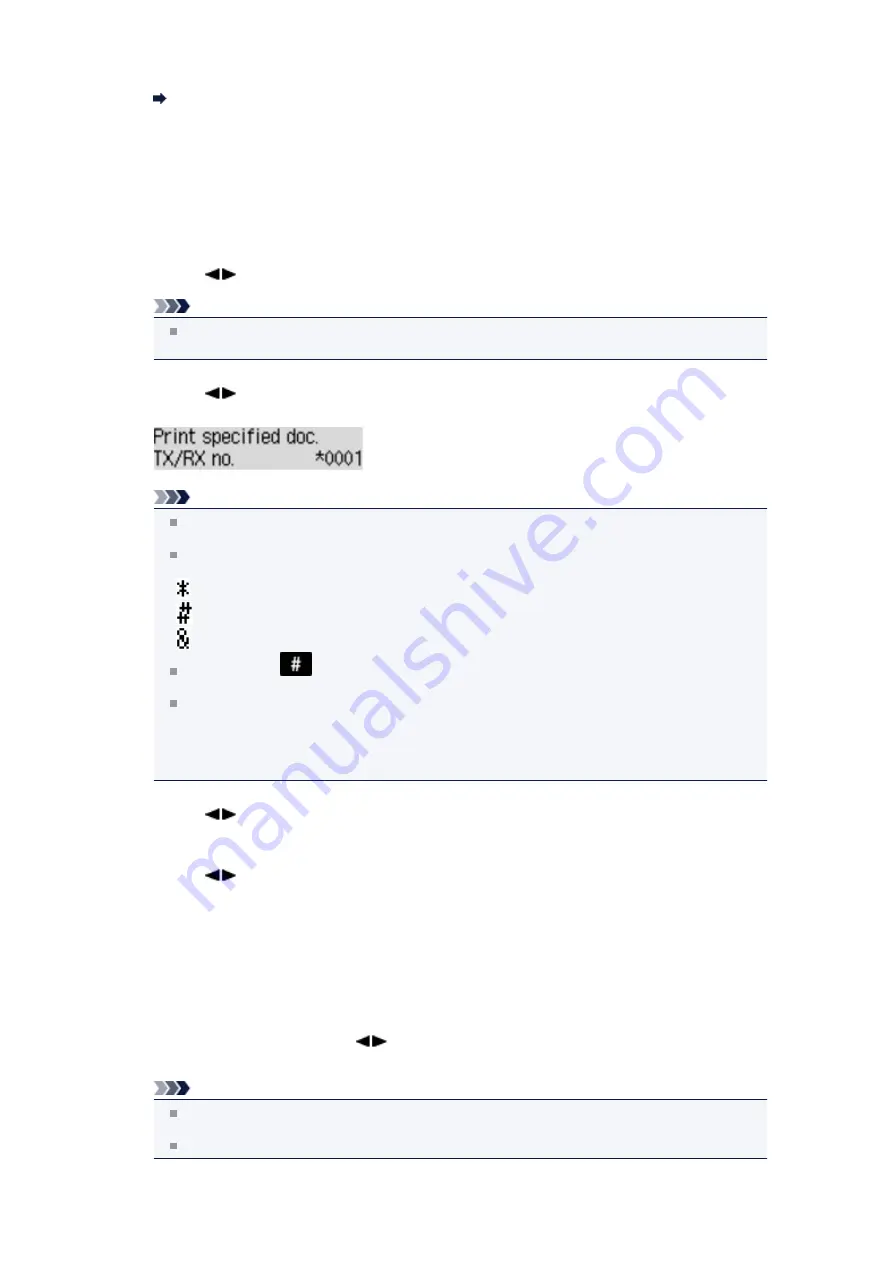
The document selection screen is displayed.
Note
A transaction number from "0001" to "4999" indicates a document being sent. A transaction
number from "5001" to "9999" indicates a document being received.
Each mark before the transaction number indicates the following:
No mark: Indicates a black and white document.
: Indicates a color document.
: Indicates the document during transmission.
: Indicates the document sent with sequential broadcasting.
By pressing the
button or the
Tone
button, the transaction number displayed on the LCD is
switched to transaction time or fax/telephone number.
When
Change the paper
A4/LTR/LGL Plain paper
is displayed on the LCD, the paper settings
are incorrect.
In
FAX paper settings
, set
Page size
to
A4
,
Letter
,
LTR
, or
Legal
. Set
Media type
to
Plain
paper
.
* Some of page sizes are not available depending on the country or region of purchase.
7.
Use the
button to select the transaction number (TX/RX no.) of the document you want to print,
then press the
OK
button.
8.
Use the
button to select whether to print only the first page of the document, then press the
OK
button.
•
If you select
Yes
:
Only the first page of the document will be printed.
The document is still stored in the machine's memory.
•
If you select
No
:
All pages of the document will be printed.
The screen to confirm whether to delete the printed document in the machine's memory is
displayed.
If you select
Yes
using the
button and press the
OK
button, the printed document in the
machine's memory is deleted.
Note
If there is not the specified document in the machine's memory,
No document
is displayed, and
the machine returns to the previous screen.
To return to the Fax standby screen, press the
Stop
button.
Summary of Contents for MX450 series
Page 1: ...MX450 series Online Manual Faxing English ...
Page 113: ...MX450 series Online Manual Printing Copying English ...
Page 115: ...Printing from a Computer Printing with Application Software that You are Using Printer Driver ...
Page 166: ...Adjusting Color Balance Adjusting Brightness Adjusting Intensity Adjusting Contrast ...
Page 214: ...Handling Precautions Shipping the Bluetooth Unit ...
Page 237: ...Bluetooth Settings Setting Bluetooth Printing Bluetooth settings Screen ...
Page 271: ...Information about Network Connection Useful Information about Network Connection 13 ...
Page 282: ...Main Components Front View Rear View Inside View Operation Panel 24 ...
Page 298: ...Loading Paper Originals Loading Paper Loading Originals Inserting the USB Flash Drive 40 ...
Page 311: ...Printing Area Printing Area Other Sizes than Letter Legal Envelopes Letter Legal Envelopes 53 ...
Page 320: ...62 ...
Page 324: ...Inserting the USB Flash Drive Inserting the USB Flash Drive Removing the USB Flash Drive 66 ...
Page 327: ...Replacing a FINE Cartridge Replacing a FINE Cartridge Checking the Ink Status 69 ...
Page 389: ...Information about Network Connection Useful Information about Network Connection 131 ...
Page 470: ...MX450 series Online Manual Scanning English ...
Page 495: ...Scanned images are saved according to the settings ...
Page 529: ...You can restore the settings in the displayed screen to the default settings ...
Page 548: ......
Page 553: ...Related Topic Basic Mode Tab ...
Page 601: ...Reset all adjustments saturation color balance brightness contrast histogram and tone curve ...
Page 608: ... Output by page Outputs the scanned documents in the correct page order ...
Page 612: ......
Page 637: ......
Page 654: ...MX450 series Online Manual Troubleshooting English ...
Page 658: ...Problems with Printing Quality Print Results Not Satisfactory Ink Is Not Ejected ...
Page 659: ...Problems with Scanning Problems with Scanning Scan Results Not Satisfactory Software Problems ...
Page 707: ...Problems with Printing Quality Print Results Not Satisfactory Ink Is Not Ejected ...
Page 727: ...Problems with Scanning Problems with Scanning Scan Results Not Satisfactory Software Problems ...
Page 764: ...Problems with Bluetooth Communication Printer Cannot be Registered Printing Does Not Start ...
Page 801: ...1202 Cause The paper output cover is open Action Close the paper output cover ...
Page 803: ...1401 Cause The FINE cartridge is not installed Action Install the FINE cartridge ...
Page 834: ...5B02 Cause Printer error has occurred Action Contact the service center ...
Page 835: ...5B03 Cause Printer error has occurred Action Contact the service center ...
Page 836: ...5B04 Cause Printer error has occurred Action Contact the service center ...
Page 837: ...5B05 Cause Printer error has occurred Action Contact the service center ...
Page 838: ...5B12 Cause Printer error has occurred Action Contact the service center ...
Page 839: ...5B13 Cause Printer error has occurred Action Contact the service center ...
Page 840: ...5B14 Cause Printer error has occurred Action Contact the service center ...
Page 841: ...5B15 Cause Printer error has occurred Action Contact the service center ...


