


Overview of the iR2030/iR2025/iR2022i/iR2018i
2-5
2
B
a
s
ic
O
per
at
ion
s
Overview of the iR2030/iR2025/iR2022i/iR2018i
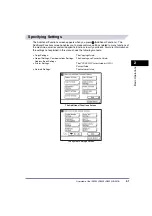
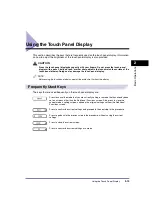
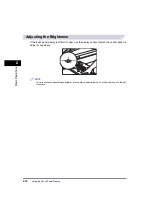
Most operations on this machine are executed from the touch panel display. By pressing the
keys according to the instructions on the touch panel display, you can utilize of the functions of
this machine efficiently.
CAUTION
Press the touch panel display keys gently with your fingers. Do not press the touch panel
display with a pencil, ballpoint pen, or other sharp objects that can scratch the surface of the
touch panel display. Doing so may damage the touch panel display.
NOTE
Before using the touch panel display, peel off the protective film from the display.
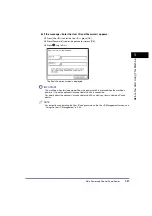
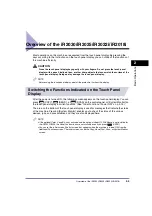
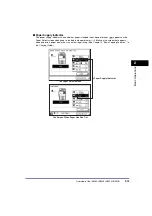
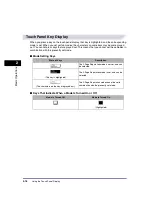
Switching the Functions Indicated on the Touch Panel
Display
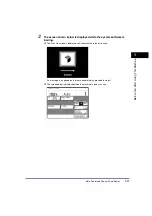
After the power is turned ON, the following screen appears on the touch panel display. You can
press
(COPY),
(SEND) , or
(SCAN) on the control panel, or [System Monitor] on
the touch panel display to switch functions. (See “Initial Function at Power ON,” on p. 4-15.)
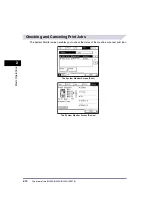
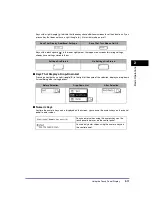
The area on the bottom of the touch panel display is used for messages that indicate the status
of the machine. Pressing [System Monitor] enables you to check the status of the various
devices, jobs, and consumables, and they are also displayed here.
NOTE
•
If the optional Color Send Kit is not activated and the optional Super G3 FAX Board is not installed for
the iR2030/iR2025, the Send/Fax functions are not available even if you press
(SEND).
•
You can set the initial screen (the first screen that appears when the machine is turned ON) from the
Additional Functions screen. The initial screen can be the Copy, Send (Fax), Scan, or System Monitor
screen.
Summary of Contents for iR2018i
Page 2: ...iR2030 iR2025 iR2022i iR2018i Reference Guide 0 Ot ...
Page 115: ...Available Paper Stock 2 58 2 Basic Operations ...
Page 144: ...Card Reader E1 3 29 3 Optional Equipment 11 Press OK ...
Page 151: ...Card Reader E1 3 36 3 Optional Equipment 4 Press Done 5 Press OK ...
Page 154: ...Card Reader E1 3 39 3 Optional Equipment 5 Press Done 6 Press OK ...
Page 241: ...Cleaning and Adjusting the Machine 4 86 4 Customizing Settings ...
Page 443: ...Index 9 16 9 Appendix ...