Fa
x
5-22
Specifying Destinations
1
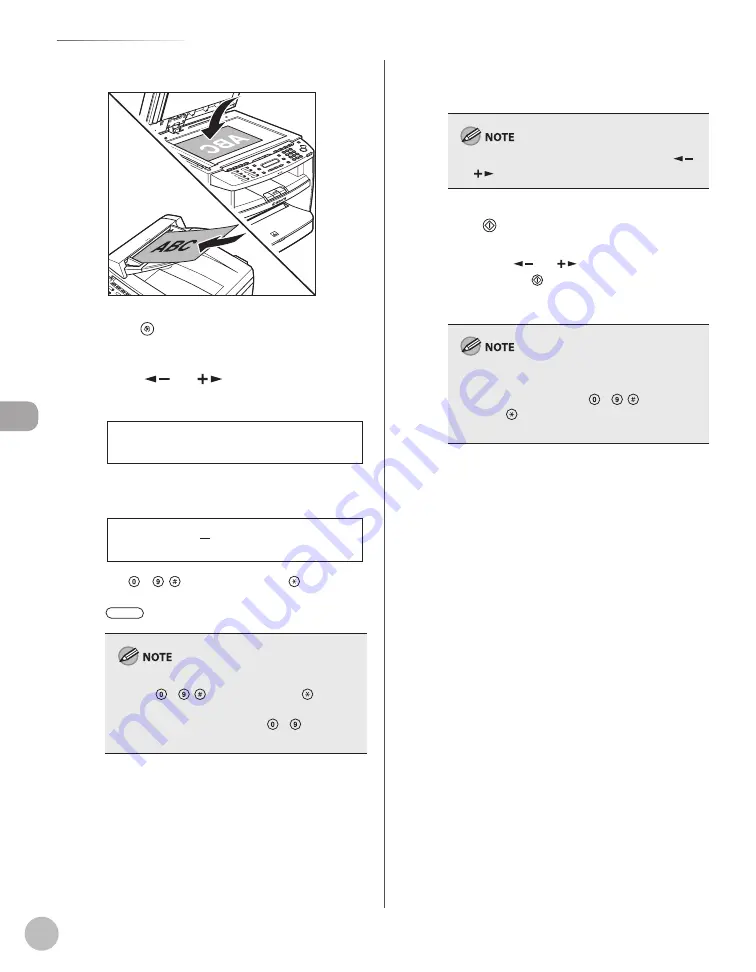
Place documents.
2
Press [Menu].
3
Press [
] or [
] to select
<BROADCAST>, then press [OK].
3 B R O A D C A S T
M E N U
4
Specify the destination.
N O . 0 0 1 =
Use
– , [numeric keys] and [Tone],
one-touch keys, coded dial codes, or
[Address Book] to specify destinations.
You can enter up to 16 different fax numbers
using – , [numeric keys] and [Tone].
Make sure to press [OK] after entering the
recipient’s number if you use – [numeric
keys].
–
–
5
Repeat step 4 to enter all required
recipients.
To check all the specified destinations, press [
]
or [
] to scroll the display.
6
Press [Start].
When you place the documents on the platen
glass, press [
] or [
] to select the document
size, then press [Start] for each document.
When scanning is complete, press [OK] to start
sending.
If <CONFIRM FAX NO.> in <ACCESS TO DEST.> in
<SYSTEM SETTINGS> is set to <ON> and you
specify a fax number using – , [numeric
keys] and [Tone], you need to enter the fax
number again for comfirmation, then press [OK].
Summary of Contents for imageCLASS MF4370dn
Page 32: ...Before Using the Machine 1 5 Machine Components MF4370dn ...
Page 61: ...Documents and Print Media 2 16 ...
Page 76: ...Copying 4 3 Overview of Copy Functions p 4 10 p 4 18 p 4 15 ...
Page 99: ...Copying 4 26 ...
Page 102: ...Fax 5 3 Overview of Fax Functions p 5 18 p 5 41 p 5 36 ...
Page 148: ...Printing 6 3 Overview of the Print Functions p 6 9 ...
Page 157: ...Printing 6 12 ...
Page 163: ...Scanning 7 6 ...
Page 203: ...10 30 Maintenance ...
Page 243: ...12 18 Machine Settings ...


