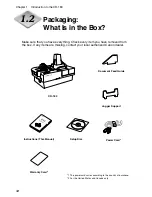

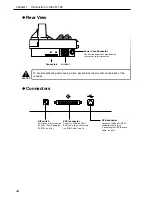


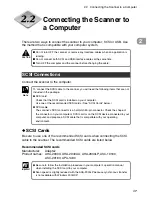
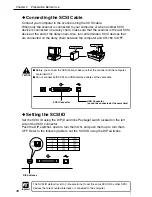


Chapter 2
Preparation Before Use
22
Recognizing the Scanner
If you are using Windows 95/98/Me or Windows 2000/XP, the first time that you
turn ON your computer after connecting the scanner, Windows Plug and Play
automatically displays a screen prompting you to install the scanner driver. Follow
the instructions on the screen to proceed with the installation. (The name of the
installation dialog box varies depending on which Windows operating system you
are using.)
●
If you are using Windows 95, the “Update Device Driver Wizard” dialog
box appears.
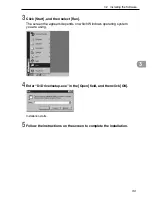
1. Click [Next].
2. Click [Other locations].
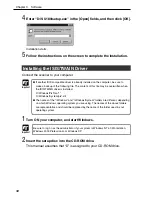
3. Insert the setup disc into the computer’s CD-ROM drive.
4. Type “D:\INF\Win95” (assuming that “D” is assigned to your CD-ROM drive),
and then click [OK].
5. Click [Finish].
●
If you are using Windows 98SE, the “Add New Hardware Wizard” dialog
box appears.
1. Click [Next].
2. Select [Search for the best driver for your device. (Recommended)], and
then click [Next].
3. Insert the setup disc into the computer’s CD-ROM drive.
4. Select [Specify a location], type “D:\INF” (assuming that “D” is assigned to
your CD-ROM drive), and then click [Next].
5. Click [Next].
6. Click [Finish].
●
If you are using Windows Me, the “Add New Hardware Wizard” dialog box
appears.
1. Select [Specify the location of the driver (Advanced)], and then click [Next].
2. Insert the setup disc into the computer’s CD-ROM drive.
3. Select [Search for the best driver for your device. (Recommended)], and
then select [Specify a location]. Type “D:\INF” (assuming that “D” is assigned
to your CD-ROM drive), and then click [Next].
4. Click [Next].
5. Click [Finish].


