65
Step
8
11
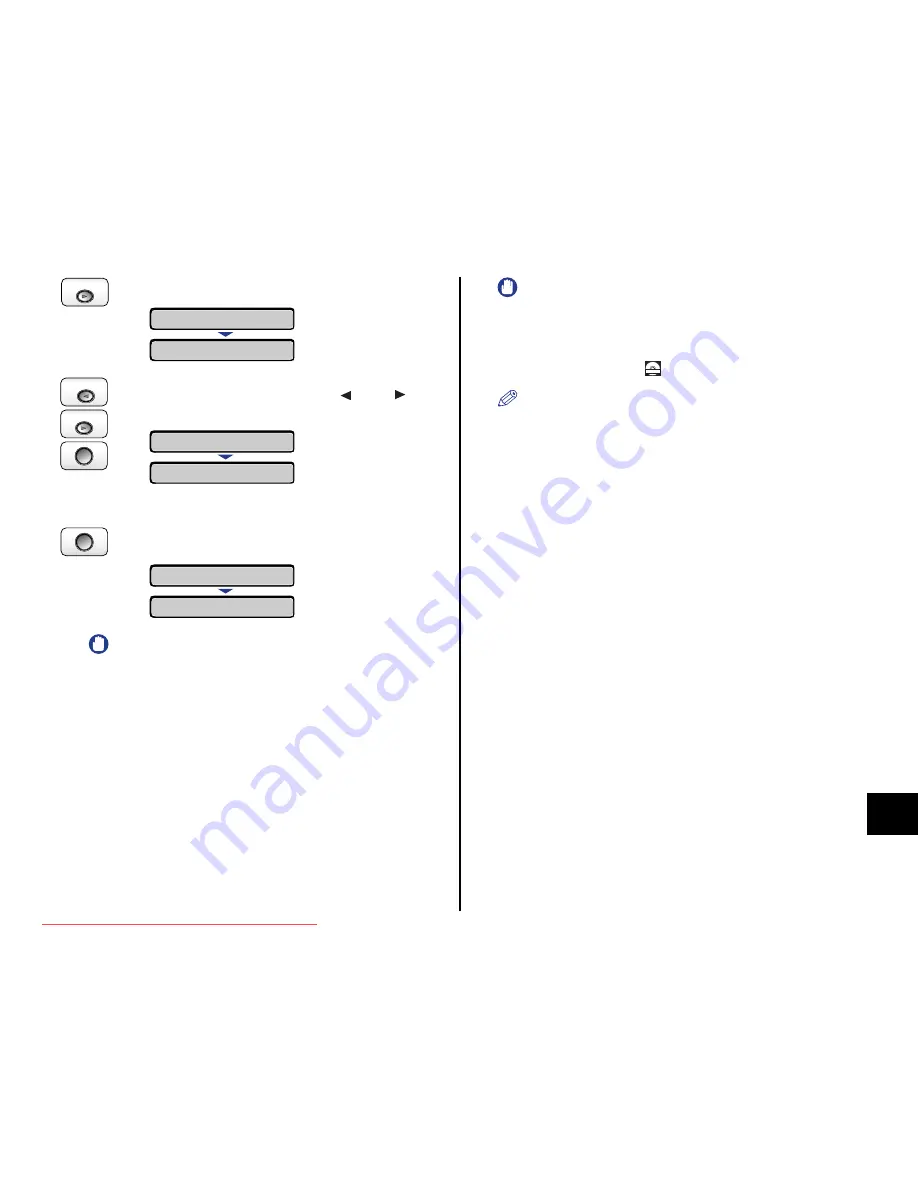
Press [Settings].
12
Select INITIALIZE MENU using [
] and [
], then
press [OK].
A confirmation message is displayed.
13
Press [OK].
IMPORTANT
If the message <INITIALIZE FAIL> appears when the initialization of the
SETUP menu is executed, the SETUP menu is not initialized.
14
After completing the initialization, perform a hard reset or
cycle the power of the printer.
After starting the printer, the hard disk is formatted.
While the hard disk is being formatted, <FORMATTING> is displayed in the display.
Wait for a moment until the format is completed.
After the format of the hard disk is completed, connect all the interface cables.
IMPORTANT
The hard disk is formatted automatically after you install the hard disk,
initialize the SETUP menu, and start the printer. If the format is not
performed at this point, perform QUICK FORMAT in HDD MAINTENANCE
in the SETUP menu. For more details, see "Chapter 5 Printing
Environment Settings" in
User's Guide.
NOTE
After installing the hard disk, you have to specify the settings for the
optional accessories in the [Device Settings] sheet in the printer driver. You
can obtain the status of the optional accessories automatically by clicking
[Get Device Status] in the [Device Settings] sheet.
If you cannot obtain the status of the optional accessories automatically,
select the [Hard Disk Installed] check box.
Settings
SETUP
CONTROL MENU
→
OK
Settings
Utility
OK?
INITIALIZE MENU
→
OK
DONE
INITIALIZING
CD-ROM
Downloaded from ManualsPrinter.com Manuals


