62
Step
8
9
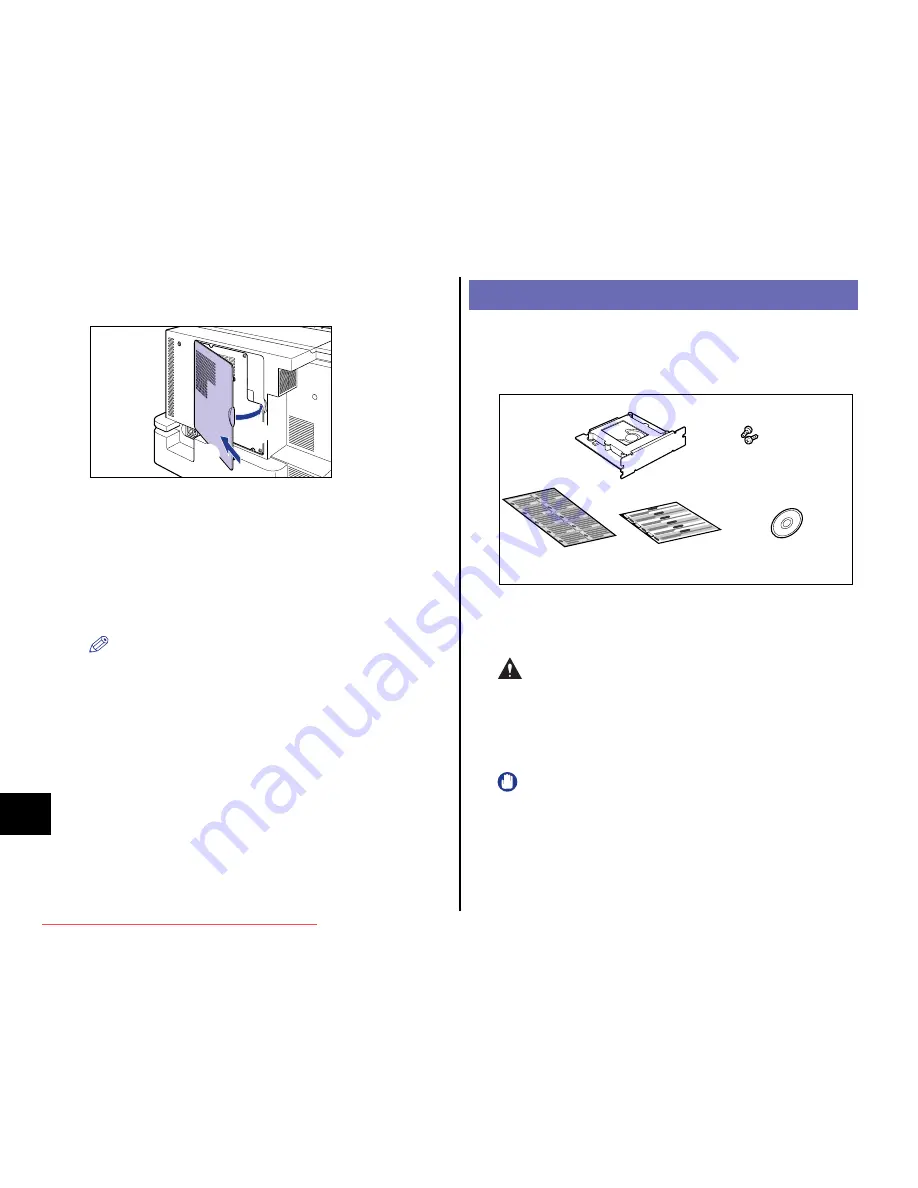
Attach the rear cover
a
, then slide it
b
as shown in the
figures.
10
Connect the interface cables except for the USB cable, and
connect the power cord.
11
Plug the power plug into the AC power outlet.
12
Connect the USB cable.
NOTE
After installing the RAM, you have to specify the settings for the optional
accessories in the [Device Settings] sheet in the printer driver. You can
obtain the status of the optional accessories automatically by clicking [Get
Device Status] in the [Device Settings] sheet.
If you cannot obtain the status of the optional accessories of the printer
automatically, select the installed optional accessories from [Installed
Memory].
Installing a Hard Disk
A hard disk is to be installed in the hard disk slot of the printer unit. Make sure
that all the following items are contained in the package before installing a
hard disk. If any item is missing or damaged, please contact your local
authorized Canon dealer.
A Phillips screwdriver is required for installing a hard disk. Have a screwdriver
ready in advance that matches the size of the screws.
Observe the following guidelines when installing the hard disk.
CAUTION
•
Be sure to turn the printer OFF, and then disconnect all the interface
cables and power cord from the printer before installing the hard
disk. Failure to observe these steps may result in an electrical shock.
•
Be careful when handling a hard disk. Touching the edges or a sharp
portion of a hard disk may result in personal injury.
IMPORTANT
•
The hard disk contains components that are sensitive to static electricity.
Observe the following precautions when handling them to prevent damage
from static electricity.
- Touch a metal object to dissipate static electricity before handling them.
- When handling them, do not touch anything that generates static
electricity such as the computer display.
a
b
Hard Disk
Guide sheet
Shut Down label
Screws
(2 pieces)
Encrypted Secured Print Driver
Add-in For Client PC
Downloaded from ManualsPrinter.com Manuals


