


Setting Preferences and Scanning with ScanGear MF
3-21
Scan
ning
3
3
To see a preview image (provisional scan), click [Preview].
A preview of the document will be scanned and appear in the preview window.
4
Select the destination of the scanned image.
You can select from [Print (300 dpi)], [Image Display (150 dpi)], or [OCR (300 dpi)],
depending on the document type you select in step 2.
For details on this setting, see "Determining Resolution," on p. 3-42.
5
Select the output size of the scanned image depending on the
destination you selected in step 4.
If you select [Add/Delete], you can add or delete the custom output size. For details
on setting, see "Add/Delete the Output Size," below.
Click
to switch the orientation of the output size (landscape or portrait).
6
Click [Scan].
Scanning starts.
NOTE
If white lines appear on one edge of the scanned image, check that the document is
correctly placed on the platen glass. A document should be placed approximately 0.12
inches from the front edge (i.e., the edge closest to the operation panel) of the platen
glass.
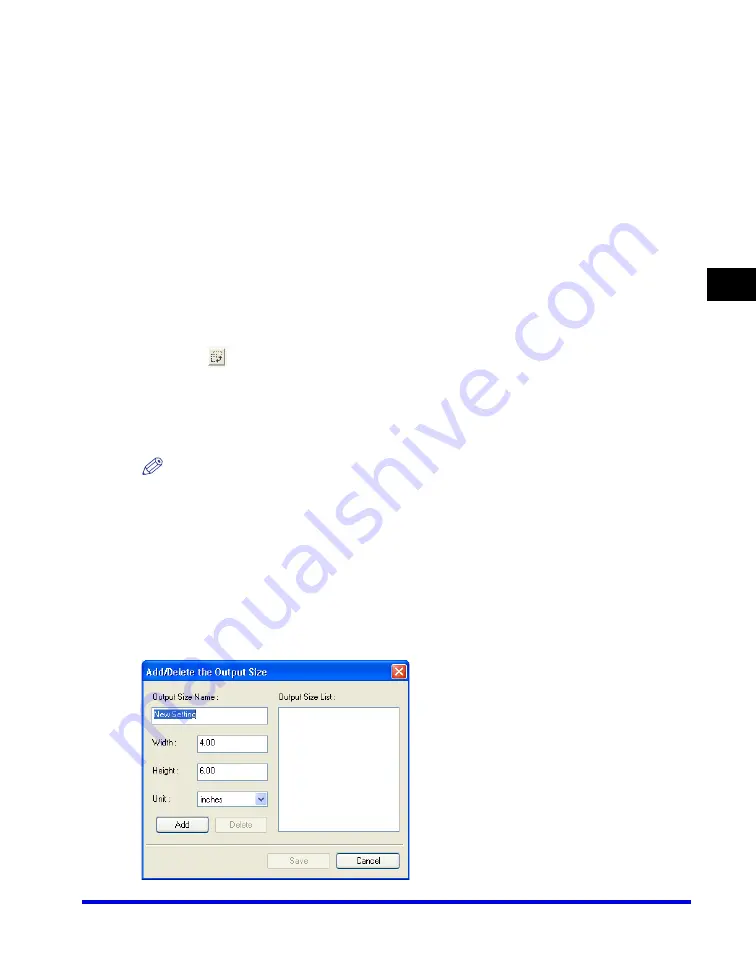
Add/Delete the Output Size
Selecting [Add/Delete
…
] for the [Output Size] in the [Simple Mode] tab sheet opens
the [Add/Delete the Output Size] dialog box. In this dialog box, you can add or
delete the custom output size.
Summary of Contents for Color imageCLASS 8180c
Page 2: ...Color imageCLASS MF8180c Software Guide ...
Page 5: ...iii ...
Page 12: ...x ...
Page 33: ...Installing Software on Your Computer 1 21 Installation 1 15 Click Restart ...


