Chapter 7
Maintaining the Printer
113
7.
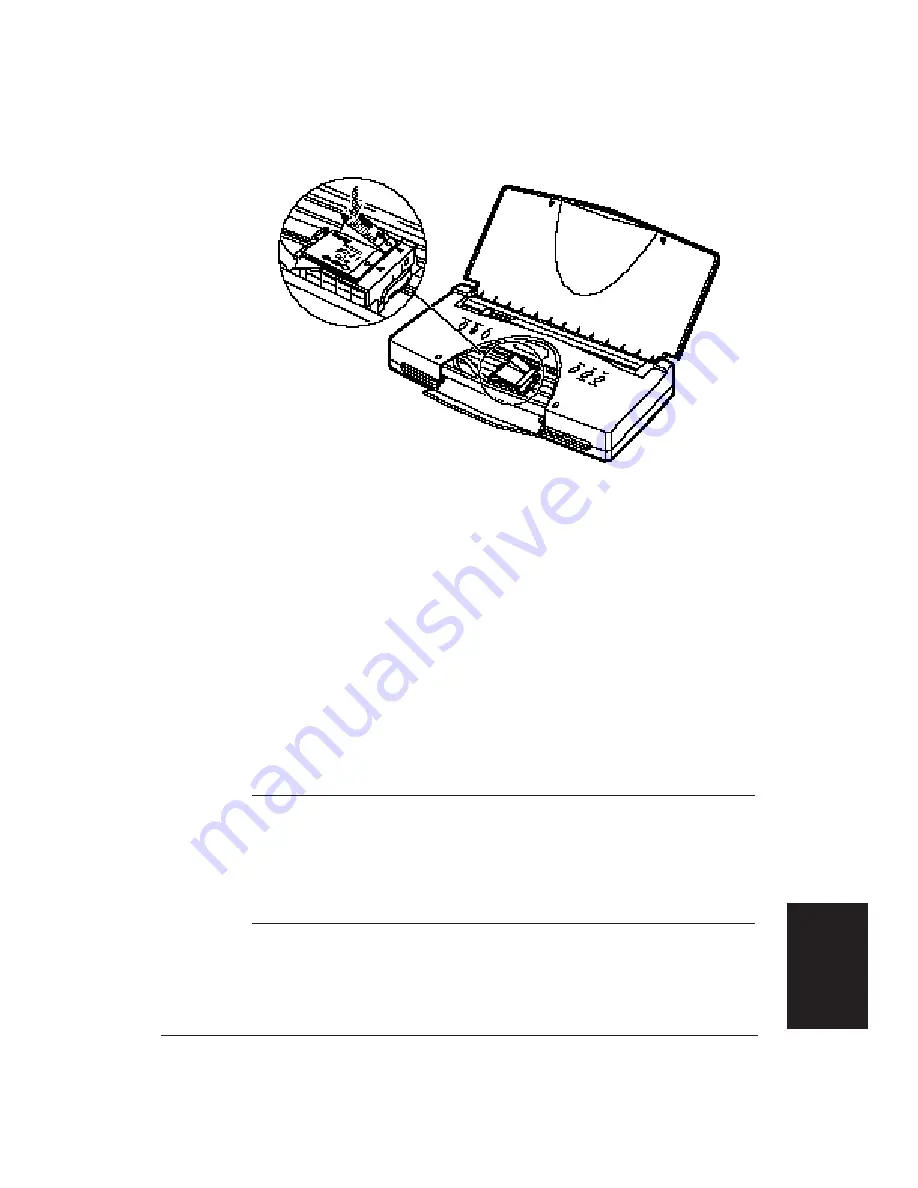
Press down on the left side of the ink tank until it snaps into place.
8.
Make sure the ink tank is correctly seated in its respective slot.
❏
If you are replacing both ink tanks on the BC-11 Color BJ cartridge,
repeat steps 4 through 7 for the other ink tank.
9.
Close the front cover.
10. If you have enabled the Low ink warning function (FUNCTION 1A),
you must reset the ink gauge. See page 95 for details.
11. Press the
CARTRIDGE
button
.
❏
The cartridge holder moves to the home position on the right.
❏
The
ON LINE
light stops blinking and turns off.
❏
Make sure the
Color
and/or
Bk
indicator turns on.
N
❏
If you are not satisfied with the print quality after replacing an ink
tank, clean the print head. See Cleaning the Print Head on page 101.
❏
If, after installing a new ink tank, the printer seems to be printing but
ink does not appear, stop the print operation. Make sure the ink tank is
seated properly. If necessary, clean the print head as described earlier
in this chapter.
Maintaining the
Printer
Summary of Contents for BJC-70
Page 5: ...vi ...
Page 94: ...84 Using the Color Advisor Chapter 5 ...
Page 156: ...146 Troubleshooting Chapter 8 ...
Page 168: ...158 Customizing the Printer Chapter 9 ...
Page 188: ...178 Specifications Appendix A ...
Page 200: ...190 Application Notes Appendix B ...
Page 212: ...202 Glossary ...


