Chapter 5: Installation
211
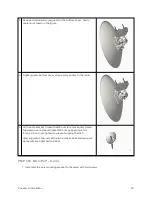
3
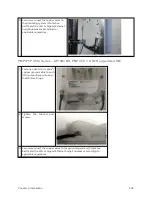
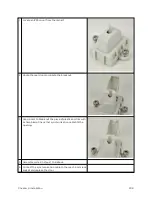
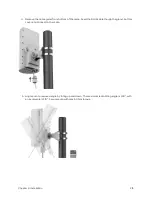
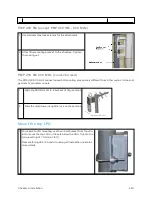
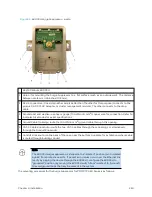
Keep part loose and screw gland to the bottom cover. Audio
cable is not shown in the figure.
4
Tighten gland, bottom cover screws and connect to the radio.
5
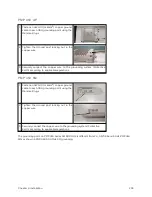
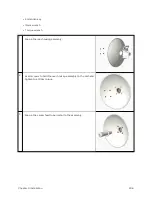
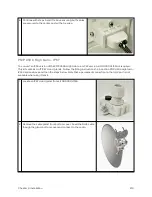
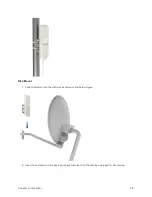
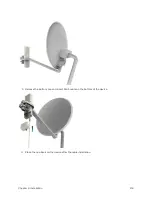
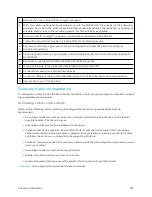
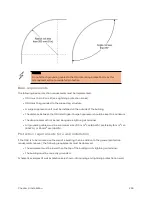
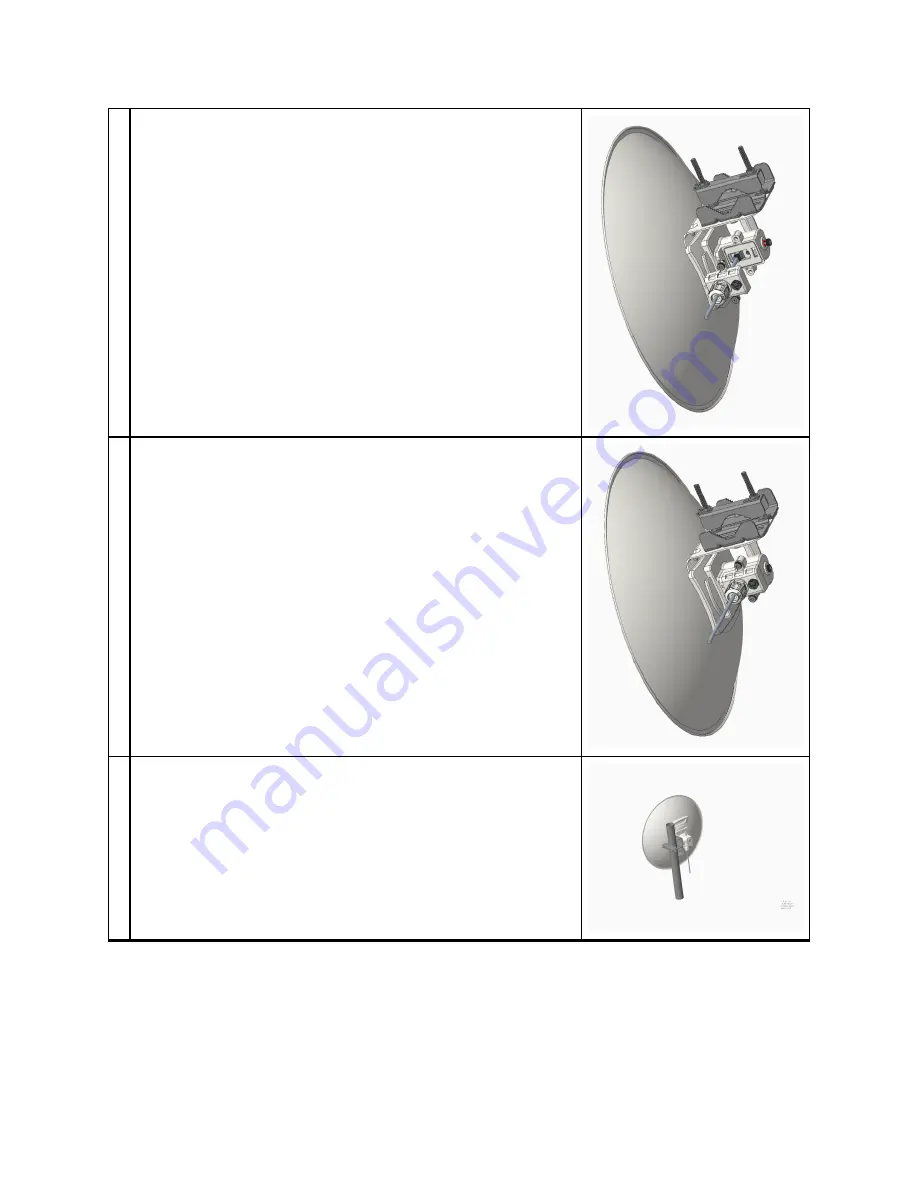
On the pole bracket, loosen the M8 nuts to remove outer clamp.
Slip clamp over pole and tighten M8 nuts by applying 8 Nm
torque. Do not over tighten to prevent aligning the dish.
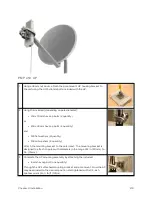
After alignment, ensure that the two bracket bolts and two pole
clamp nuts are tightened to 25 Nm.
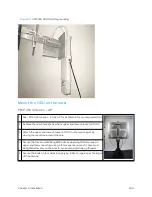
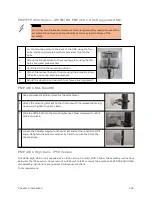
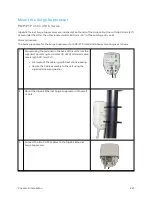
PMP 4 50 MicroPoP - O mni
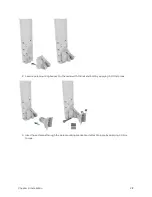
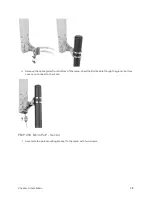
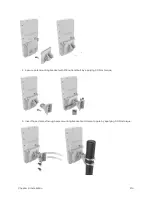
1. Assemble the pole mounting bracket to the radio with two screws.
Summary of Contents for PMP 450 Series
Page 92: ...Chapter 2 System hardware 92 Figure 29 MicroPoP Omni antenna implementation pattern Vertical...
Page 134: ...Chapter 3 System planning 134 Figure 51 Mast or tower installation...
Page 135: ...Chapter 3 System planning 135 Figure 52 Wall installation...
Page 136: ...Chapter 3 System planning 136 Figure 53 Roof installation...
Page 137: ...Chapter 3 System planning 137 Figure 54 GPS receiver wall installation...
Page 158: ...Chapter 3 System planning 158 Figure 61 cnMedusa Antenna...

