40
Tutorial
Step 3
Adding an oval and
adjusting the text
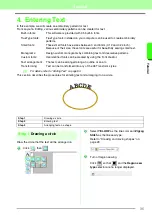
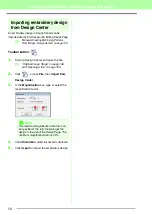
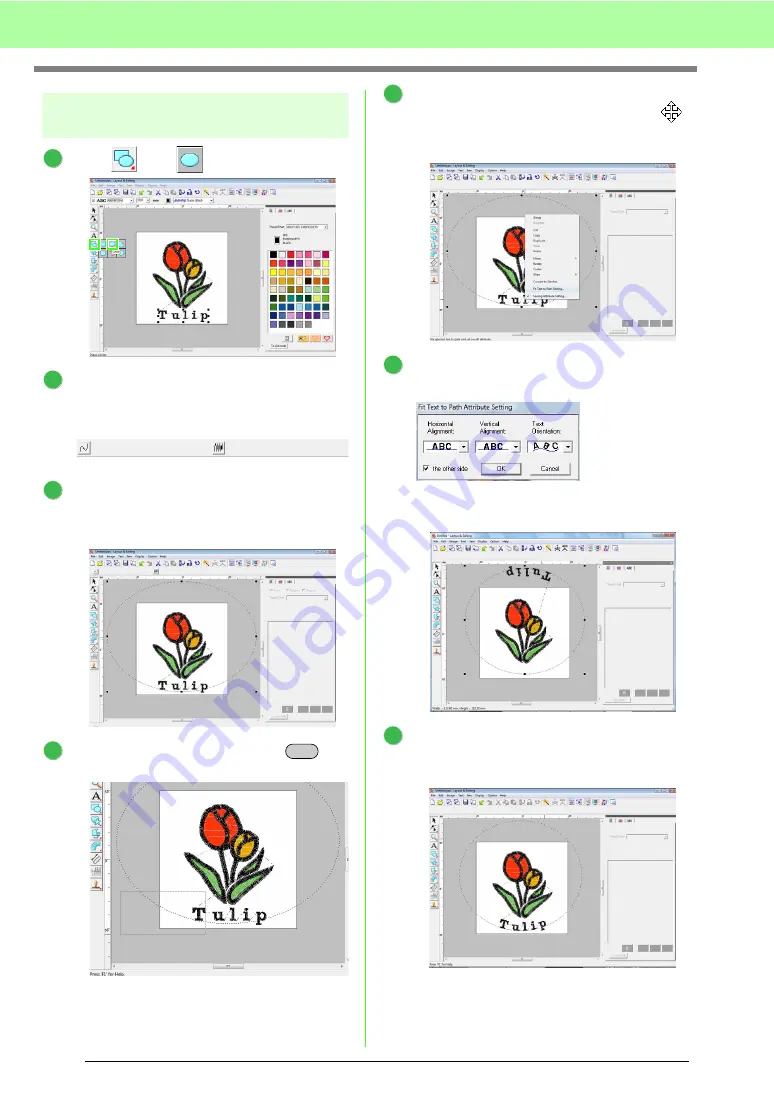
Click ,
then .
Turn off line and region sewing.
c
“Drawing a circle” on page 35.
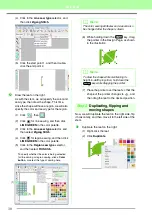
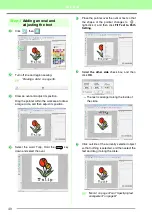
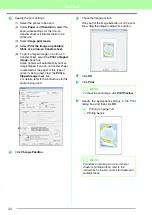
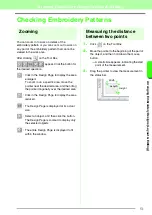
Draw an oval and adjust its position.
Drag the pointer within the work area to draw
a large circle, and then adjust its position.
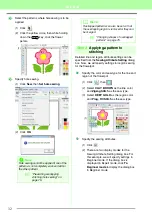
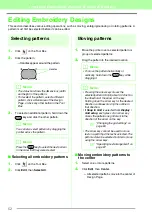
Select the word Tulip. Hold the
key
down and select the oval.
Place the pointer over the oval or text so that
the shape of the pointer changes to
,
right-click it, and then click
Fit Text to Path
Setting
.
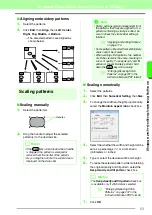
Select
the other side
check box, and then
click
OK
.
→
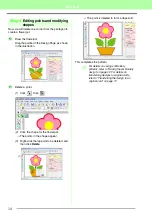
The text is arranged along the inside of
the circle.
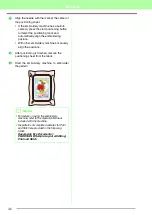
Click outside of the currently selected object
so that nothing is selected, and then select the
text and drag it along the circle.
c
“Memo” on page 37 and “Specifying text
arrangement” on page 87.
1
2
3
4
Ctrl
5
6
7
Summary of Contents for PE-Design 8
Page 1: ...Instruction Manual ...
Page 146: ...144 Arranging Embroidery Designs Layout Editing ...
Page 200: ...198 Managing Embroidery Design Files Design Database ...
Page 218: ...216 Creating Custom Stitch Patterns Programmable Stitch Creator ...
Page 244: ...242 Tips and Techniques ...
Page 269: ...English ...


