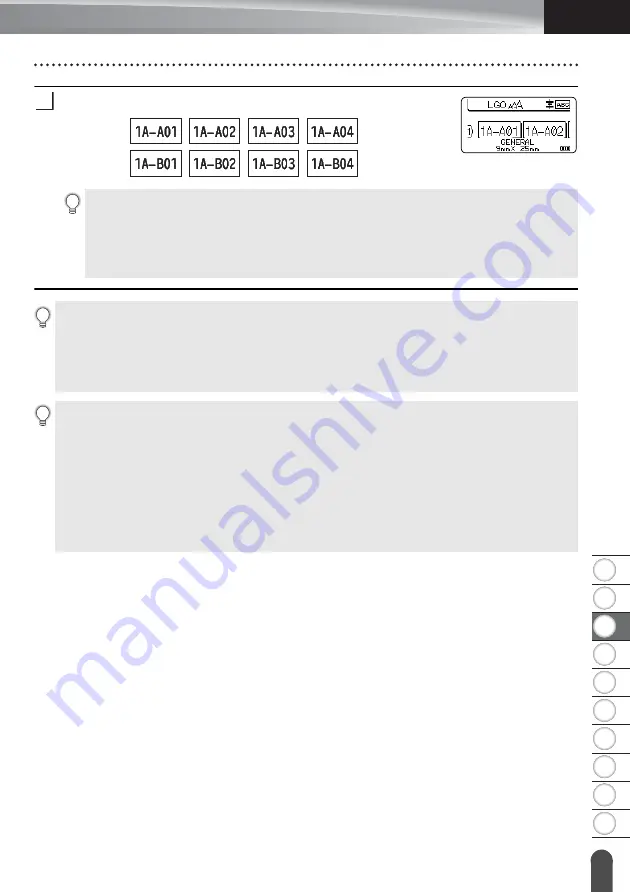
8
1
2
3
4
5
6
7
9
10
35
Entering a Serialise Label
ENGLISH
EDIT
ING
A LABEL
Press the
OK
or
Enter
key to display the screen that you set.
Example:
6
• When you press the
Shift
and
Serialize
keys, you can change the settings. After changing
the settings, the message “OK to Overwrite the Data after This Position?” appears. If you
want to overwrite the settings, press the
OK
key.
• You can select “All”, “Current”, or “Range” when printing if there are multiple pages of
labels.
• To print labels refer to “Printing a Label” on page 38.
• Press the
Esc
key to return to the previous step.
• Serialise mode can be also applied to barcodes. A barcode is counted as a character.
• Any symbols or other non-alphanumeric characters in the auto-numbering sequence are ignored.
• Serialise mode sequence can only contain a maximum of five characters.
• The “Count” value can be set to a maximum sequence number of 99.
• The “Incremented by” value can be set in increments of one to nine.
Letters and numbers increase as shown below:
0
1
...9
0
...
A
B
...Z
A
...
a
b
...z
a
...
A0
A1
...A9
B0
...
Spaces (shown as underscores “_” in the example below) can be used to adjust the spacing
between characters or to control the number of digits that are printed.
_9
10
...99
00
...
_Z
AA ...ZZ
AA
...
1_9
2_0 ...9_9
0_0
...
Summary of Contents for P-touch E550W
Page 91: ......


