EDITING A LABEL
32
Entering a Serialise Label
Press the
OK
or
Enter
key to insert the barcode onto the label.
The barcode appears on the text entry screen.
Editing and Deleting a Barcode
• To edit barcode parameters and barcode data, position the cursor above the barcode mark
on the data entry screen, and then open the “Bar Code Setup” screen. For more
information, see “Setting Barcode Parameters and Entering Barcode Data” on page 31.
• To delete a barcode from a label, position the cursor to the right of the barcode mark on
the data entry screen and press the
BS (backspace)
key.
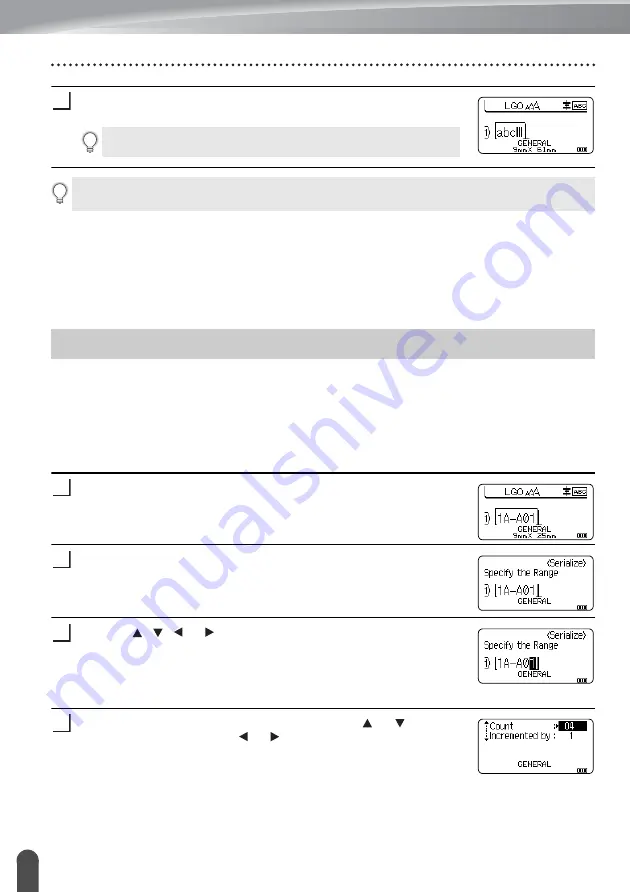
In serialise mode, you can create a series of labels by incrementing one numeric character
in the pattern. In advanced serialise mode, you can select either simultaneous or advanced
numbering. Simultaneous mode creates a series of labels by incrementing two different
numbers at the same time. Advanced mode creates a series of labels by allowing you to
select two sequences in the pattern and increment them consecutively.
Serialize
Enter text.
Example:
Create labels 1A-A01, 1A-A02, 1A-A03, 1A-A04 from
1A-A01 by using this function.
Press the
Serialize
key.
Use the , , or keys to position the cursor under the first
character, and then press the
OK
or
Enter
key. Then position the
cursor under the last character to be incremented. Press the
OK
or
Enter
key.
Example:
Select 1 of A01.
Select “Count” and “Incremented by” using the or key and
set the value by using the or key.
Example:
When you want to increase the number by one four
times, set “Count”: 4, “Incremented by”: 1.
To print labels refer to “Printing a Label” on page 38.
7
• Press the
Esc
key to return to the previous step.
• Press the
Space
key to set the selected attribute to the default value.
Entering a Serialise Label
1
32
3
4
Summary of Contents for P-touch E550W
Page 91: ......


