LabelMark 3 User Guide
56
Creating and Using Templates
Use the arrow keys on the keyboard to move through the unlocked fields. Use the
Tab
key to
move to the next label (
Shift
+
Tab
to move to the previous label).
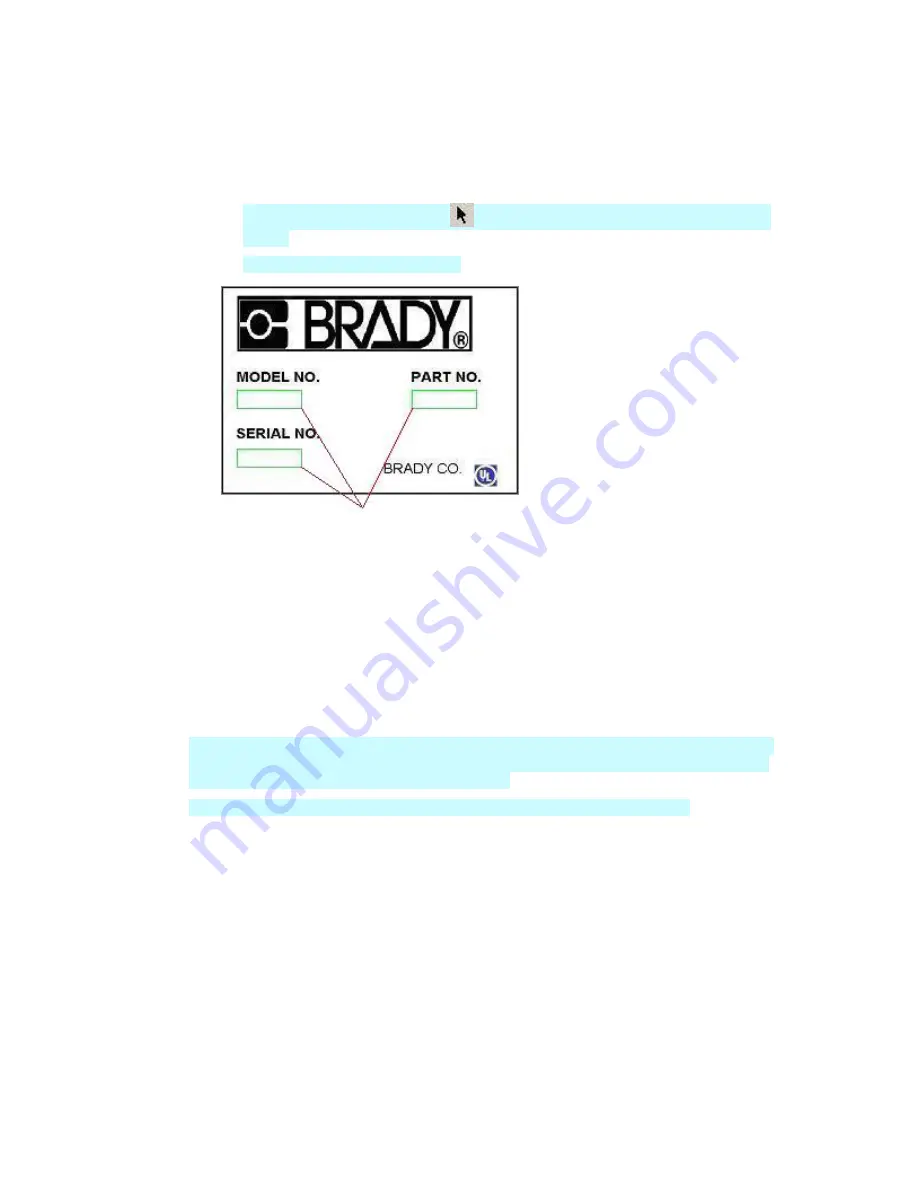
You can also click a green data entry box to enter text or barcode information as appropriate:
o
Type text in text fields.
o
In
LabelMark Plus
, use the
Select
tool to double-click the green-outlined data entry
objects.
o
Type barcode data in barcode fields.
Variable data entry locations in a file
based on a
LabelMark Plus
template
5. Save your label file (see
Saving a File
for details).
Importing Data into a File Based on a Template
Keep the following in mind when importing data into a label file based on a template:
•
Data only imports into
unlocked
text or barcode fields.
•
In
LabelMark
, imported data fills unlocked text fields in labels from top-to-bottom.
•
LabelMark Plus
gives you two options for importing data. The manual option allows you to map
the data to specific template fields. The automatic option fills the label objects from left-to-right
and down. See
Importing Data into LabelMark Plus
.
•
To import barcodes into
LabelMark Plus
, see
Importing Data into LabelMark Plus
.
•
If imported data does not fit,
LabelMark
displays a message and changes the font color to red. See
Making Data Fit on a Label
for suggestions on making the data fit.
•
Refer to
Importing Data into Label Files
for details on importing data.
•
Deleting or editing a template does not affect files that were based on it.
Summary of Contents for LabelMark 3
Page 1: ...LabelMark 3 User Guide...
Page 2: ......
Page 6: ......
Page 16: ......
Page 52: ......
Page 58: ......
Page 86: ......
Page 88: ...LabelMark 3 User Guide 82 Symbols Guide...
Page 89: ...Symbols Guide Symbols Guide 83...
Page 90: ......


