Creating and Using Templates
53
Creating and Using Templates
Creating a Template
A template is a saved label format that allows you to have static data (e.g. logos and unchangeable text) as
well as fields for variable data entry that are located at fixed locations on the label. You can create
templates in both
LabelMark
and
LabelMark Plus
.
Note:
LabelMark Plus
includes a library of templates for use with specialized parts (see
Stock Label
Templates
).
To create a new template:
1. From
the
Welcome
screen, select
Create new template
and click
OK
.
(If you are already in the application, select
File
New…
. Then, click the
Template
radio
button.)
2. Select
the
Printer
,
Printer type
,
Part family
and the
Label Part
you want to use and click
OK
.
The single label view for your part appears and the
Template
toolbar displays at the bottom of the
screen (see
Template Toolbar
for details)
3. Add items to the label and format them:
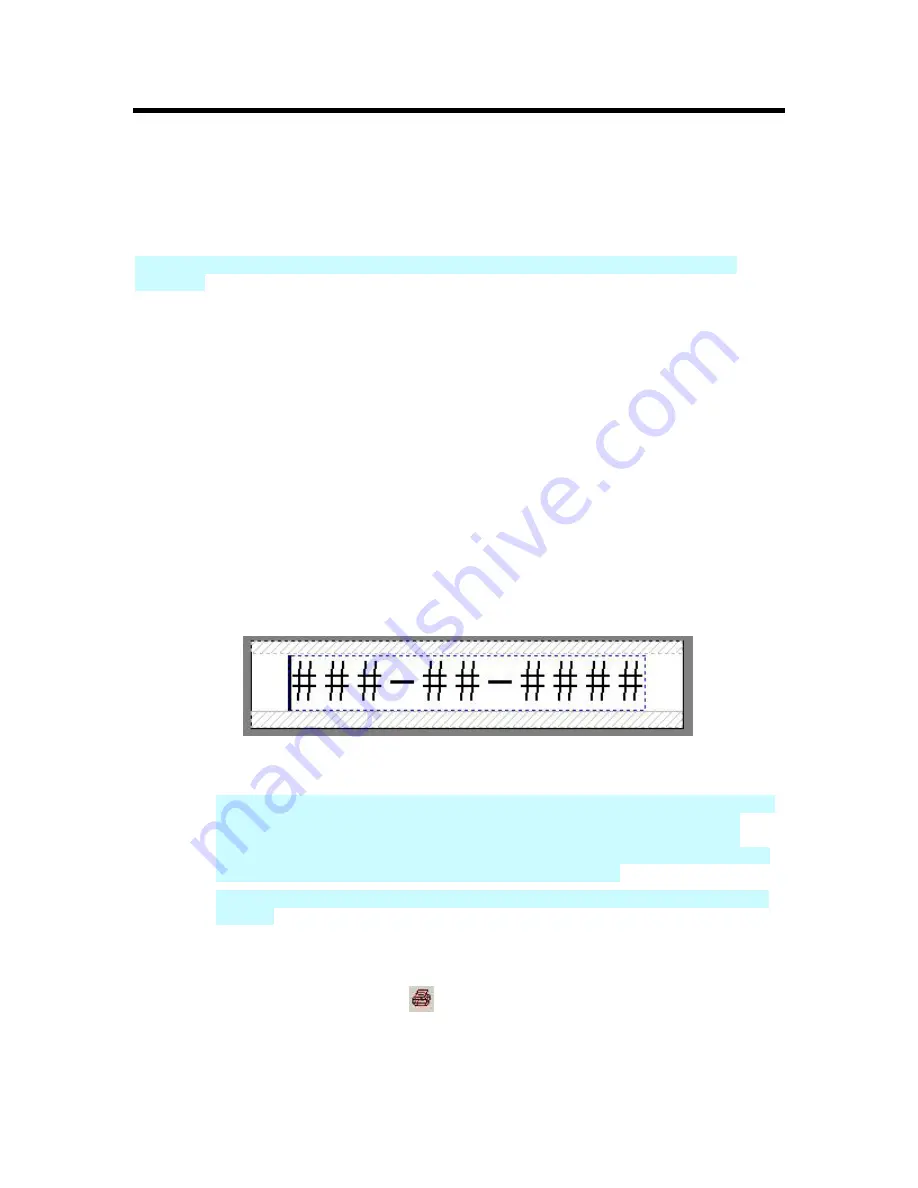
Add text items for variable data entry to the label and fill them with placeholder text. The
placeholder text allows you to properly size and format the text and it will be replaced by your
data when you create a file based on the template.
Note:
Date/time, serialization and data import are unavailable during the template creation
and editing process. The functions
are
available when working with a file based on a
template.
Example of Placeholder Text in a
LabelMark
Template
LabelMark Plus
Note:
In
LabelMark Plus
, type meaningful names for your text and barcode
objects as your placeholder text, e.g. "Panel" or "Wire". This will help you identify the
correct object when using the
Manual
data import method to map data to your template
objects (see
Importing Data into LabelMark Plus
). As in
LabelMark
, the placeholder text is
replaced by your data when you create a file based on the template.
LabelMark Plus
Note:
With
LabelMark Plus
you can also add barcodes, images, rectangles
and lines.
Format the items as needed (see
Format Toolbar
).
Select a label item(s) and apply
Template Toolbar
features:
o
Make items
non-printable
if you want them to appear on the computer screen but
not on the final printout.
Summary of Contents for LabelMark 3
Page 1: ...LabelMark 3 User Guide...
Page 2: ......
Page 6: ......
Page 16: ......
Page 52: ......
Page 58: ......
Page 86: ......
Page 88: ...LabelMark 3 User Guide 82 Symbols Guide...
Page 89: ...Symbols Guide Symbols Guide 83...
Page 90: ......


