45
Editing
Mastering
Using USB
Con
venient
Functions
Appendix
es
Quic
k Star
t
Getting Read
y
to Recor
d
Recor
ding/
Pla
ybac
k
Using
Eff
ects
Using
Rh
ythm
Re-Recording Only Over a
Mistake (Punch-In/Out)
When recording, there may be times when you made a
mistake or were unable to play as you intended. In such
cases, you can use punch-in/out to re-record only the
region you specify.
While the track plays, you can “punch-in” to switch from
playback to record; then you can “punch-out” to resume
playback, all without stopping.
Punch-in at the point where you want to start re-recording,
and then punch-out when you want to stop re-recording.
fig.01-170
On the BR-800, you can use either “manual punch-in/out”
or “auto punch-in/out.”
This method lets you use the [REC] button or a foot switch
to perform punch-in/out operations.
* When using manual punch-in/out, make sure that there is at
least 1.0 seconds between punch-in and punch-out.
■
Using the [REC] button
In this example, we’ll explain how you can use manual
punch-in/out to re-record a portion of the previously
recorded track 1.
1
Press the track 1 [REC] button.
The track 1 [REC] button will light.
2
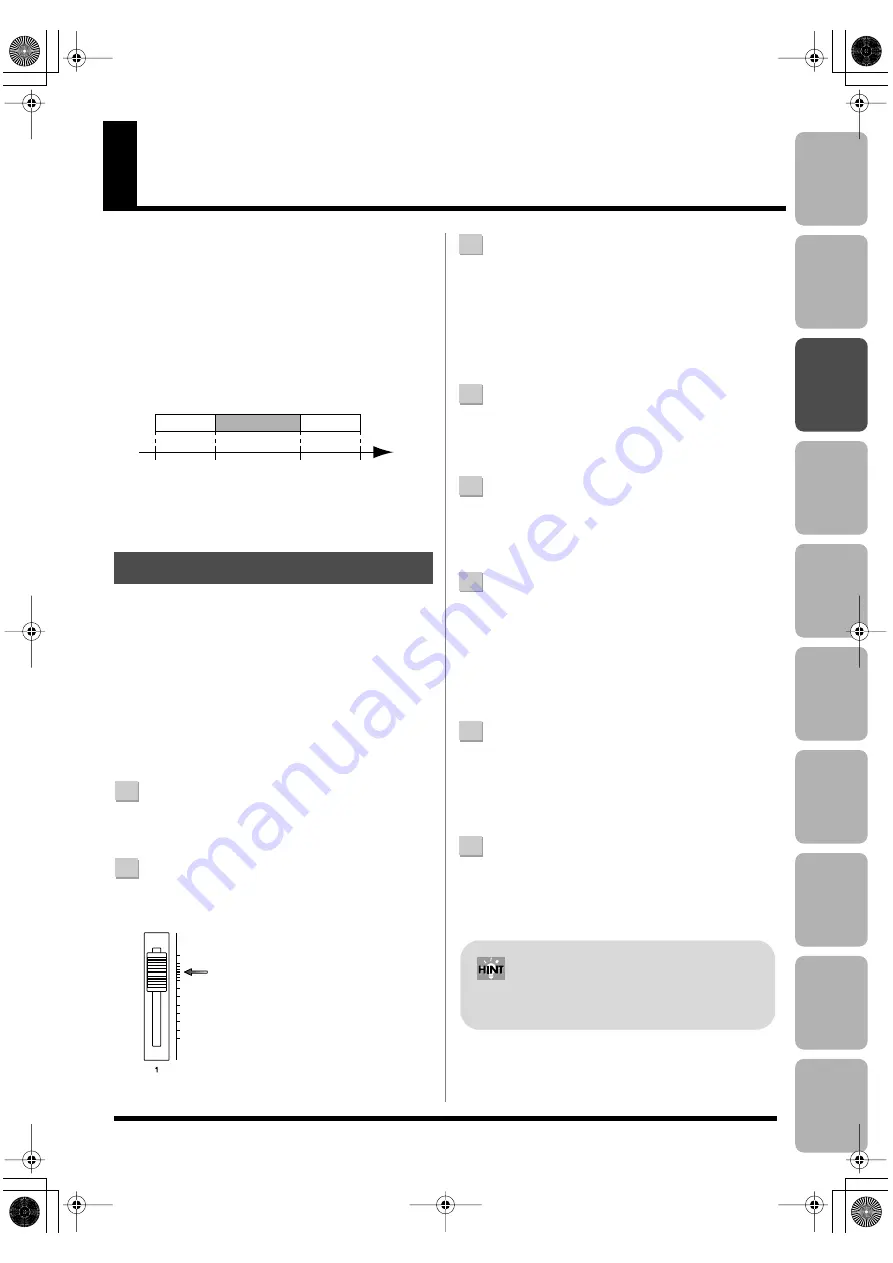
Set the track [1] fader to the position shown in the
illustration.
fig.Panchin01.eps
3
Play back the song, and use the [REC LEVEL] knob to
adjust the volume of the input source.
While listening to compare the track to be re-recorded
with the input source, use the [REC LEVEL] knob to
adjust the input source so that there is no difference in
volume.
4
Move to a position in the song earlier than the point
where you want to start re-recording, and then press
the [PLAY] button to start playback.
5
At the moment you want to start re-recording, press
the [REC] button.
Punch-in will occur, and you’ll be in record mode.
6
When you want to punch-out, press the [REC] button
once again (or press the [PLAY] button).
Each time you press the [REC] button, you’ll alternate
between punching-in and punching-out; you can
repeat this procedure as many times as you like if there
are other regions that you want to re-record.
7
To stop recording, press the [STOP] button.
* While the data is being updated, the display will indicate
“Keep power on!” Do not turn off the power while this
message is shown.
8
Listen to the re-recorded result.
Return to a point earlier than where you began re-
recording, and play back.
Use the track [1] fader to adjust the volume of track 1.
Manual Punch-In/Out
Time
Punch-In
Stop
Start
[PLAY]
[REC]
[REC]
[STOP]
Punch-Out
Playback
Playback
Recording
You can use the Undo function (p. 48) to return to
the state prior to re-recording.
BR800_e.book 45 ページ 2010年11月2日 火曜日 午前8時28分
Summary of Contents for BR-800
Page 1: ......
Page 20: ...MEMO 20 BR800_e book 20...
Page 21: ...21 Quick Start BR800_e book 21...
Page 31: ...31 Getting Ready to Record BR800_e book 31...
Page 35: ...35 Recording Playback BR800_e book 35...
Page 53: ...53 Using Effects BR800_e book 53...
Page 87: ...87 Using Rhythm BR800_e book 87...
Page 103: ...103 Editing BR800_e book 103...
Page 110: ...MEMO 110 BR800_e book 110...
Page 111: ...111 Mastering BR800_e book 111...
Page 117: ...117 Using USB BR800_e book 117...
Page 128: ...MEMO 128 BR800_e book 128...
Page 129: ...129 Convenient Functions BR800_e book 129...
Page 144: ...MEMO 144 BR800_e book 144...
Page 145: ...145 Appendixes BR800_e book 145...
Page 161: ...161 fig 15_WEEE_Small eps fig 16_ChineseRoHS eps For EU Countries For China BR800_e book 161...
Page 164: ......


