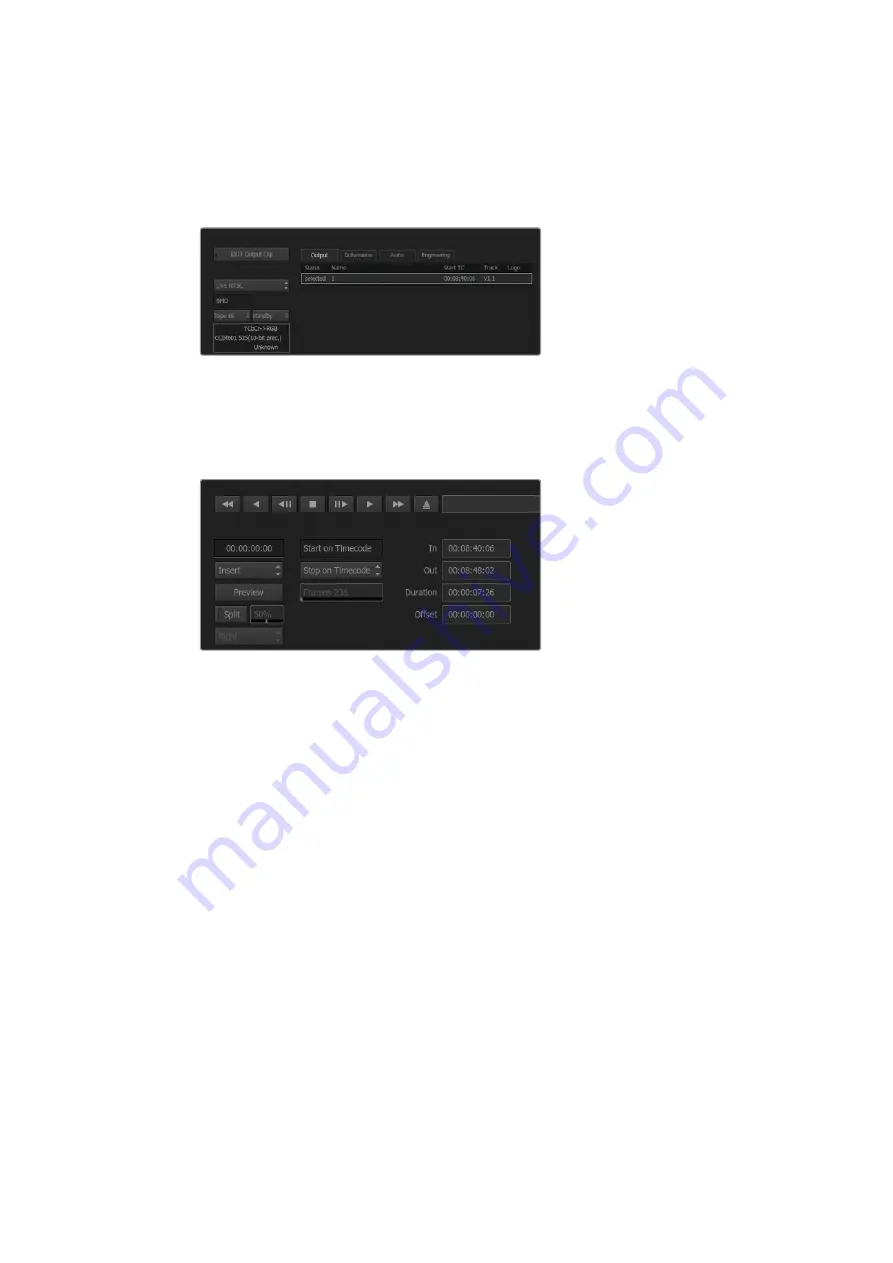
To output a live video signal:
1
Select file>output to VTR.
2
Select the clip(s) to output from the ‘media library’. You can also select a folder to
output its contents. The VTR output module appears.
Select Live PAL or Live NTSC when outputting a live video signal.
3
From the VTR device box, select Live NTSC or Live PAL.
The ‘start mode’ box is unavailable. With ‘live video’ output, you must use the default
start setting. You can use ‘stop on pen’ or ‘stop on frames’ to end the output.
Use the default start settings for live output.
4
Set output options. For example, enter the clip name and enable the video tracks and
audio channels that you want to capture.
5
On the device receiving the signal, start the recording, or take any action required to
enable the reception of the signal from Autodesk Smoke.
6
Select ‘process’ to begin the output on Autodesk Smoke.
7
Click anywhere on the screen to end the output in ‘stop on pen’ mode.
56
Using your Favorite 3rd Party Software


