3
Click on the ‘pixel format’ drop down menu and set it to match a format your TV
or external monitor will accept. For example, if you are working with a wide HDR
color gamut, choose ‘10-bit YUV 4:2:2’ or ‘10-bit RGB 4:4:4’ based on your monitor’s
compatibility requirements.
4
Click on the ‘color gamut’ drop down menu and set this to match the color gamut your
project is using. If you are working with a standard or high definition project with a
standard dynamic range, choose ‘Rec. 601/Rec. 709’. If you are using a Desktop Video
device that supports HDR and you are editing a 4K or high dynamic range project,
select ‘Rec. 2020’. For projects that are both 4K and high dynamic range, choose either
‘Rec. 2020 HLG’ or ‘Rec. 2020 PQ’. This should also be a format your TV or monitor is
capable of displaying.
Now that you have set your output display settings using Desktop Video Setup, you can create
a new project in Final Cut Pro X.
To create a new project:
1
Launch Final Cut Pro X. In the library properties, you will notice the default untitled
standard project name. Click on its corresponding ‘modify’ icon. Create a new library by
going to the file menu, then selecting new and library.
TIP
If after creating a new library, the library properties on the right side of the
screen are hidden, enable them by clicking the clapper board icon in the top
left corner. This opens the libraries sidebar.
2
Select the new library in the libraries sidebar and click its corresponding ‘modify’ icon.
An options window will appear asking you to set the color space for your project. Select
‘standard’ for an SD or HD project using a standard color gamut. If you are intending to
create a wide color gamut HDR movie, select ‘wide gamut HDR’.
3
Click ‘change’ to confirm your setting.
4
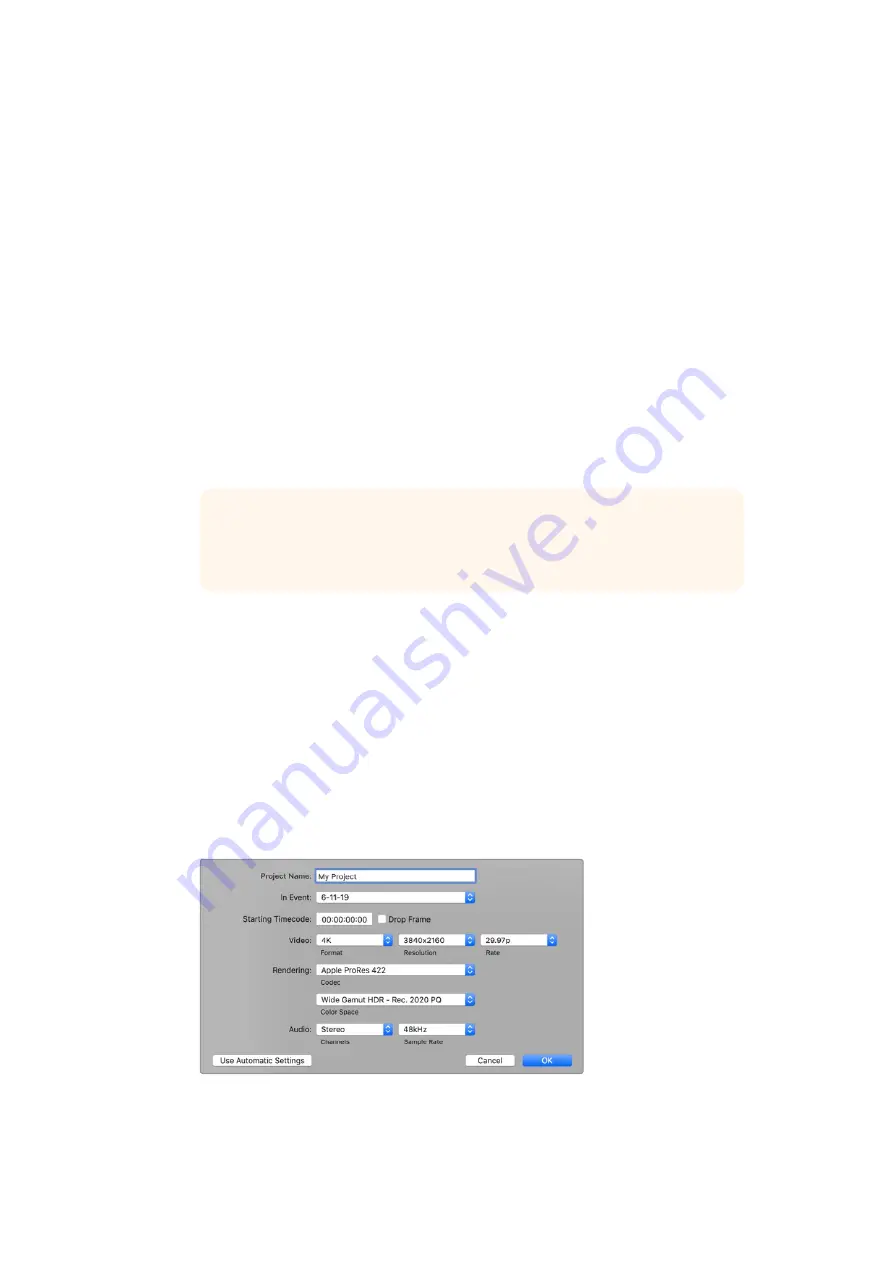
Create a new project by right clicking the library name in the libraries sidebar and
selecting, ‘new project’. Type a name and choose an event to place your project in. If
you haven’t already created one, you can choose the default event, which is named as
the current date.
5
Click ‘use custom settings’. Set the ‘video format’, ‘resolution’ and ‘rate’ to match the
video standard and frame rate you set in Blackmagic Desktop Video Setup.
6
Set ‘rendering’ to your preferred Apple ProRes codec or ‘uncompressed 10-bit 4:2:2’ for
an uncompressed workflow.
42
Using your Favorite 3rd Party Software


