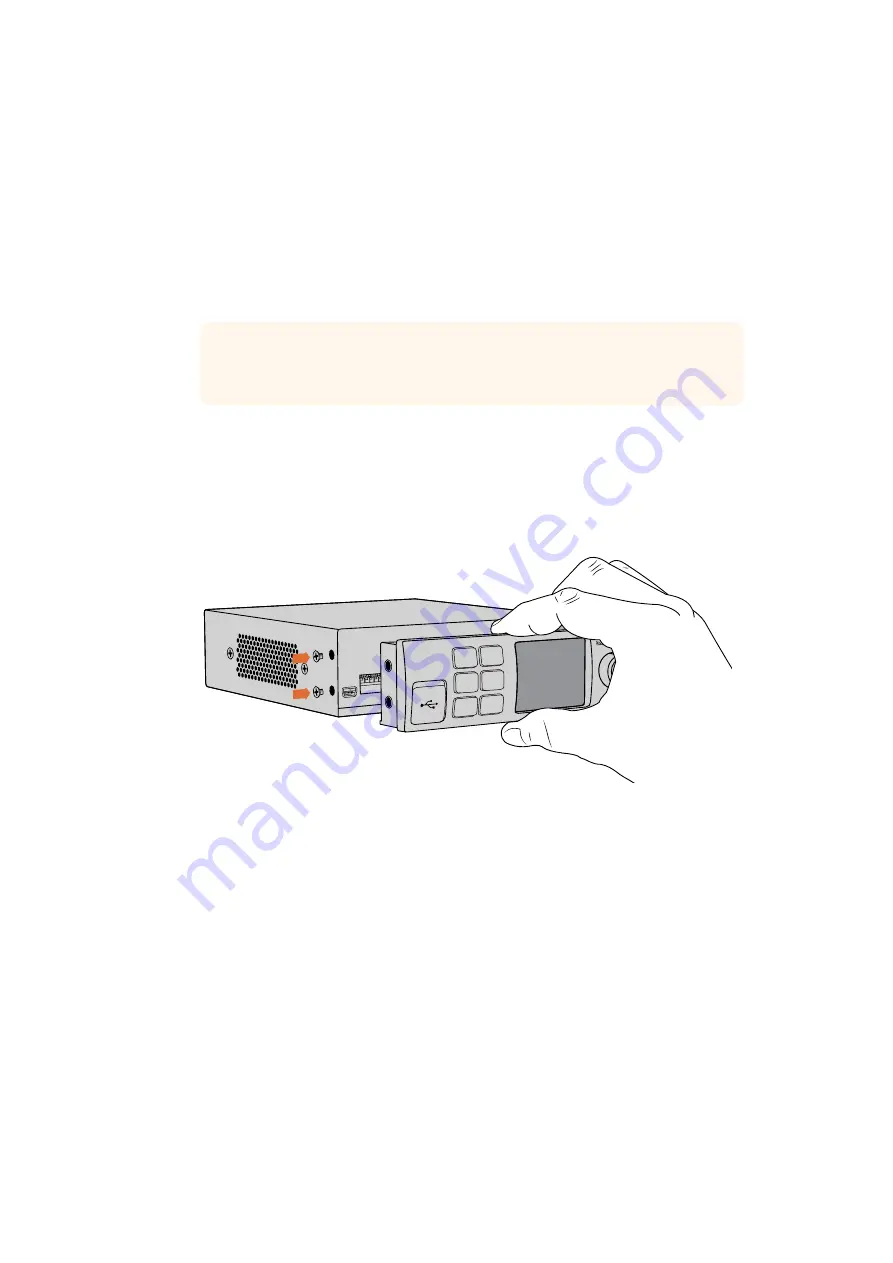
The Panels are hot swappable so you don’t even need to turn off your Blackmagic UltraStudio
HD Mini when installing it.
1
Remove the two M3 screws on each side of your Blackmagic UltraStudio HD Mini’s
basic front panel using a Pozidriv 2 screwdriver and gently pull the panel away from the
front of your the unit.
2
On the inside of the basic panel, you’ll notice a small clear plastic tube attached to
the bottom corner. This tube directs light from the LED inside the unit to illuminate
the status indicator on the basic panel. This tube should stay attached to the basic
front panel.
TIP
If reattaching the basic front panel, make sure the light tube is aligned
with the slot in the front of the unit.
3
Align the connector on the rear of the Teranex Mini Smart Panel with the corresponding
connector on the face of your UltraStudio HD Mini and gently push the Smart
Panel towards the unit until the connectors are firmly seated. The Teranex Mini
Smart Panel should make a firm connection and fit neatly inside the face of your
UltraStudio HD Mini.
4
Re-insert the M3 screws from the original panel.
1
2
SET
VIDEO
MENU
AUDIO
When installing the Teranex Mini Smart Panel to your Blackmagic
UltraStudio HD Mini, holding the panel with your fingers and thumb
aligned with the panel’s rear connector will help guide it into place
If your UltraStudio HD Mini is installed in a Teranex Mini Rack Shelf, you will need to remove the
unit from the rack shelf to access the front panel screws.
See the ‘Teranex Mini Rack Shelf’ section for more information.
The original basic panel is very strong, so if you need to mount your Blackmagic UltraStudio HD
Mini in the back of a rack system or in areas where there are lots of cables or activity, you can
always reinstall the original basic panel.
28
Teranex Mini Smart Panel


