104
1.877.877.2269
BLACKBOX.COM
NEED HELP?
LEAVE THE TECH TO US
LIVE 24/7
TECHNICAL
SUPPORT
1.877.877.2269
CHAPTER 4: CONFIGURATION
6. To create an individually switchable Device for the USB 2.0 CON extender, select Configuration > CON Devices and press
the New R button. Alternatively, you can assign the USB 2.0 CON extender to an already existing CON Device. For this purpose,
select the Device and move the USB 2.0 CON extender from the EXT available field into the EXT assigned field.
7. Give an appropriate name to the new Device in the Name field.
8. Repeat steps 6 and 7 for all USB 2.0 CPU extenders in the Configuration > CPU Devices menu.
9. If you use parallel operation within the matrix, set the Release Time in the Configuration > Switch menu to 10 seconds or more
(see Section 4.11.6).
10. Restart all I/O boards on which USB 2.0 extenders have been configured or alternatively restart the matrix.
The USB 2.0 extenders are now configured and can be used.
JAVA TOOL
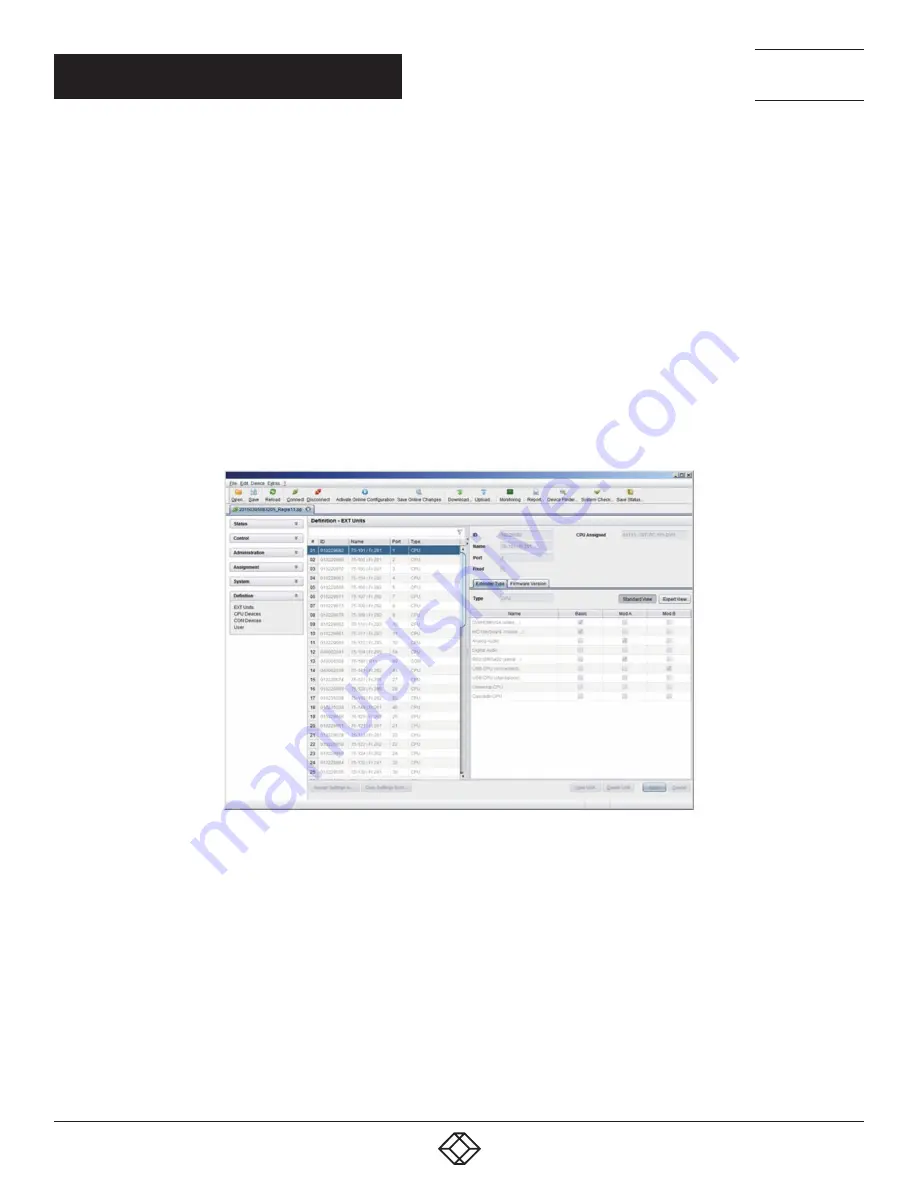
Select Definition > EXT Units in the task area.
FIGURE 4-32. DEFINITION—EXT UNITS
1. Press the New button. A popup window opens.
2. Select (Templates) in the selection box, if you want to use a template for a USB 2.0 CON Unit (USB CON Unit) or a USB 2.0 CPU Unit
(USB CPU Unit). An extender with an eight-digit ID will be created, starting with digit 9.
3. Give an appropriate name to the extender in the Name field.
4. Enter the port number of the matrix physically connected to the USB 2.0 extender unit into the Port field.
5. Confirm your settings by pressing the Apply button.
6. The USB 2.0 CON extender now has to be either assigned to an existing CON Device in the menu Definition > CON Devices
or a new CON Device has to be created for the assignment by pressing the New button.


