background image

30 


Beurer BGL60 mg/dL  


Have the following components ready: Measuring device, container of test 
strips, lancing device, and a sterile needle lancet. If obtaining a blood sample 
from a site other than the fingertip, you will also need the AST cap. 

Before taking the sample, wash your hands using soap and warm water. In 
addition to optimal hygienic conditions, this also ensures good circulation of 
blood through the fingertips. Dry your hands carefully. Also ensure that your 
lancing site is hygienically clean if taking a blood sample from an alternative 
site (AST). 


Warning 

If you wipe the lancing site with alcohol, ensure that the site has dried completely 
before beginning the measurement. 

Taking the blood sample 


Warning 

  Change the prick point for each test, e.g. another finger or the other hand. 

Repeated pricks at the same point can lead to inflammation, numbness or 
scars. 

  Do not use the AST cap to take a blood sample from the finger. 

  Never squeeze the finger to obtain a larger droplet of blood. Squeezing causes 

interstitial fluid to dilute the blood; this can lead to a false measurement result.

  Note that inadequate circulation at the puncture site, for example caused by 

cold or illness, can lead to inaccurate measurements. 


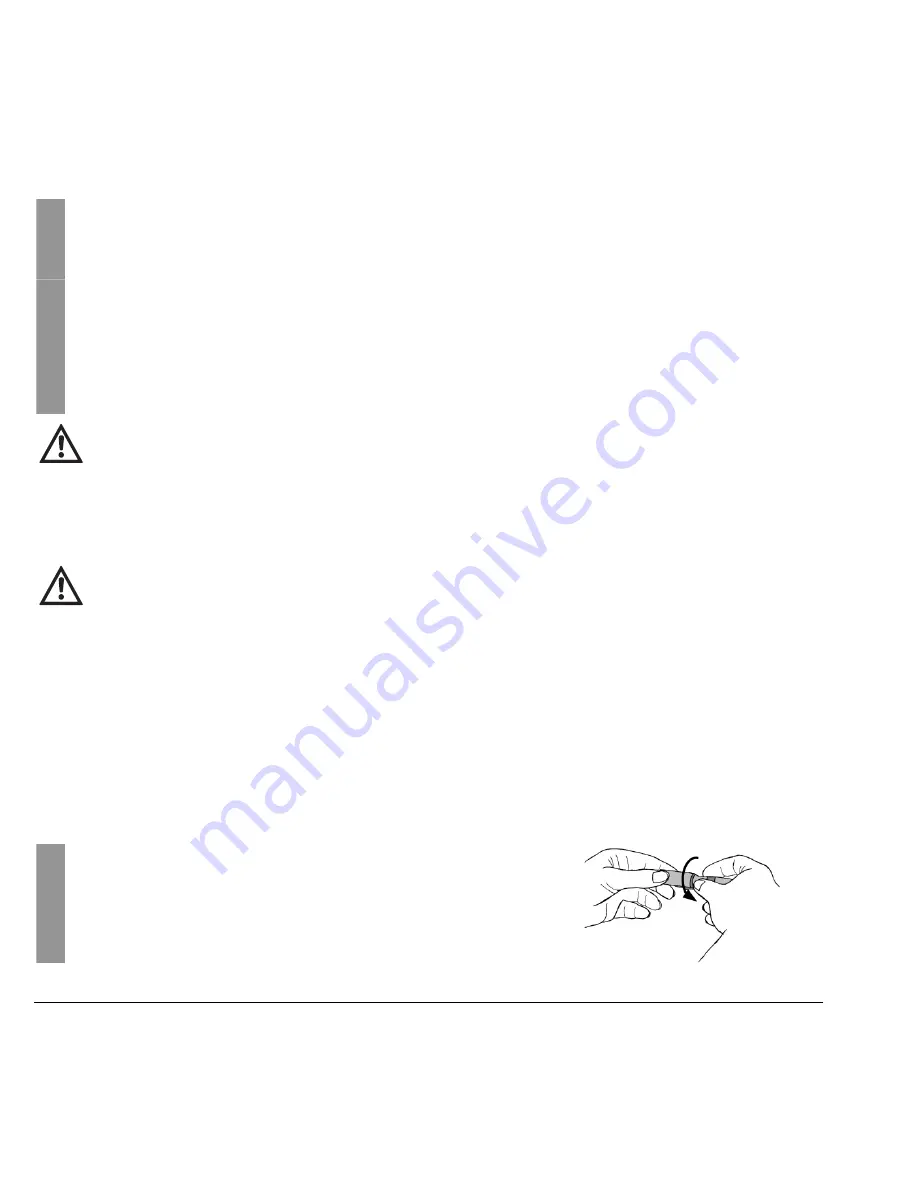
Twist to remove the cap from the lancing device. 


Summary of Contents for BGL60

Page 1: ...BLOOD PRESSURE AND BLOOD SUGAR 2IN1 MEASURING DEVICE Step by step Beurer GmbH S flinger Str 218 D 89077 Ulm Germany Phone 49 800 6645222 E mail kd beurer de www beurer medical de 0344 IVD GB instructi...

Page 2: ...trips 19 4 Using the unit for the first time and basic settings 22 4 1 Operating the unit with a mains power adapter 22 4 2 Inserting and replacing the batteries 22 4 3 Basic settings 23 5 Measuring y...

Page 3: ...values 42 7 2 Displaying average blood sugar levels 43 7 3 Deleting the measured value memory 44 7 4 Transferring measured values to a computer 45 8 Storage and maintenance of the unit 47 9 Troublesh...

Page 4: ...rs and observe the information they contain With kind regards Your Beurer team About Your Beurer Blood Sugar Measuring Device The upper arm blood pressure blood sugar measuring device is designed for...

Page 5: ...the content Item Designation A 1 inflatable cuff B 1 blood pressure blood sugar measuring device C 10 test strips D 1 lancing device with AST cap for taking blood samples from alternative sites E 10...

Page 6: ...he test strips and control solution intended for this meas uring device Note Only use the manufacturer s original accessories Purchasing supplies Test strips control solution and lancets are also avai...

Page 7: ...ressure pulse and blood sugar Display and save your measured values display your average blood sugar measurements from the last 7 14 21 28 60 and 90 days Set the time and date Set the blood pressure l...

Page 8: ...emperature range 4 C to 40 C Refer to instructions for use Not for reuse For single use only PCT Certification for pro ducts exported to the Russian Federation and CIS countries Expiry date Gr ner Pun...

Page 9: ...of measure for blood sugar value The following symbols in these instructions mean Warning Warning instruction indicating a risk of injury or damage to health Important Safety note indicating possible...

Page 10: ...values may be interpreted incor rectly and cause the wrong corrective measures to be taken This measuring device must only be used by one person There is a risk of infection if the same unit is used b...

Page 11: ...for information purposes only they are not intended to replace consultation with your doctor Discuss your measured values with your doctor regularly Do not change any aspects of your treatment unless...

Page 12: ...surement result Do not use the test strips at elevations over 3275 m Note The Beurer BGL60 monitoring system is suitable for measuring capillary whole blood Storage and maintenance Warning Store the m...

Page 13: ...low them This can cause severe harm to their health In this case consult a physician immediately Normal batteries must not be recharged heated or thrown into an open flame danger of explosion Importan...

Page 14: ...orm any repairs on the unit yourself otherwise correct functioning of the unit can no longer be guaranteed If repairs are required please contact customer service Disposal Warning When disposing of th...

Page 15: ...municipal authority responsible for disposal Standard and rechargeable batteries should not be disposed of along with hou sehold waste As a consumer you are legally obliged to return used batteries f...

Page 16: ...wer adap ter rear side 5 Display 6 Computer port 7 M memory button 8 ON OFF button do not press the button unless the inflatable cuff is attached 9 T SET Set button 10 S Set button 11 Port for cuff pl...

Page 17: ...onal 10 Blood sugar unit mg dL 3 SYS value display blood sugar 11 Blood sugar unit mmol L 4 Test strip symbol not functional 5 WHO classification display 12 Blood pressure unit mmHg 6 Symbol for heart...

Page 18: ...f date or time Date Day month 19 CTL for control solution measurement 18 Time Hours minutes Battery change symbol 20 DAY AVG for average value 7 14 21 28 60 90 days Note The measuring device is suppli...

Page 19: ...the unit so that the contacts are visible in the slit En sure that the front side of the test strip is facing you Note Read the following information about handling and storing your test strips care...

Page 20: ...the hourglass symbol The test strips can be kept for three months once the container is open Make a note of when this time will run out date of opening 3 months on the label The shelf life decreases i...

Page 21: ...cool dry place between 4 C and 40 C Protect test strips against direct sunlight or heat Do not store test strips in the fridge Test strips may be stored at a relative humidity between 10 and 85 Store...

Page 22: ...mains power adapters specified here Connect the mains power adapter only to the mains voltage listed on the type plate 4 2 Inserting and replacing the batteries Note Four batteries are included in the...

Page 23: ...ge symbol appears the batteries are almost empty Replace all batteries as soon as possible When E b is displayed the batteries are so empty that no more measure ments are possible 4 3 Basic settings 1...

Page 24: ...tting the blood pressure level unit Press the S button to alternate between the two units mmHg and KPa Confirm via the Set button 4 The memory symbol flashes and dEL is displayed To delete all stored...

Page 25: ...ing wait approx 30 minutes until measuring By nature your blood pressure differs slightly between arms Always meas ure your blood pressure on the same arm 5 1 Putting on the inflatable cuff 1 Put the...

Page 26: ...cuff for upper arm circum ferences of 33 to 43 cm from a specialist store or the service address 5 2 Assuming the proper posture You can perform the measurement sitting or lying down Make sure to pro...

Page 27: ...t symbol stops flashing read your blood pressure measured value and pulse For explanations and corrective actions concerning measured values see the next Chapter Evaluating a blood pressure measured v...

Page 28: ...ssure and the value above which the blood pressure level should be regarded as dangerous Classification of blood pressure levels for adults measuring unit mmHg Range of the blood pressure levels Systo...

Page 29: ...You can use the lancing device to get blood samples from the fingertip or other parts of the body such as the palm forearm upper arm thigh or calf We recommend that you take the blood sample from the...

Page 30: ...an alternative site AST Warning If you wipe the lancing site with alcohol ensure that the site has dried completely before beginning the measurement Taking the blood sample Warning Change the prick po...

Page 31: ...mple Fingertip Cap grey Other parts of the body AST cap transparent Place the selected cap on the lancing device and twist it into place 5 Setting the puncture depth Five different puncture depths can...

Page 32: ...site AST Choose a site that is soft not next to a bone with no visible veins and without excessive body hair Warm the puncture site to ensure good circulation for exam ple by lightly massaging the are...

Page 33: ...isk with the tip of the needle so that the needle is covered 11 Carefully remove the needle lancet from the lanc ing device and discard the lancet in a suitable sharp proof container Carefully dispose...

Page 34: ...od is sucked into the slit Warning Hold the blood collection slit of the test strip against the blood droplet until the slit is completely filled and you hear a beep With drawing the test strip from t...

Page 35: ...hat the unit switches on again automatically If you experience difficulties applying blood to the test strip correctly contact customer service 6 3 Evaluating a blood sugar measured value Your blood s...

Page 36: ...ccording to the guidelines of the German Diabetes Association DDG Time of blood sugar measurement Normal blood sugar values Suspicious Diabetes On an empty stomach 100 mg dL 100 110 mg dL 110 mg dL 2...

Page 37: ...g Above 100 mg dL 2 hours after eating Above 140mg dL If the value remains high 2 hours after your last meal this may indicate hy perglycaemia high blood sugar Dis cuss with your doctor any possible a...

Page 38: ...your measuring device using the Beurer control solution When is it recommended to perform a test using the control solution After opening a new test strip container If you suspect that the measuring d...

Page 39: ...fe decreases if the expiry date is reached before the end of the 3 months see the date next to the hourglass symbol Do not use the control solution if either of these dates has expired Allow the measu...

Page 40: ...ply the drop directly to the test strip Apply the drop to a clean substrate Then put the drop on the slit for receiving blood on the test strip The solution is sucked into the slit Wipe the tip of the...

Page 41: ...first drop of control solution was not disposed of The tip of the bottle was not wiped clean The bottle was not shaken vigour ously enough Eliminate the cause and repeat the test The control solution...

Page 42: ...blood sugar meas ured value For the blood sugar levels you can calculate and display the average value for the last 7 14 21 28 60 and 90 days Note If measured values are already stored in the memory...

Page 43: ...value You can display a maximum of 480 previous measured values After the last available individual value the most recent measured value is displayed again 4 You can cancel the process at any time To...

Page 44: ...utes Item Meaning 1 Average value 2 Number of blood sugar tests within the time period e g 28 tests 3 Memory symbol 4 Number of days e g 7 2 3 4 1 DAY AVG mg dL 7 3 Deleting the measured value memory...

Page 45: ...testing soft ware for evaluating your measurement results which makes it easier for you and your physician to follow your blood sugar trends For more information please refer to the instructions inclu...

Page 46: ...d off Insert the flat USB connector of the connection ca ble into a USB port on your PC Insert the round jack plug into the PC interface port on your measuring device 3 The start display appears brief...

Page 47: ...ned with water or a mild cleaning solution Dry the unit using a lint free cloth Note The measuring device is made from precision components The accuracy of the measured values and the service life of...

Page 48: ...as removed from the unit during measurement Repeat blood sugar measurement Messages on the display for blood pressure measurement No Cause Action Err 01 Cuff is not tight or the pressure build up is t...

Page 49: ...measurement range Repeat measurement Consult a physician if the problem persists Err 17 No pulse detected Repeat measurement Consult a physician if the problem persists Err 31 Internal communication...

Page 50: ...it Ensure that the front side of the test strip is facing you see Test strips page 19 Unit is defective Contact customer service Problem After inserting the test strip into the unit and applying the b...

Page 51: ...You moved or spoke during the measurement You should wait 5 minutes between two measurements Repeat the measurement Do not move or speak while doing so Be sure to keep the correct posture during the m...

Page 52: ...ve humidity 10 85 Operating ranges Temperature 10 C 40 C Relative humidity 10 85 non condensing Measuring units adjustable Blood pressure mmHg or KPa 1 mmHg corresponds to 0 133 KPa Blood pressure mea...

Page 53: ...ic current caused by a chemi cal reaction between the glucose and the test strip reagent The measuring de vice analyses this current The flow of current depends on the glucose content of the blood sam...

Page 54: ...ressure measuring systems EN 60601 1 IVD 98 79 EC EN 61010 1 EN 61010 2 101 EN 13640 EN ISO 15197 MDD 93 42 EC In accordance with the MPBetreibV German Medical Device Operator Ordi nance regular metro...

Page 55: ...years from the date of purchase to BEURER GmbH S flinger Str 218 89077 Ulm Germany In the case of claims against the guarantee the customer has the right to have the product repaired by us or in a wo...

Page 56: ...BGL60_mg dL_0109_GB_Subject to errors and modifications...

Reviews: