


Fig. 79
4.
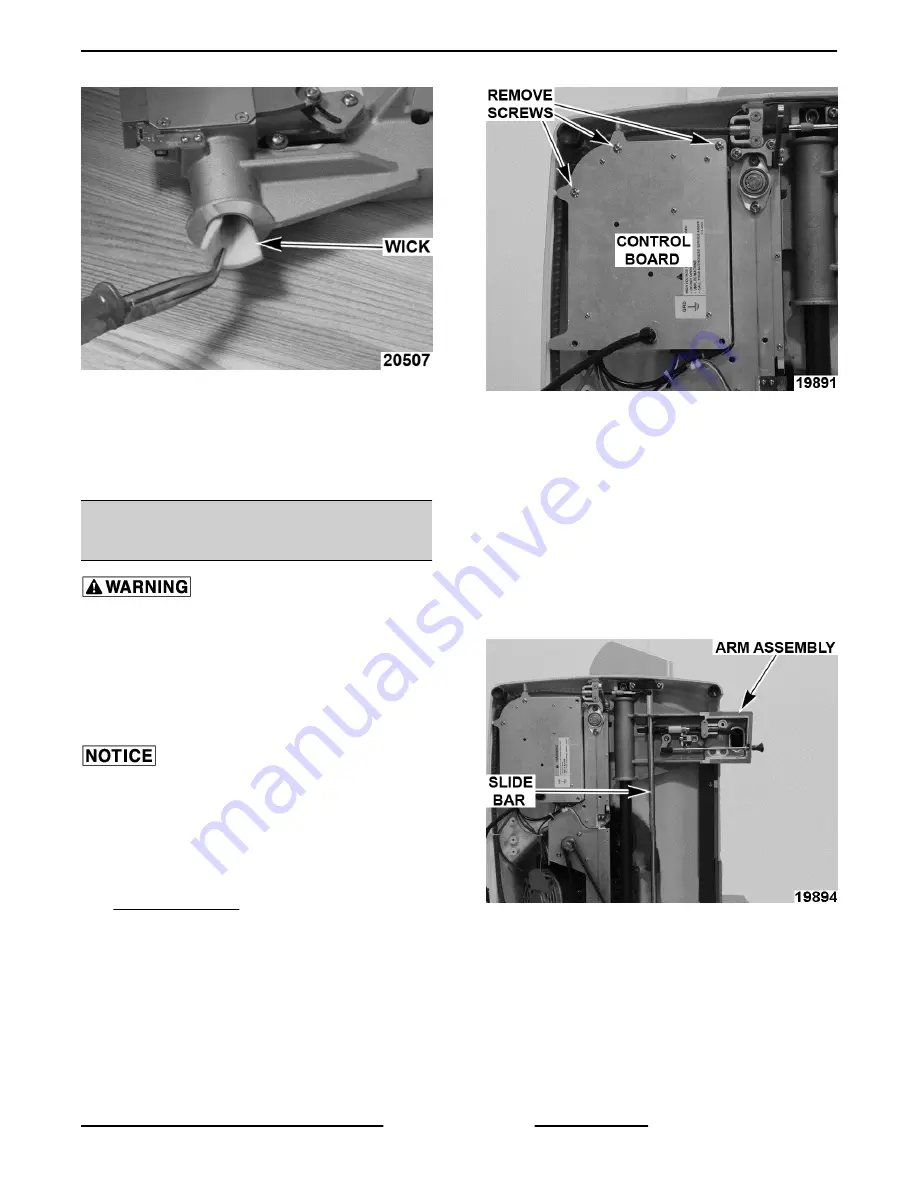
Coat new wick with Berkel oil and install in
transport arm.
5.
Reverse procedure to install.
6.
Check slicer for proper operation.
SLIDE BAR SWITCH TEST (X13,
X13A)
Certain procedures in this section require
electrical test or measurements while power is
applied to the machine. Exercise extreme caution
at all times. If test points are not easily accessible,
disconnect power and follow lockout / tagout
procedures, attach test equipment and reapply
power to the test.
Certain components in this system are subject to
damage by electrostatic discharge (ESD) during field
repairs. An ESD kit is required to prevent damage. The
ESD kit must be used anytime the circuit board is
handled.
1.
Remove product table as outlined under
PRODUCT TABLE.
2.
Place slicer on its side, so it is resting on motor
housing.
3.
Remove screws to access control board.
Fig. 80
4.
Plug slicer in.
5.
Verify 5VDC between J4-1 and J4-5.
A.
If voltage is not present, check all
connections.
B.
If connections are good, replace control
board.
6.
Verify 5VDC between J4-4 and J4-5.
7.
Supporting the arm assembly, squeeze the slide
bar to the unlocked position and lower assembly.
Fig. 81
A.
Verify 0VDC between J4-4 and J4-5
anytime slide bar is squeezed into the
unlocked position.
B.
Verify 5VDC when slide bar is released
again.
8.
If voltage is not present, replace slide bar switch.
X13 SLICER - SERVICE PROCEDURES AND ADJUSTMENTS
Page 29 of 36
F25332 Rev. A (0718)


