14
1. Installation
Machine Functions
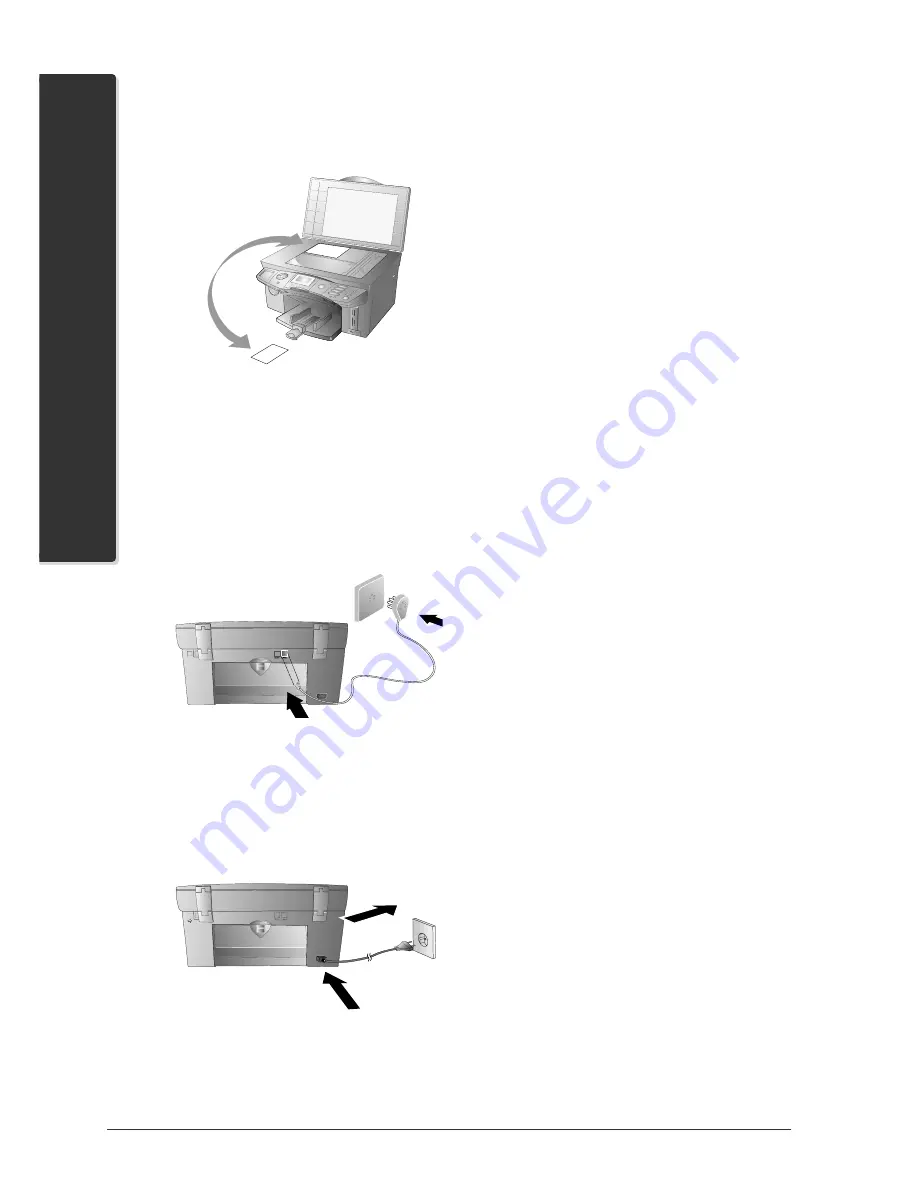
Positioning Documents
Position the document with the long edge against the
back side of the scanner glass. Insert the paper into the
paper tray with the short side out. This is particularly
important for printing photos in the 10×15 format!
Connecting the
Telephone Cord
Connect the telephone cord to the multifunction ma-
chine by inserting the small plug of the telephone cord
into the socket designated by the word
LINE
on the
rear side of the machine. Insert the telephone plug into
your PTT line socket.
Connecting the Power
Cord
Insert the small plug of the power cord into the power
cord socket on the rear side of your machine. Connect
the large plug to the wall power socket.
Once you have connected your multifunction machine
to the power supply, it will lead you through the follow-
ing basic configuration process. You can change these
settings at any time (see chapter
Settings
).
²
When not in use, your multifunction ma-
chine switches to the energy saving Stand-by
mode (see
Settings
/ Energy Saving Mode).
Language Selection
1
Press
OK
.
2
Use
/
to select the desired display language.
3
Press
OK
twice.
Entering Telephone
Number and Name
If you would like your telephone number and name to
appear on outgoing messages as a sender identification
(= header), enter your sender identification here:
²
You can suppress the header line for each
type of message individually (see chapter
Fax
/ Fax Settings or
SMS
/ Changing the SMS
Settings).
Number Entry
(max
.
20 digits)
Enter your telephone number using the number keypad,
then press
OK
. (For a plus sign, press
Ctrl
and
Q
on
the letter keyboard at the same time. For a space, press
the button
½
.)
Name Entry
(max
.
20 characters
)
Fold open the cover for the letter keypad. To enter
upper case letters, press
+
and the desired key at the
same time. The available special characters are printed
above and to the right of the keypad buttons and can
be entered by pressing the
Ctrl
button simultaneously
with the corresponding letter button (for example, press
Ctrl
and
½
at the same time to enter @). Press
½
to
enter a space.
If you have entered an incorrect number or letter, you
can correct the entry with
/
and
C
. Press
OK
after
completing the entry.
Entering the Date
and Time
When the multifunction machine is in the starting
mode, the date and time are shown on the display.
Æ
Note the order for entering the date and time:
day—month—year—hour—minute (two
digits).
Summary of Contents for Belgafax 710
Page 2: ......
Page 68: ...68 Appendix...
Page 69: ...Appendix 69 Appendix...
Page 70: ...70 Appendix...
Page 71: ......


