Installation MACH1000
Release 07 08/2022
39
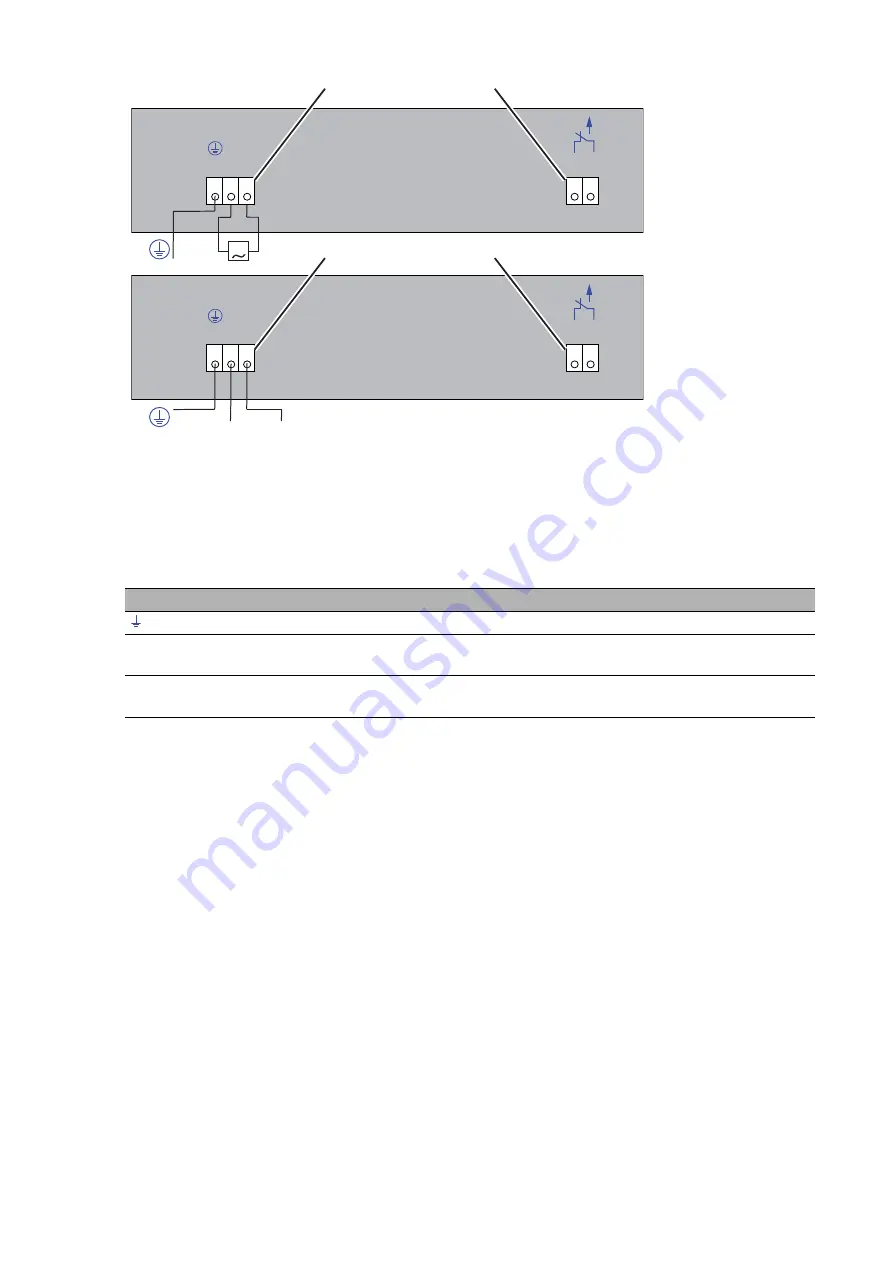
Figure 13: Power supply unit G
(see on page 52 “General technical data”)
:
AC voltage (pictured above) or DC voltage (pictured below)
Connecting
1 - Supply voltage
2 - Signal contact
Note:
Use copper wire with cross-section AWG 16 to AWG 12 (0.75 mm
2
to
3.0 mm
2
) and stripping length 12 mm.
For
every
supply voltage to be connected, perform the following steps:
Verify the required conditions for connecting the voltage supply.
See “Supply voltage” on page 7.
To insert the cable, you open the terminal lock by positioning the
screwdriver as illustrated below and pressing on the lever.
Connect the protective conductor with the clamp.
Connection
Type “C”
Type “G” VDC
Type “G” VAC
, pin 1
Protective conductor
Protective conductor
Protective conductor
-/N, pin 2
Minus terminal of the
supply voltage
Minus terminal of the
supply voltage
Neutral conductor
+/L, pin 3
Plus terminal of the
supply voltage
Plus terminal of the
supply voltage
Line conductor
Table 7:
Pin assignment of spring-loaded terminal for voltage supply
4 5
Relay
4 5
G
4 5
Relay
4 5
3
2
1
3
2
1
-/N +/L
3
2
1
3
2
1
-/N +/L
2
1
-
+
2
1
Summary of Contents for Hirschmann MACH1000 Series
Page 67: ...Installation MACH1000 Release 07 08 2022 67 ...
Page 68: ......


