Icon
Description
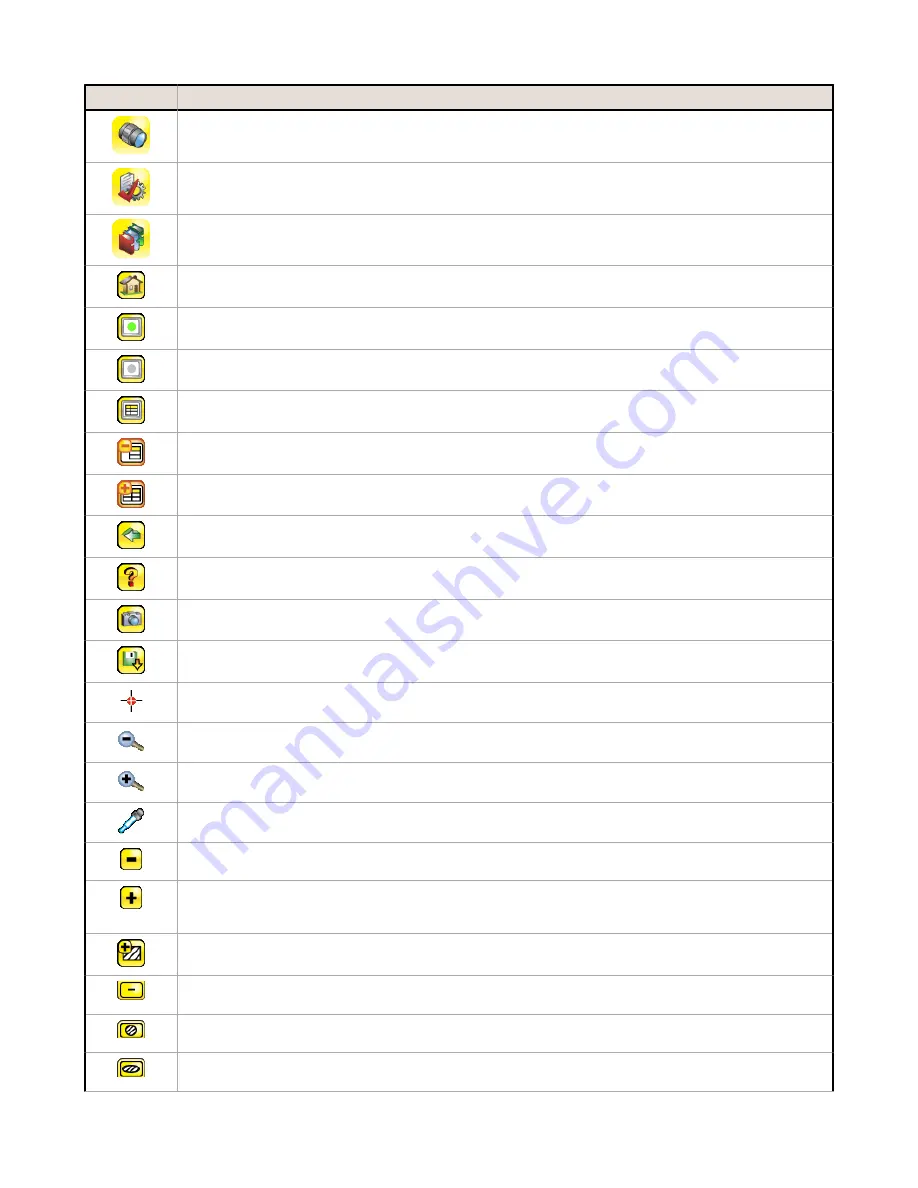
The Imager menu icon is on the Main Menu, and lists parameters that affect the characteristics of the
captured image.
The System menu icon is on the Main Menu, and is used to manage the sensor.
The Logs menu icon is on the Main Menu, and is used to set up, view, and save Inspection,
Communications, and System Logs.
The Home Screen icon is displayed in the upper-left corner of the sensor display when viewing menus and
parameter screens in the Main Menu. It is used to quickly return to the Home Screen.
The Display Annotations icon is one of three icons displayed in the upper-left corner of the sensor while
monitoring inspections on the Home Screen. Click this icon to highlight features that the sensor finds.
The Hide Annotations icon is one of three icons displayed in the upper-left corner of the sensor while
monitoring inspections on the Home Screen. Click this icon to disable highlighting.
The Show Statistics icon is one of three icons displayed in the upper-left corner of the sensor while
monitoring inspections. Click this icon to show inspection results and input parameters.
The Hide Log Timestamps icon is one of the icons displayed in the upper-left corner of the Logs screen.
Click this icon to hide the time stamp for the Logs.
The Show Log Timestamps icon is one of the icons displayed in the upper-left corner of the Logs screen.
Click this icon to show the time stamp for the Logs.
The Go Back icon is located on the lower-left of the screen while working in the Main Menu. The Go Back
icon is used to return to the previous screen or menu.
The Help button is located in the upper-right of the screen and provides context-sensitive help for each
screen.
The Manual Trigger icon is located on the lower-right of the sensor display on the Home screen and is
used to manually capture a new image.
The Save icon is used to save data to USB drive, and is available at the bottom of screens such as the
Logs screens.
The Touch Calibration screen displays the Touch Calibration point at various locations on the screen.
Every time the icon displays, the user taps the center of the icon to calibrate the screen.
The Zoom Out icon is located on the right of the screen and is used to reduce magnification of the image
being displayed.
The Zoom In icon is located on the right of the screen and is used to magnify the image being displayed.
The Intensity Selector is located on the left of the of the Intensity Range screen and is used to select the
shade of one of the objects of interest.
The Decrement icon decreases the currently displayed parameter value by one interval. To quickly
decrement the value, press and hold the icon.
The Increment icon increases the currently displayed parameter value by one interval. To quickly
increment the value, press and hold the icon. In the Sort tool, this icon is used to indicate one of the ten
storage locations for patterns.
The Add Mask icon displays on the left side of the screen when masking is enabled. Press to add a mask
to the currently selected sensor.
The Delete Mask icon displays on the left side of the screen when a mask is selected. Press to delete a
mask from the currently selected sensor.
The Circular Mask icon displays on the left side of the screen when a mask is selected. Press to cycle
through and select a Circular, Elliptical, or Rectangular-shaped mask.
The Elliptical Mask icon displays on the left side of the screen when a mask is selected. Press to cycle
through and select a Circular, Elliptical, or Rectangular-shaped mask.
iVu Plus TG Gen2 Series Sensor
6
www.bannerengineering.com - Tel: +1-763-544-3164
P/N 178442 Rev. B


