BLUE CHIP
15
User manual AXON AX-100 / AX-100 SB
AXON AX-100 GUITAR TO MIDI CONVERTER
If you don’t own the internal sound board, choose a GM (General
MIDI) instrument that you like and set the following parameters
”BANK MSB” und ”BANK LSB” (using the + Parameter button) to
the value of ”0” (+/- Value buttons). If the instrument shown in the
display is different than the sound you hear, you may have to set your
external MIDI instrument to GM (General MIDI) mode. If this isn’t
possible, maybe because your instrument is older and does not conform
to the General MIDI standard, you can still use the somewhat less
user-friendly method of setting Bank and program numbers. See the
chapter ”UTILITY MODE” for a description. We won’t however go
into that at this time.
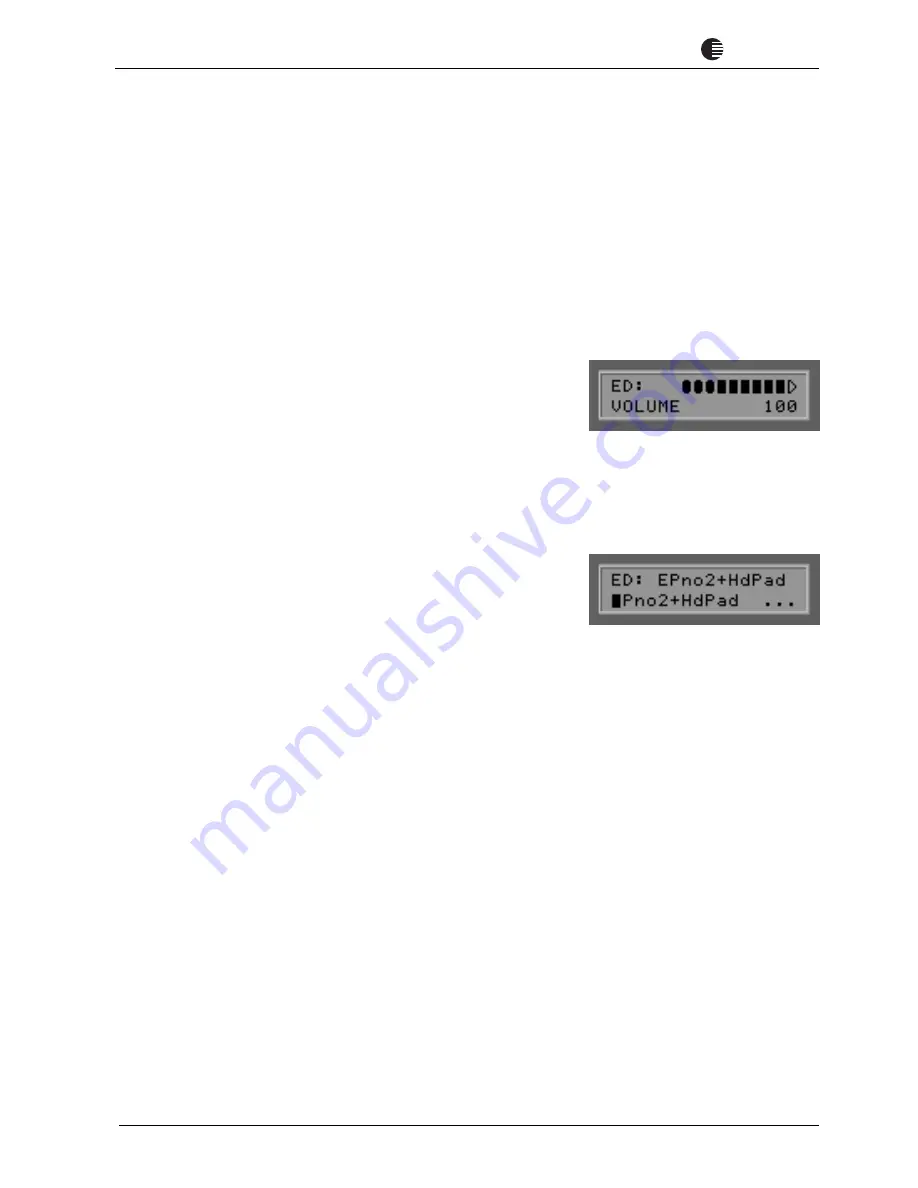
4. Press the + Parameter button. Set the value for ”VOLUME” to
your desired level using the +/- Value buttons. If you like, you can
also change the next parameter ”TRANSPOSE”, which is valuable,
for example, for bass players. This parameter changes the pitch value
of your MIDI instrument in halfstep increments (like moving your
fingers up or down on the fingerboard.) To do this, press the + Para-
meter button again and set it’s value using the +/- Value buttons. (”+12”
or ”-12” for up an octave or down and octave respectively.)
5. Press the EXIT button twice to get back to the top of the Preset
area. We now want to give our new (changed) preset a new name.
Press the ENTER button. The editor cursor is now over the ”E” of the
old name ”EPno2+HdPad.” With the +/- Value buttons you can change
the letter where the cursor is. Think of a new name and change the
first letter accordingly. With the +/- Parameter buttons you can move
the editor cursor one character to the right or to the left respectively.
Repeat this process until your new name is complete in the display. If
your new name is shorter than the old one, you can simply change the
left over letters to spaces.
6. Press the EXIT button twice to end your Preset text editing session.
The upper half of the display is blinking. This signals that you have
changed some parameters that have not yet been saved. Press the
STORE button. Now you can determine at which slot you want to
save your new Preset. You can either overwrite the Preset you have
been editing or save it at another location within the user-definable
area (1-128). Choose, for example, Preset No. 128 (+/- Value buttons).
Now when you press the ENTER button, your preset will be copied
to slot 128 and saved there. This also now becomes the active preset.


