


Chapter 4: Web Server Operations
51
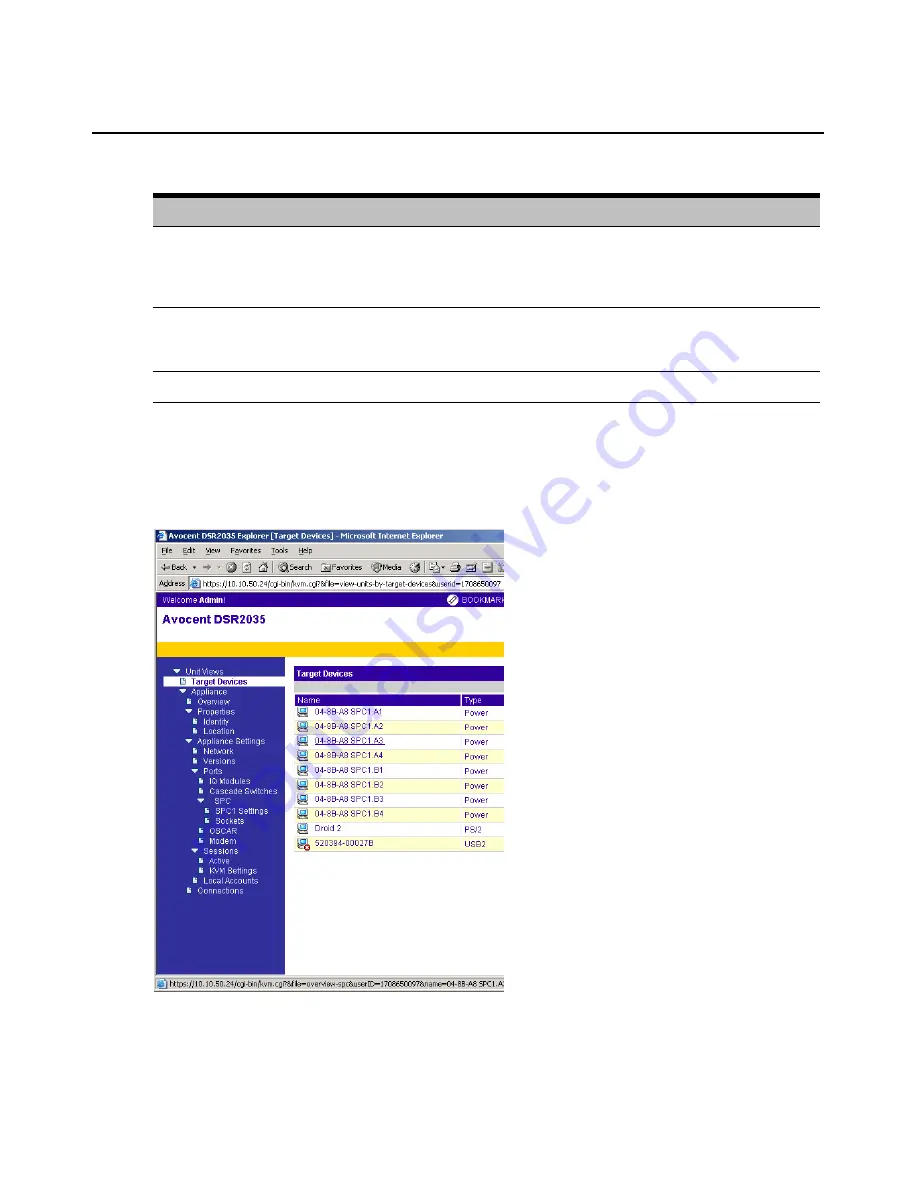
Using the side navigation bar
You can use the side navigation bar to display windows in which you can specify settings or
perform operations. Figure 4.2 shows the side navigation bar of the DSR2035/8035
Explorer window.
Figure 4.2: Side Navigation Bar
Clicking on a link that does not contain an arrow will display its corresponding window.
Table 4.1: DSR Explorer Window Area Descriptions
Letter
Description
A
Top option bar - Use the top option bar to bookmark a DSR web server window, refresh the display
of a DSR web server window, print a web page, log out of a software session or access the
Avocent Technical Support help page. The name of the logged in user appears on the left side of
the top option bar.
B
Side navigation bar - Use the side navigation bar to display the system information you wish to
display or edit, which displays in the content area.
The side navigation bar also contains icons in
the top left corner which, when clicked, expand or collapse all nodes.
C
Content area - Use the content area to display or make changes to the DSR web server system.
Summary of Contents for DSR Series DSR2035
Page 1: ...DSR Switch Installer User Guide For models DSR2035 DSR8035...
Page 8: ...vi DSR2035 8035 Switch Installer User Guide...
Page 10: ...viii DSR2035 8035 Switch Installer User Guide...
Page 12: ...x DSR2035 8035 Switch Installer User Guide...
Page 60: ...48 DSR2035 8035 Switch Installer User Guide...
Page 70: ...58 DSR2035 8035 Switch Installer User Guide...
Page 86: ...74 DSR2035 8035 Switch Installer User Guide...
Page 112: ...100 DSR2035 8035 Installer User Guide setting options 41...
Page 113: ......