


116
Using The Paper Tab
Selecting Your Scan Size
Automatic:
Choose
Automatic
from the
Cropping
drop-down list on the
Paper
tab. The scanner will capture an image according to the actual size of
your original.
Deskew:
Use this option to let the scanner automatically determine if a page
is skewed, and then straighten the image. This option will be available only
when
Automatic Cropping
is selected.
Custom:
Choose
Custom
from the
Cropping
drop-down list on the
Paper
tab.
This feature allows you to define the area or zone to be scanned. If you select
this option, you can enter the x and y offset values, width and length to
redefine your scanned area. The Display window will show the size as you
change the values.
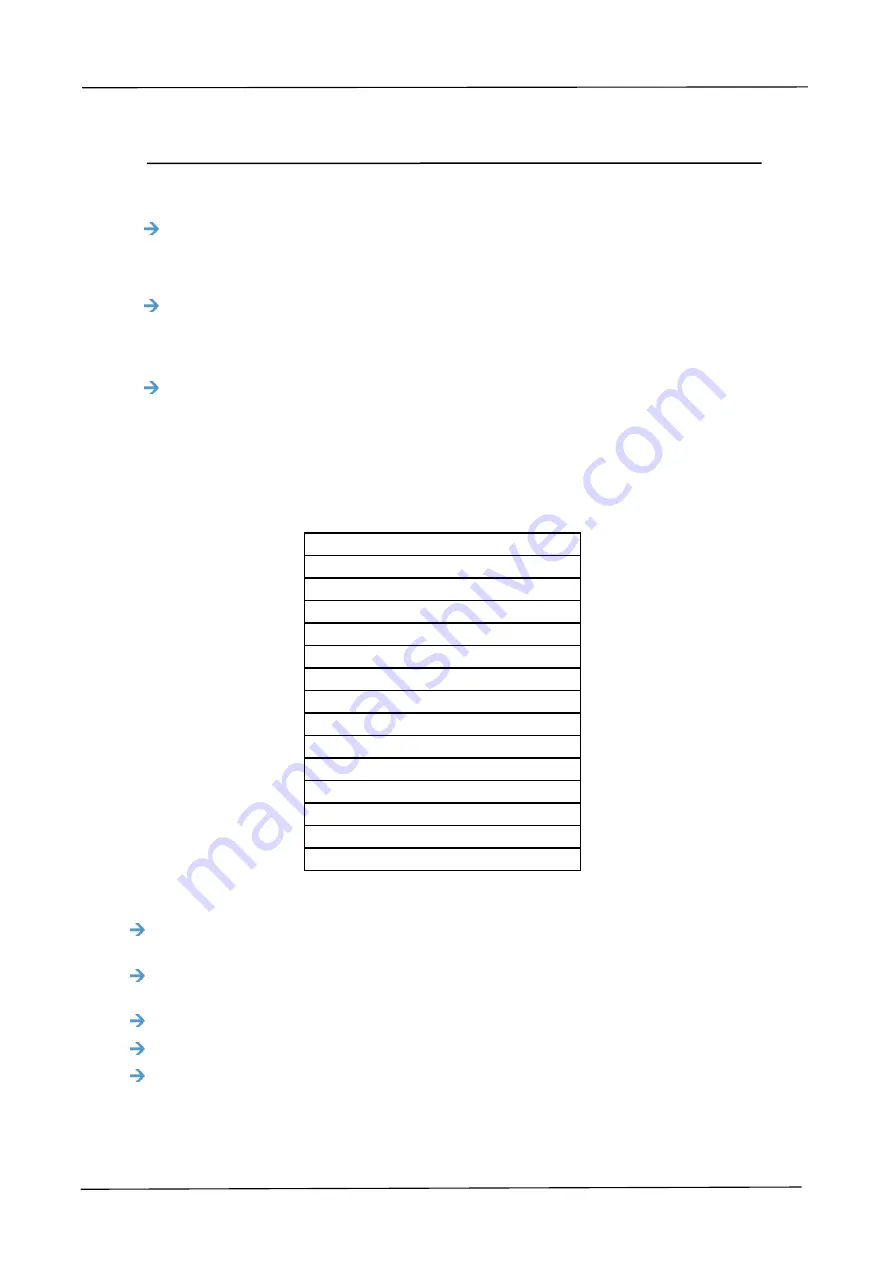
Choose your scan size from the
Scan Size
drop-down list.
None
US Letter- 8.5”x 11”
US Legal – 8.5” x 14”
ISO A4 – 21 x 29.7 cm
ISO A5 – 14.8 x 21 cm
ISO A6 – 10.5 x 14.8cm
ISO A7 – 7.4 x 10/5 cm
ISO B5 – 17.6 x 25 cm
ISO B6 – 12.5 x 17.6 cm
ISO B7 – 8.8 x 12.5 cm
JIS B5 – 18.2 x 25.7 cm
JIS B6 – 12.8 x 18.2 cm
JIS B7 – 9.1 x 12.8 cm
Scanner Maximum
Long Page (<118”)
The following options are only available when
Custom
is selected.
X-Offset
— the distance from the left end of the scanner to the left edge of the
scanning area.
Y-Offset
— the position from the top end of the document to the top end of the
scanning area.
Width
— the width of the scanning area.
Length
— the length of the scanning area.
Center
— automatically calculates the x-offset for center-fed feeding based upon
document size selected.
Unit:
Define your measurement system.
Inches, Millimeters,
and
Pixels
are
available.


