VENUE Software Update
26
Backing Up System Settings
Whether you are performing an upgrade or a full system restore, you should back up your system’s settings (such as Console set-
tings, Show files and Presets) before installing VENUE software.
To back up current settings:
1
Go to the
Filing
page and click the
Transfer
tab.
2
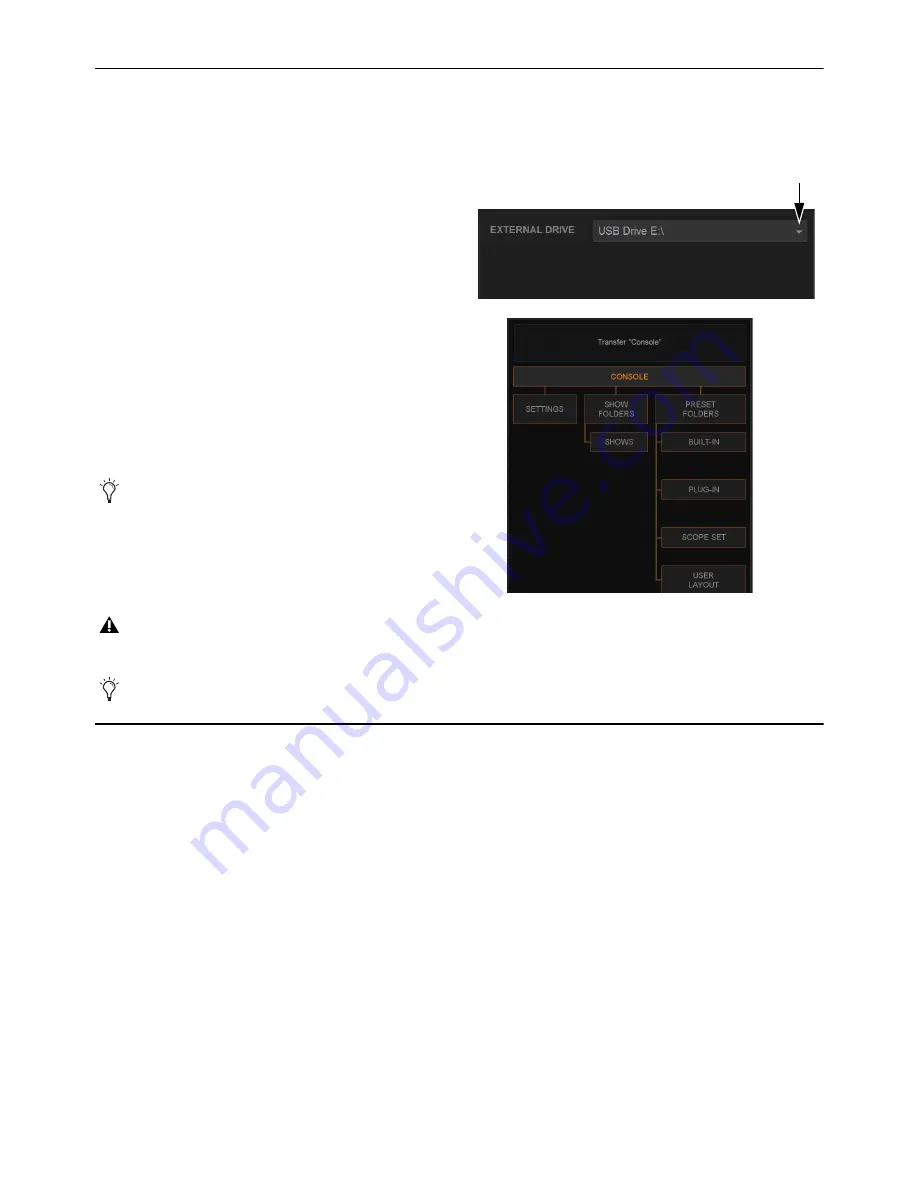
Connect a portable storage device (such as a USB flash drive,
formatted as FAT32) to the system.
The device appears above the right column of the Transfer tab.
If it does not, click the External Drive selector and choose your
storage device.
3
In the center column, select the type of data to transfer by do-
ing one of the following:
• To backup (transfer) all data, click
Console
so that it is high-
lighted.
4
For selections other than
Console
, in the left column select the items
you want to transfer from your system to your portable storage de-
vice. The items that appear in the left column depend on the type of
data selected in the center column.
5
Click the lit
Transfer>>
button. Large transfers may take time. Trans-
fer status is shown by a progress bar. A transfer may be canceled by
clicking
Cancel
.
6
Remove the portable storage device from the system.
Updating the BIOS
If the VENUE software installer displays a message telling you that you need to update the BIOS, see
Updating the BIOS
.
Otherwise, proceed to
Installing a VENUE Software Update
.
You can Shift-click to select multiple consecutive items or
Control-click to select multiple non-consecutive items to
transfer.
Canceled transfers may result in partial folder contents on the storage device, which will have to be deleted manually.
USB flash drives do not have to be unmouted or ejected to be removed from VENUE systems.
Summary of Contents for VENUE Local 16
Page 1: ...Avid VENUE S6L Installation Guide...
Page 8: ...Part I First Time Setup...
Page 17: ...Part II Software Installation...
Page 33: ...Part III Network Connections...
Page 46: ...Part IV Completing the Installation...
Page 63: ...Part V Reference...


