Chapter 3 Configuring the System
60
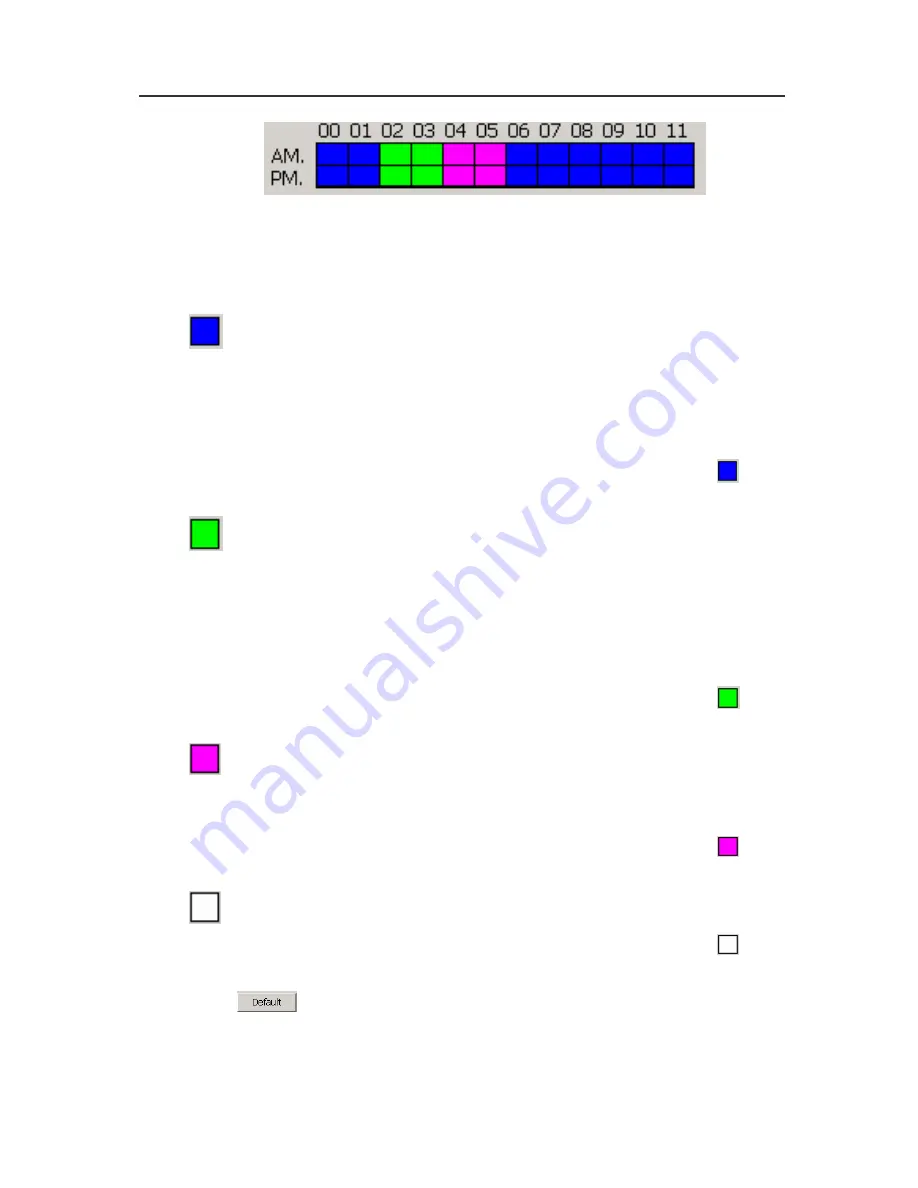
Users can define the recording mode in appointed hours according to
their demands. The default setting is always recording which means
the blocks on the time bar are all blue.
You can select one of the recording modes:
Always Recording:
The system will record this appointed
channel when it starts to monitor. When it starts to record, a red
triangle mark appears at the upper-left corner on each screen of the
channel. The recorded video file will be kept to the appointed storage
path.
Click
to set 24-hour recording mode, or you can click
to
change recording mode for each hour separately.
Motion Recording:
The
system will record once it detects any
motion. The DVR system will record 10 frames before the motion is
detected.When it starts to record, a red triangle mark appears at the
upper-left corner on each screen of the channel. The recording files
will be kept to the appointed storage path. Under this recording mode,
the DVR won’t record any video unless it detects any motion.
Click
to set 24-hour recording mode, or you can click
to
change recording mode for each hour separately.
Smart Recording:
The system records one frame per second if it
does not detect any motion. When the system detects motion, it will
keep on recording until the motion stops.
Click
to set 24-hour recording mode, or you can click
to
change recording mode for each hour separately.
No Recording:
The system
won’t record this channel’s video.
Click
to set 24-hour recording mode, or you can click
to
change recording mode for each hour separately.
Click
to return to “Always recording” if you want to cancel
previous recording mode.
3 Enable
Audio:
If you want to monitor and record the audio of this
Summary of Contents for NV 1000
Page 2: ......
Page 8: ...vi...
Page 9: ......
Page 16: ...AVerMedia NV 1000 3000 5000 User s Manual xiv...
Page 17: ......
Page 154: ...Appendix B Image Verification 152...


