


22
Name
Function
(14) AutoScan
Start/Stop video screen cycle switch.
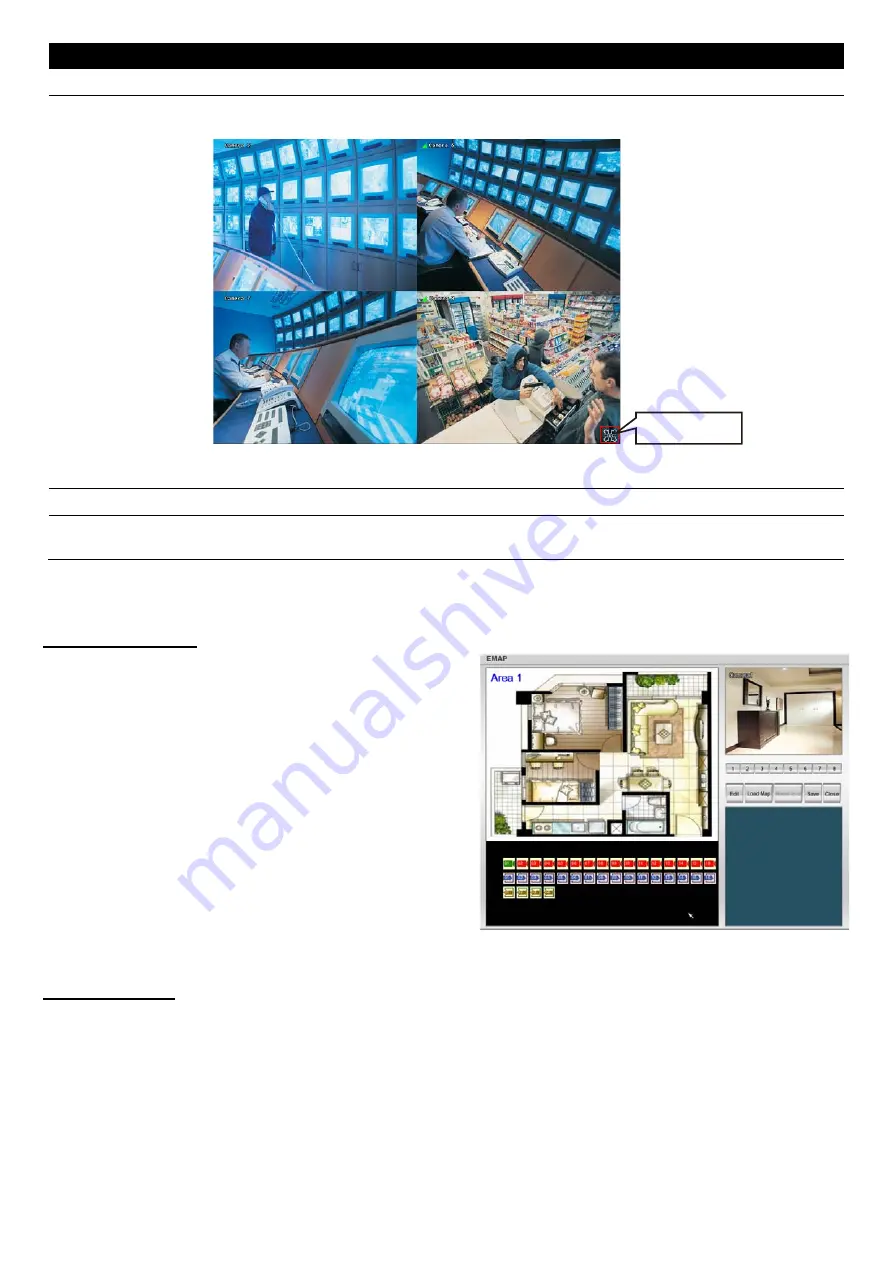
(15) Full screen
View in full screen. To return, press the right button of the mouse
or
ESC
on the keyboard or
click the arrow icon.
Click to exit from
full screen mode
When you switch to full screen in multiple-screen mode,
Left
click to toggle to only display one
of the video in the multiple-screen mode or all.
(16) Alarm
Alert and display warning info.
(17) Virtual
Keyboard
Click to enable virtual keyboard.
2.2.1 Setting Up and Using the Emap
E-Map can hold up to 8 maps in *.jpg format. You may locate the camera, sensor and relay on the map.
To Set Up the Emap
1. Click
Emap
.
2. When the Emap screen appears, click the area
number (1 to 8 buttons) on where you want to insert
the map.
3.
Click
Load Map
to insert the map. When the open
dialog box appears, locate and select the map and
click
Open
.
4. When the inserted map appears on the Emap screen,
click
Edit
. You may now drag the camera, sensor, and
relay icons to its place on the map. Icons on the map
can be relocated anywhere. If you are going to locate
the icon on the map to other area, you need to drag
the icon to the black pane at the bottom of the Emap
screen and then switch to the area on where you want
to locate the icon. To bring all the icons back to the
black pane at the bottom of the Emap screen, click
Reset
Icon.
5. When you are done, click
Save
button to save the new setting. To exit Emap screen, click
Close
.
To Use the Emap
1. Click
E-map
.
2. In the Emap screen, click the camera icon to switch on the area where the camera is located on the map
and to display the video at the upper right corner of the Emap screen. At the lower right corner of the Emap
screen, it lists all the warning message.
3.
Click
Close
to exit Emap screen.


