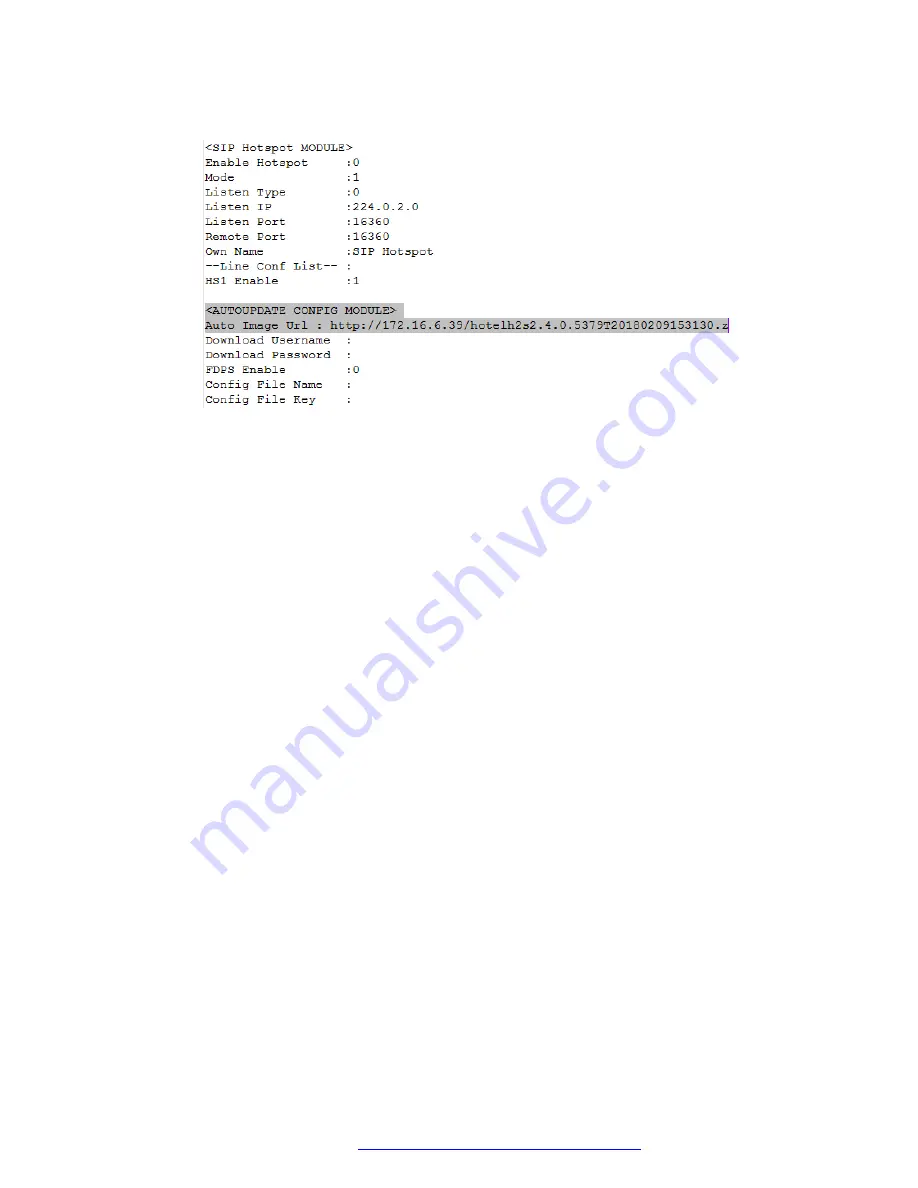
5. Update the following common SIP settings in the Basic settings section:
• SIP Proxy Port
• SIP Proxy Address
6.
(Optional)
Configure other settings, such as font, icons, and background images.
7. Copy the configuration file.
8. For each SIP account, change the file name to match each phone's MAC address.
For example, if the MAC address on the phone's label is C81FEA810FC1, then change the
file name to
C81FEA810FC1.cfg
.
9. Upload the configuration file on the file server and save the path.
10. Configure Option 66 on the DHCP server with the path to the file server where the
configuration files are uploaded.
For example:
http://172.18.1.9/config/$mac.cfg
11. Plug in the phone.
The phone, upon plug in, will look for the configuration file with it’s own mac address, and
performs the configuration.
Result
Your phone will be automatically configured after you plug it in.
Configuring automatic phone provisioning
October 2019
Installing and Administering the Avaya H239 and H249 Phones
43


