ZONEMIX
INSTALLATION AND OPERATION MANUAL
14
NETWORK
The ZONEMIX ships with DHCP mode enabled which allows the network
to automatically assign an IP address. The PC Control software will then
automatically scan the network for any ZONEMIX systems and display it
on the PC control software connection window.
If a static IP address is required, the easiest method is to connect via
USB using the PC Control Software and to assign manual network
settings using the “Network” button in the Control section.
The IP address can also be read from the SYSTEM
SETUP menu on the front panel
PC CONTROL SOFTWARE CONT.
CONTROL SECTION CONT.
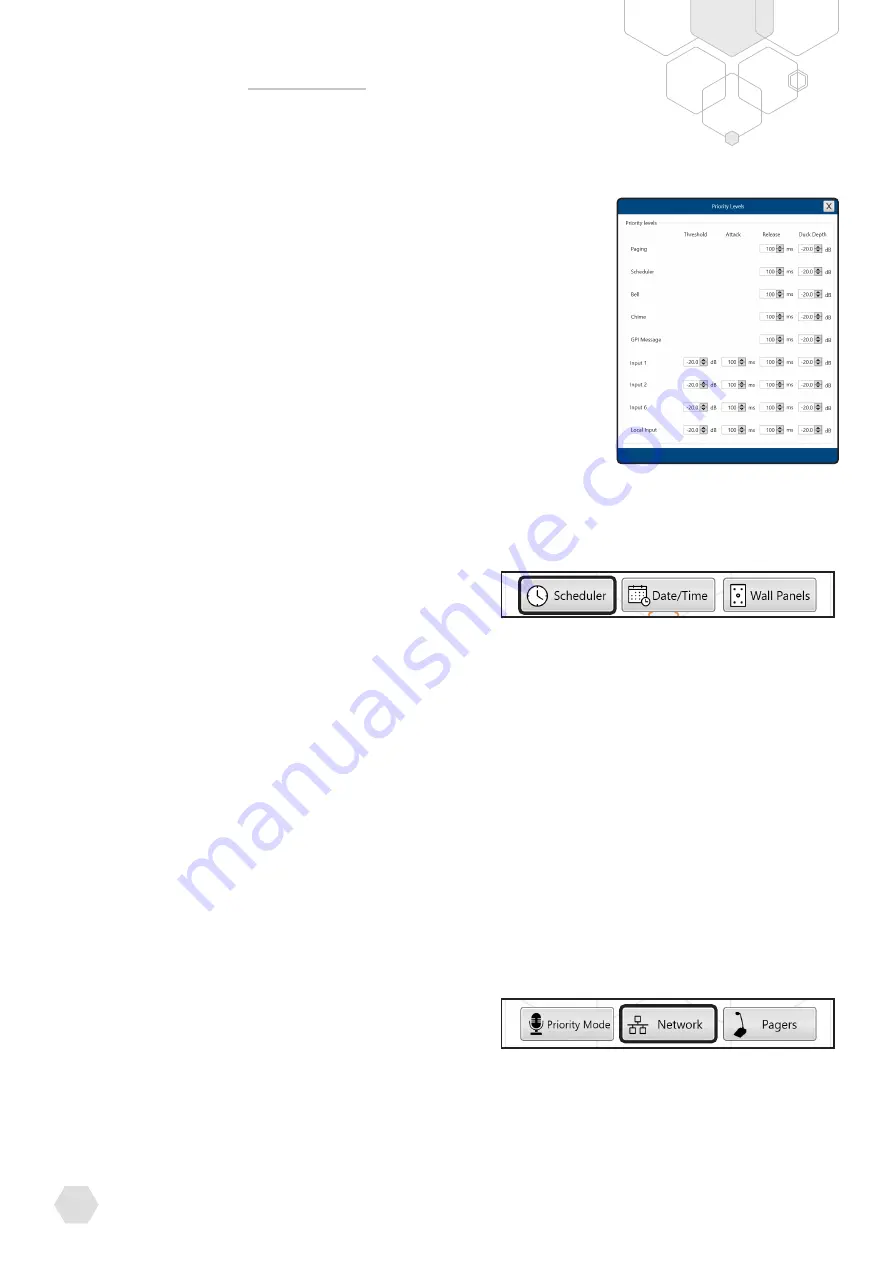
The input source priority audio levels can be set from the “Modify Priority Levels” sub window.
Threshold
sets the input level the audio must exceed to trigger the priority.
Attack
sets the time the input level must continuously exceed the threshold.
This is useful to prevent a spike of loud audio triggering the priority
Release
sets the time the priority is still active after the input has dropped below the threshold.
This allows for delay to be added if required, up to 25 seconds.
Duck Depth
sets the level lower priority inputs are set to during a priority event.
Set it to -96dB to mute the input or a value lower than 0dB to mix the audio at a lower level.
The Tones / Messages (Scheduler Message, GPI Message, Bell and Chime) all share one
audio channel from the CPU/DSP. This means only one can be active at a time. If required, the
priority of these triggers can also be modified from the “Manages Tones/Messages Priority”
sub window.
SCHEDULER
The inbuilt scheduler is capable of automating several actions in the ZONEMIX system.
Step 1 – Create a New Task
Firstly, create a task list of all the actions you wish to schedule.
Available scheduled actions:
• Adjust Master Volume Level/s
• Adjust Input Volume Level/s
• Play tones and messages
• Recall presets
• Trigger general purpose outputs
Step 2 – Apply a schedule to the task
Once a task list has been created it can be applied to a schedule.
1. Select “Create a new schedule”
2. Give a subject name which will show in the calendar view
3. Assign a task action (list of task actions created in step 1)
4. Assign the date and time for the task to trigger
5. Assign a repeating pattern if required
•
Daily
•
Weekly
•
Every X days


