Verifit
®
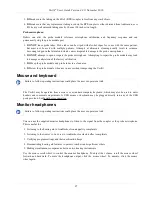
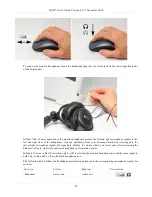
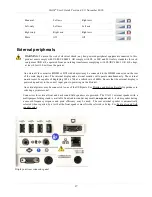
User's Guide Version 4.8
©
November 2016
1. Carefully unpack the two parts of the Verifit and check the contents of the shipping box against the enclosed
packing list. Note that some parts may be packed inside the test chamber.
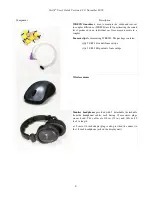
2. Locate the included wireless mouse and turn it on using the switch on the underside. The wireless receiver is
already connected to the Verifit.
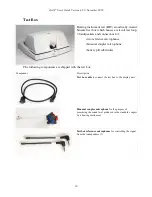
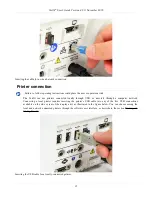
3. Connect the test box via the test chamber cable to the rear of the main display unit. The cable can be routed
under the display unit to the test chamber if the test chamber will be used in front to the display unit. Note:
all on-ear functions will operate without the test box connected to the display unit.
Text box cable provided uses HDMI connector, but is distinguished by a diamond-shaped marker at both ends.
IMPORTANT: Use only Audioscan-supplied cables for this purpose.
4. The Verifit can also be connected to an external monitor. Connect a video monitor (HDMI or DVI with
adapter) to the MONITOR connector on the rear connector panel.
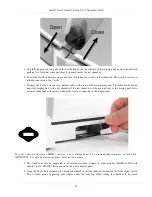
5. Open the lid of the test chamber by using your thumb to roll the rubber roller toward the front of the Verifit.
This is made easier by placing your fingers under the front lip. When sealing the chamber in its closed
21
Summary of Contents for verifit
Page 1: ...Audioscan Verifit User s Guide 4 8 November 2016...
Page 17: ...Verifit User s Guide Version 4 8 November 2016 EC Declaration of Conformity 17...
Page 92: ...Verifit User s Guide Version 4 8 November 2016 92...
Page 94: ...Verifit User s Guide Version 4 8 November 2016 94...
Page 107: ...Verifit User s Guide Version 4 8 November 2016 Telecoil test results 107...
Page 123: ...Verifit User s Guide Version 4 8 November 2016 123...
Page 148: ...Verifit User s Guide Version 4 8 November 2016 148...
Page 149: ...Verifit User s Guide Version 4 8 November 2016 149...
Page 159: ...Verifit User s Guide Version 4 8 November 2016 159...

