


CHAPTER 12: FIRMWARE UPGRADE & RECOVERY
DigiVu
®
Series Multichannel MPEG-2/H.264 Encoder/Multiplexer with QAM &/or IP Output - Installation & Operation Manual
12-7
12.8
Restore a Configuration Export
If you saved an exported file or are performing a mass deployment of a number of DigiVu with identical configurations and
installed firmware, you can restore the saved configuration from the exported file. The file is in tgz format and would have been
named
settings.tgz
if you accepted the name that the DigiVu suggested when exported.
NOTE:
Only install exported configuration files on DigiVu units with identical firmware version as
the unit from which the configuration file originated.
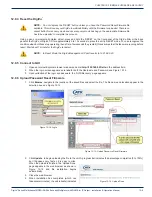
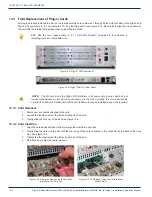
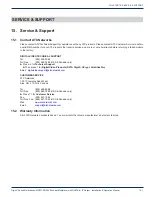
Restore an exported file in the same manner as a firmware upgrade from the ‘DVIS Update’ tab. See Figure 12-12.
1. Select the ‘DVIS Update’ tab. The ‘Update DVIS Version’ page will appear.
2. Click
Browse
, navigate to the folder on your computer where you saved the
settings.tgz
file (or whatever name you
may have given it) and click
Open
. The file name and location appear in the selection box.
3. Click
Update
to begin uploading the file to the DigiVu. A progress bar indicates the percentage file upload completion
(0 to 100%).
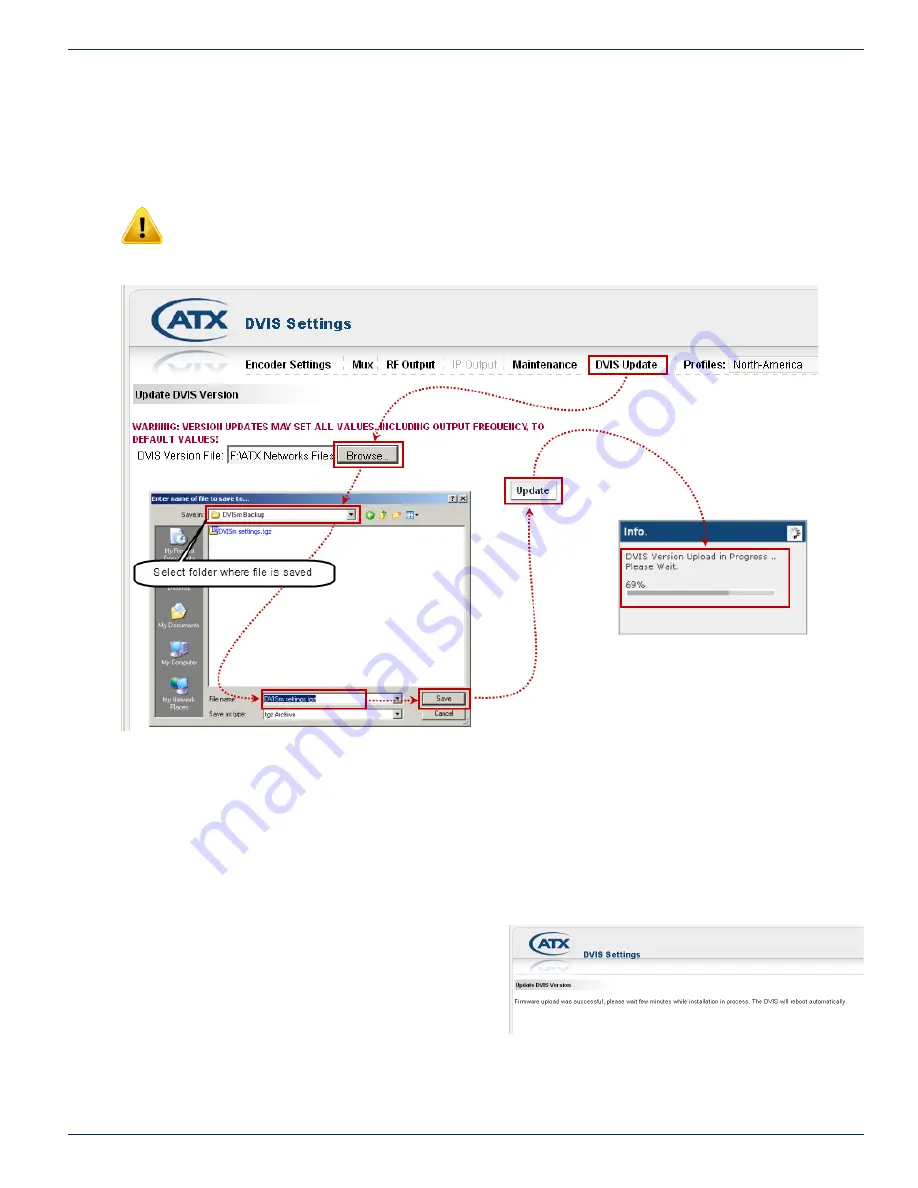
4. When file upload is complete the DigiVu will present the ‘Upload Done’ page, as shown in Figure 12-13.
5. When the upload has finished, file installation
begins automatically.
6. Close the browser.
7. When file installation has completed (which can
take about 1 minute), the unit reboots (indicated
when the fans shut off for a few seconds and
then restart).
8. Wait 2 minutes after the fan restarts for the
reboot to complete.
9. Open Internet Explorer and enter one of the following in the browser URL field as appropriate:
a) Enter
http://192.168.0.23/site
if the exported IP address was set to the default IP address setting.
Figure 12-12:
Restore an Exported Configuration
Figure 12-13: Upload Done


