8
76
ASUS PCI-DA2100/PCI-DA2200 User’s Manual
The drives can be tagged for inclusion by positioning the cursor on
the drive and then pressing [Enter] to select. An asterisk (*) will
appear on the drive that has been selected. Press [ESC] when done.
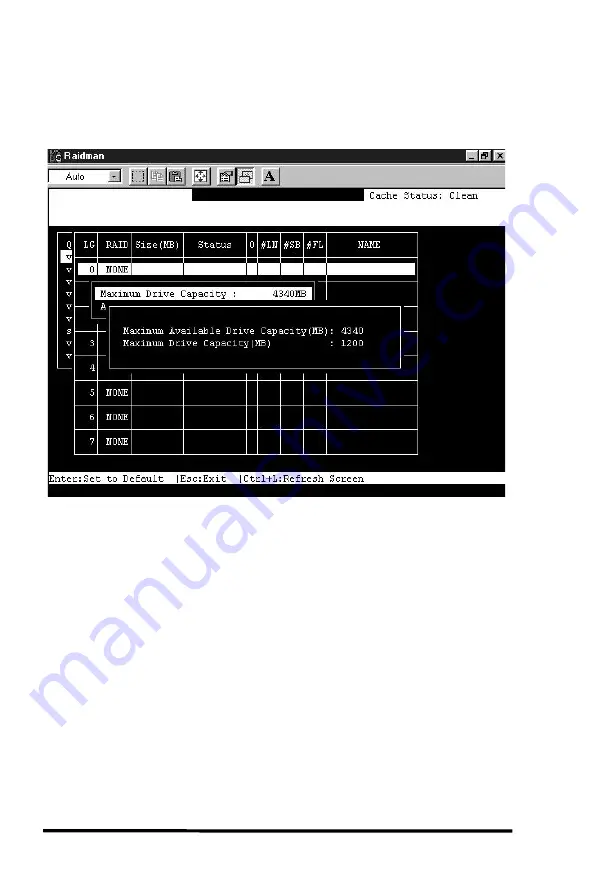
To limit the capacity of each drive included in the logical drive, select
“Maximum Drive Capacity”, and then enter the maximum capacity
that will be used by each drive.
You can assign a Local Spare Drive by choosing “Assign Spare
Drives” in the above screen. A list of available drives will be
displayed on the screen. Mark an asterisk (*) on the drive(s) that will
be assigned by moving the cursor bar to that device, then pressing
[Enter]. Press [ESC] when done.
To exit this menu, press [ESC].
A prompt to confirm the changes will appear. Select Yes to create the
logical drive, or No to cancel.
Summary of Contents for PCI-DA2200
Page 8: ...1 8 ASUS PCI DA2100 PCI DA2200 User s Manual This page is left intentionally blank ...
Page 40: ...3 40 ASUS PCI DA2100 PCI DA2200 User s Manual Drive E now has a capacity just under 1800MB ...
Page 58: ...6 58 ASUS PCI DA2100 PCI DA2200 User s Manual This page is left intentionally blank ...
Page 138: ...9 138 ASUS PCI DA2100 PCI DA2200 User s Manual This page is left intentionally blank ...
Page 184: ...Appendix B 184 ASUS PCI DA2100 PCI DA2200 User s Manual This page is left intentionally blank ...
Page 188: ...Appendix D 188 ASUS PCI DA2100 PCI DA2200 User s Manual This page is left intentionally blank ...
Page 208: ...Index ASUS PCI DA2100 PCI DA2200 User s Manual 208 This page is left intentionally blank ...
Page 209: ...GUI RAID Manager For ASUS Disk Array Controllers User s Guide Revision 1 5 ...
Page 226: ...ASUS GUI RAID Manager Introduction 1 3 Feature Highlights 1 11 ...


