ASUS GUI RAID Manager: Array Management
4-18
4.7 Scanning in Drives
4
4
Scanning in a drive
1. Display the Physical Drives window by clicking on the
Physical Drives command button or selecting the Physical
Drives command from the Open menu.
2. From the Physical Drives window, double-click on the
connector corresponding to the SCSI ID of the drive being
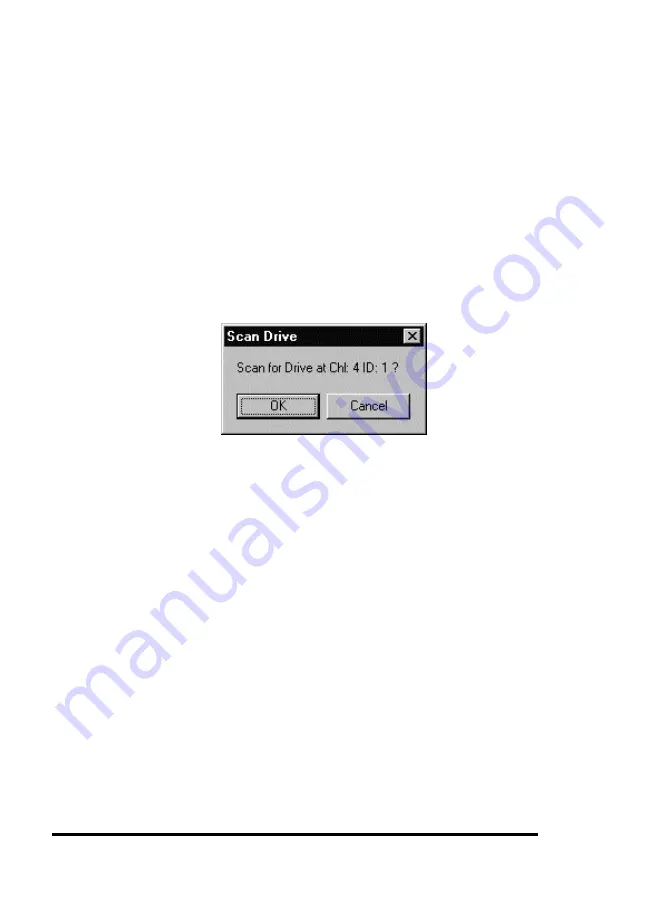
scanned. A confirmation message similar to the following
will appear on the screen:
3. Click OK. The system will scan for a drive with the
specified ID and then will display either a successful
message or an error message.
4. Click OK.
The GUI RAID Manager will place a drive icon on the
respective connector if the scanning process is successful.
Summary of Contents for PCI-DA2200
Page 8: ...1 8 ASUS PCI DA2100 PCI DA2200 User s Manual This page is left intentionally blank ...
Page 40: ...3 40 ASUS PCI DA2100 PCI DA2200 User s Manual Drive E now has a capacity just under 1800MB ...
Page 58: ...6 58 ASUS PCI DA2100 PCI DA2200 User s Manual This page is left intentionally blank ...
Page 138: ...9 138 ASUS PCI DA2100 PCI DA2200 User s Manual This page is left intentionally blank ...
Page 184: ...Appendix B 184 ASUS PCI DA2100 PCI DA2200 User s Manual This page is left intentionally blank ...
Page 188: ...Appendix D 188 ASUS PCI DA2100 PCI DA2200 User s Manual This page is left intentionally blank ...
Page 208: ...Index ASUS PCI DA2100 PCI DA2200 User s Manual 208 This page is left intentionally blank ...
Page 209: ...GUI RAID Manager For ASUS Disk Array Controllers User s Guide Revision 1 5 ...
Page 226: ...ASUS GUI RAID Manager Introduction 1 3 Feature Highlights 1 11 ...


